


 285 / 1119

1.5L REVOTORQ ENGINE
97
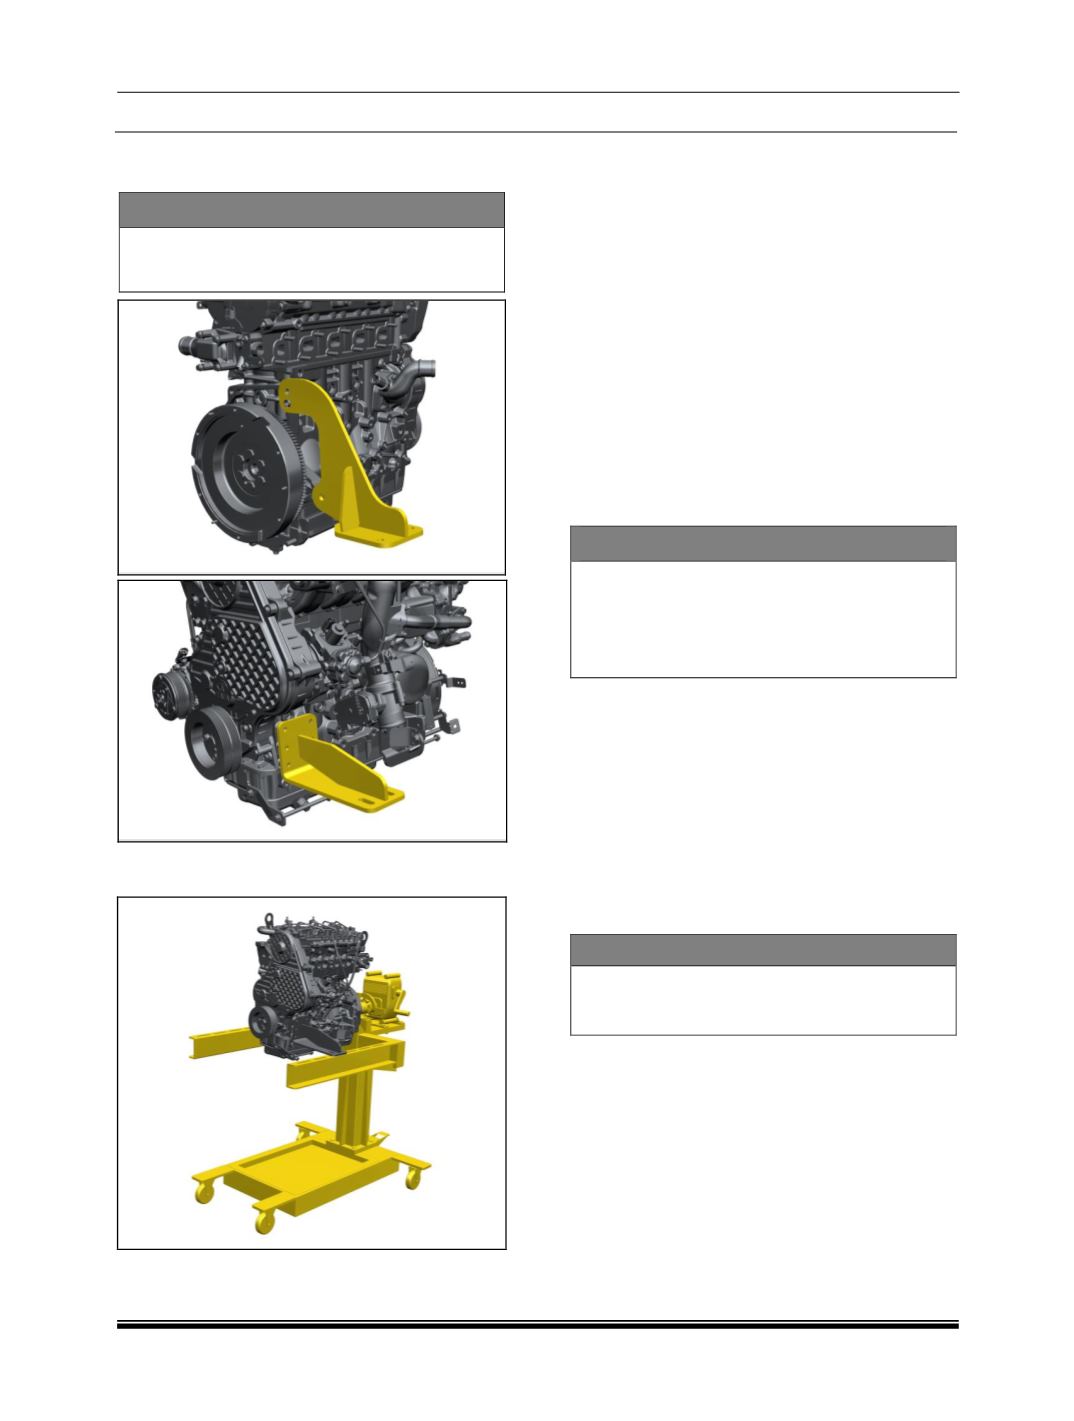
48. Fix the LH & RH mounting brackets to the
engine.
SPECIAL TOOL
LH Mounting Bracket -
5424 5890 2403
RH Mounting Bracket -
5438 5890 2401
49. Safely lift the engine with the help of crane
and fix it on overhaul stand 5425 5890 0605.
C. ENGINE INSTALLATION
1. Engine installation is generally reverse of
removal. Make certain all hardware is
tightened to appropriate torque specification.
2. Prior to installing the engine, inspect the
condition of the rubber on the engine mounts.
Replace the engine mounts if the rubber is
damaged.
3. Install the starter motor, AC Compressor,
alternator along with its mounting brackets.
4. Mount the transaxle back onto the engine.
Tighten the bolts with specified torque.
5. With the vehicle raised on the vehicle lift
hoist, place the engine underneath the
vehicle,
aligned
with
the
engine
compartment.
CAUTION
Use care when lowering the vehicle body,
engine and transaxle assembly. Verify all
the engine and other components will not
make direct contact or vehicle damage will
occur
.
6. Slowly and carefully lower the vehicle body
over the engine.
7. Connect the lifting crane to the engine with a
chain / belt. Raise the hoist slightly to apply
lifting tension to the engine.
8. With the engine attached to the crane,
remove the support stand.
9. Secure the engine in the vehicle by attaching
the "C", "A" and "B" mounting brackets.
Tighten the mounting bracket hardware at
specified torque.
NOTE
While tightening of B mount, use 12 mm 3
no’s of sockets on consecutive 3 mounting
bolts as shown in fig.
10. Remove the chain / belt after engine mounts
are secure.
11. Install the left and right driveshaft
assemblies.
12. Connect the gearshift linkage, clutch cable to
the engine and transaxle.
13. Connect the engine wiring harness.
14. Connect the cooling system reservoir hoses.
Verify the cooling system drain is closed on
the radiator. Install the cooling system hoses
of the engine, radiator and heater core.