


 1066 / 1906

REAR AXLE
17
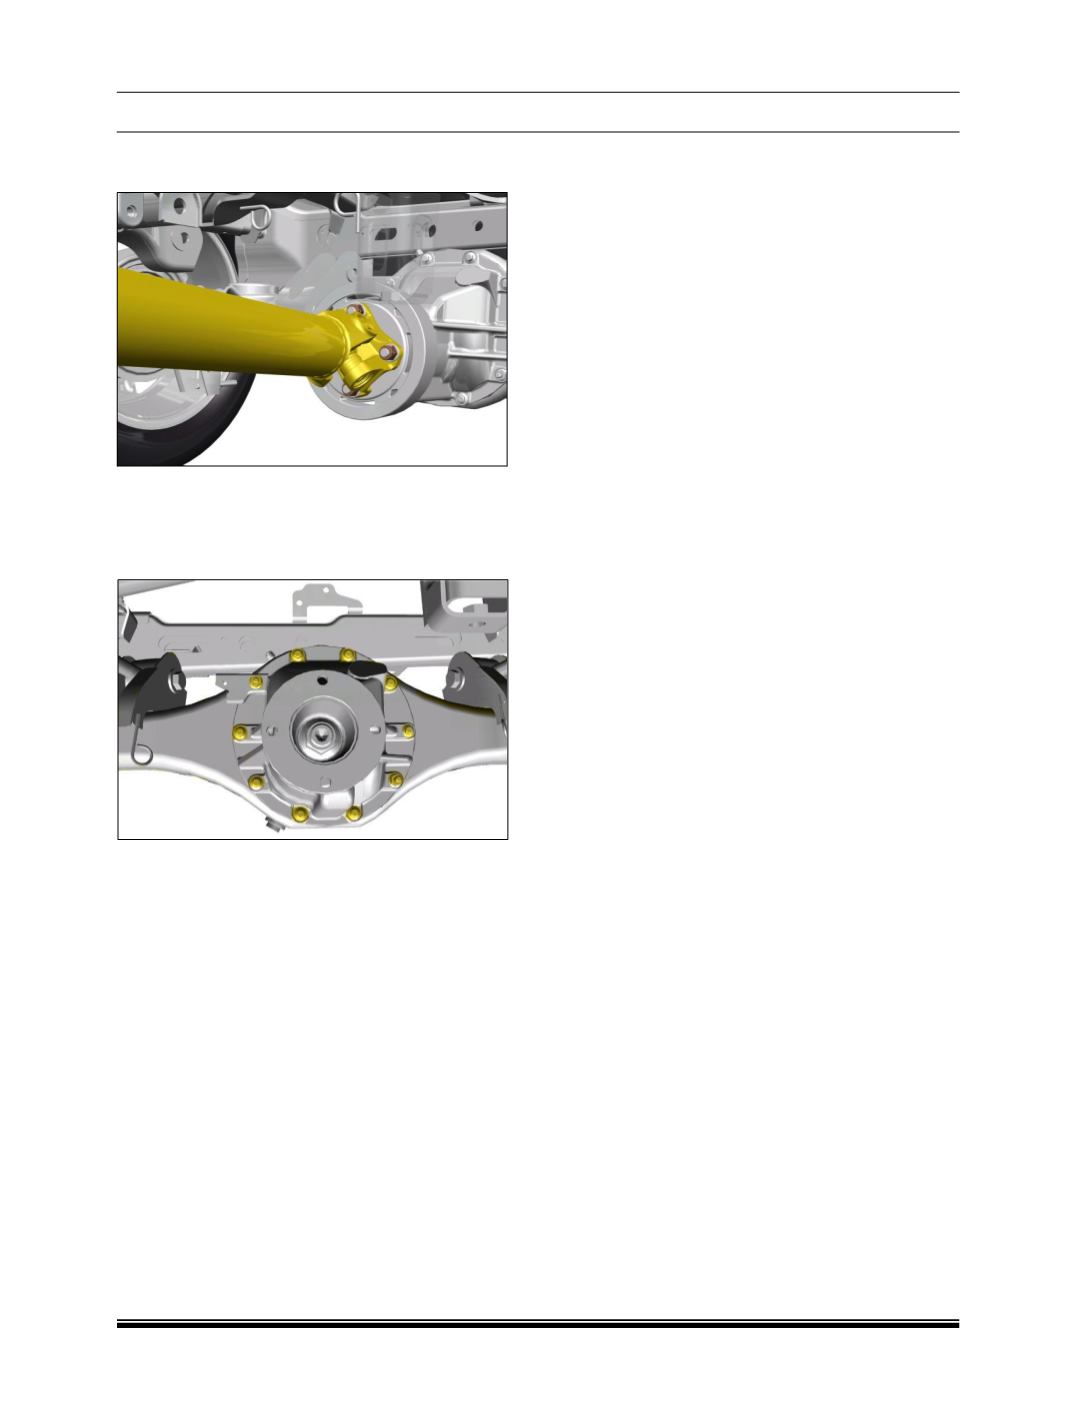
3. Remove the propeller shaft and parking brake
cable connection from the rear axle.
4. Remove the axle shaft assembly.
(For
procedure refer axle shaft removal process.)
5. Remove the carrier mounting stud nuts and
flange head bolts.
NOTE
Discard the nuts and bolts after removal and use
new while re-installation.
6. Tap the carrier assembly with medium blows
from nylon mallet to loosen up the sealing
compound.
7. Pull and remove carrier section from banjo and
mount it on work stand securely.
WARNING
Differential case assembly is quite heavy so
proper care should be take while removing the
same from the rear axle beam otherwise it might
results in personal injury.
8. Remove studs and clean the sealant from the
banjo carrier mounting face with the help of
cleaning agent.
(e.g. Thinner)
NOTE
If no work is likely to be done on banjo, cover the
wheel end sides and banjo bowl to avoid
contamination to enter in it.
FITMENT
NOTE
Flat face of the carrier assembly and flat
surface of the banjo beam must be free of any
oil film or foreign material. Apply Anabond A-
676 or 3M sealant to flat surface of banjo
beam. Ensure that sealer bead is on the inside
of screw holes.
Bead must be 3 to 6 mm high and 3 to 6 mm
wide.
1. Properly locate the differential case assembly
with rear axle beam and follow the reverse
procedure of removal for the fitment of
differential case on to the rear axle beam.