


 891 / 1575

ELECTRICAL
71
ELECTRICAL
NOTE:
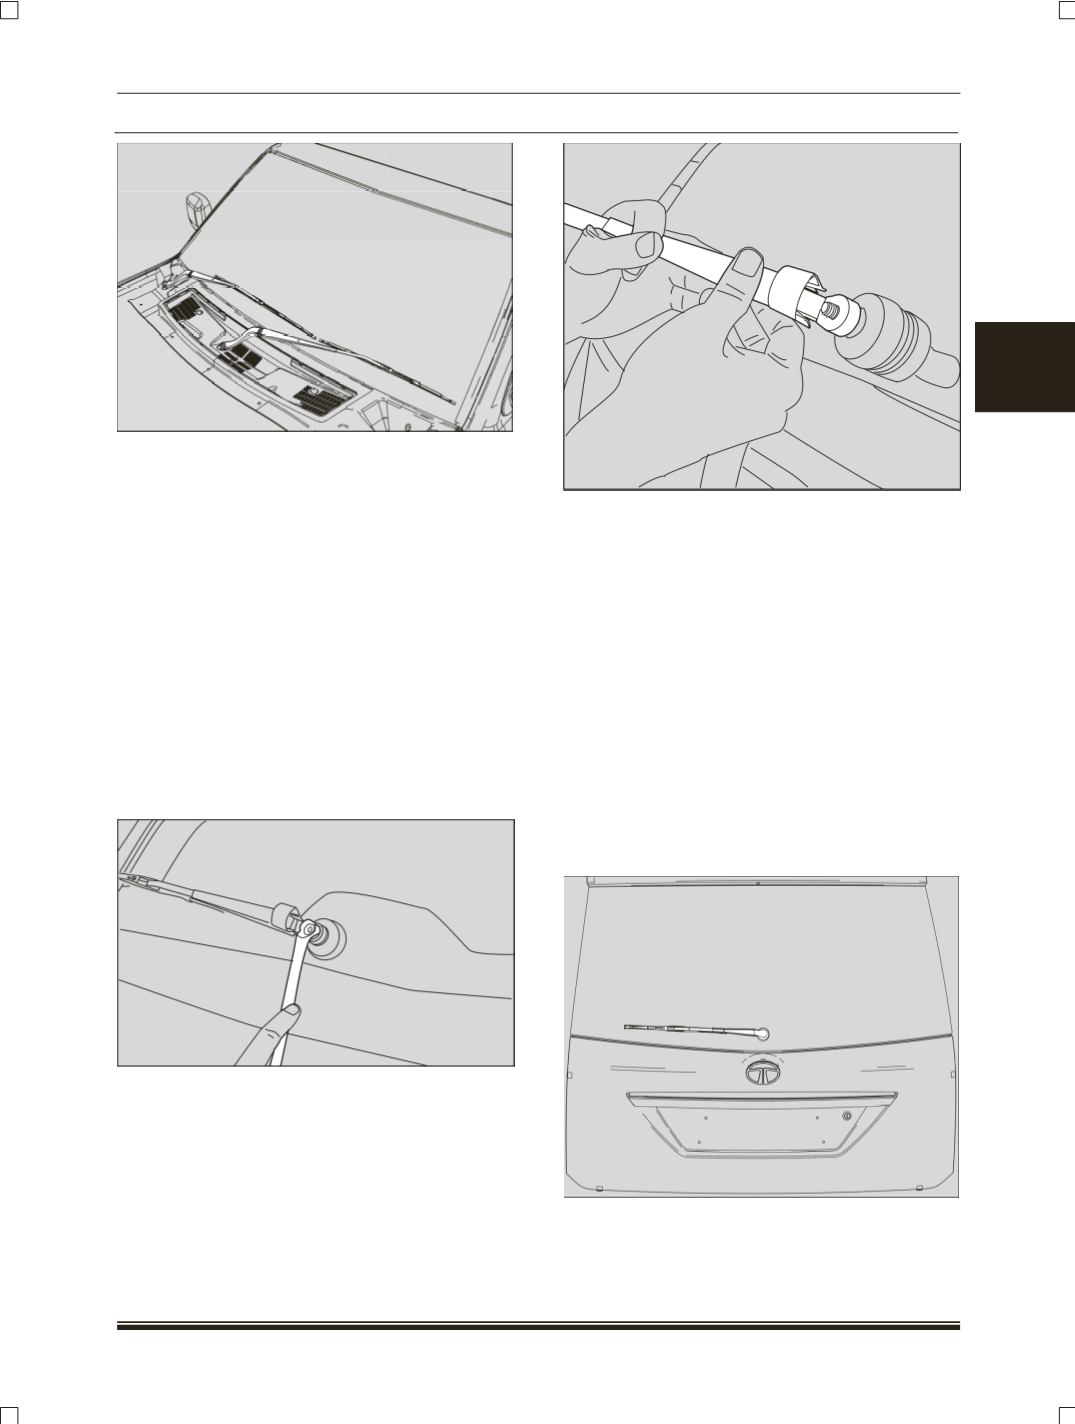
Co-driver side wiper ARM and blade assembly
should be aligned with marking provided on the
black band of the windshield glass.
3.Fit mounting nut and tighten with specified
torque.
Tightening toque for Nut: 2.5 Kgm
4.Fit the rubber cover.
5.Check the correct operation of wiper.
8.9.3.3 REAR WIPER ARM AND BLADE
REMOVAL:
1.Lift the wiper arm cover to access the wiper arm
mounting nut on wiper shaft and remove the
mounting nut.
2. Lift the wiper arm and blade assembly vertically
to take out the wiper arm easily against spring
force of wiper arm and take out the wiper arm
and blade assembly from wiper motor shaft.
INSPECTION:
Inspect wiper blade rubber for any
cut. If found, replace the wiper blade assembly.
REFITMENT:
1.Before fitting the wiper arm bring the wiper motor
to the parking position. This can be done by
switching ON the Ignition, and run the rear wiper
motor end then switch OFF the rear wiper motor
only.
NOTE:
Switch OFF the Ignition only after the motor has
stopped.
2.Insert the arm and blade assembly on wiper
motor shaft by locating it on the splines.
3.Place arm and blade assembly on parking
position. As shown in the below figure.
4.Fit one mounting nut and tight with specified
torque, and push the wiper arm cover.
Tightening torque for nut- 1 Kgm