


 1877 / 1906

HVAC
63
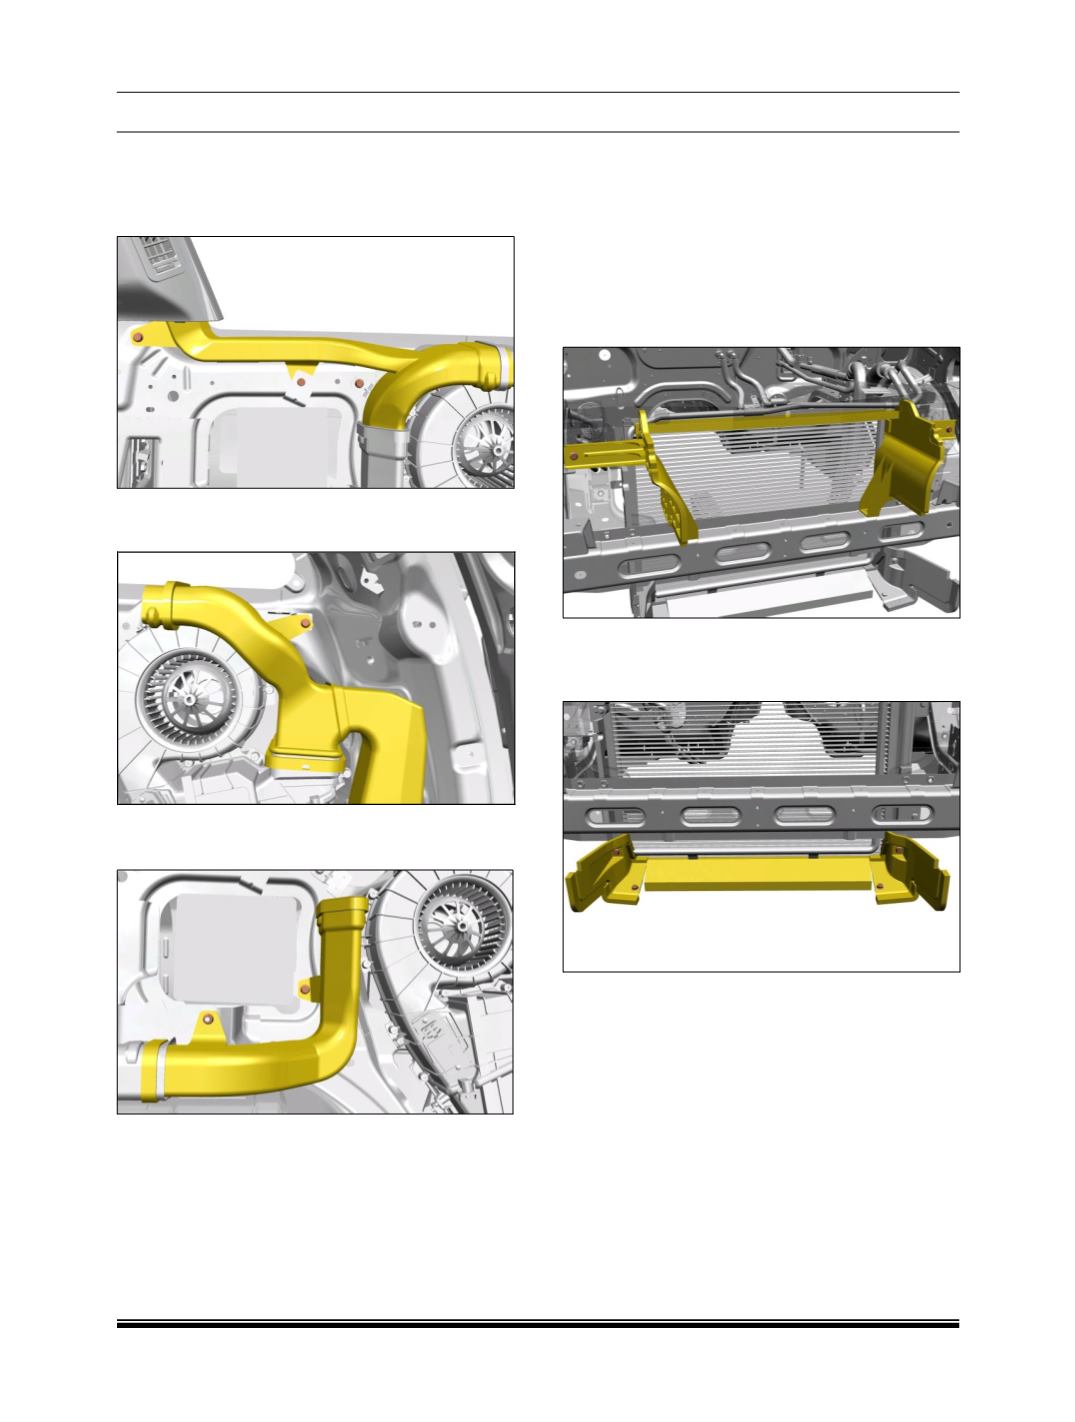
17.Loosen and remove thee mounting bolts and
separate the “C” pillar duct
(RHS)
from “D” pillar
duct
(RHS)
which is connected above the rear
AC.
18.Loosen and remove the mounting bolt and re-
move the “D” pillar duct
(RHS)
.
19.Loosen and remove mounting bolt and nut. Take
out the “C” pillar duct
(RHS)
rear panel.
20.The wheel arch duct
(RHS), Floor duct (RHS) and
“B” pillar duct (RHS) can be removed in the same
manner as that of LHS.
FITMENT
For fitment follow the reverse procedure of removal.
N. CONDENSER SEALING DUCT
REMOVAL
1. Open the bonnet.
2. Remove upper cover.
3. Remove horns from both ends.
4. Loosen and remove mounting screws for both the
sides.
5. Loosen and remove two cross pan head screws
and take out the sealing duct assembly from the
vehicle.
FITMENT
For fitment follow the reverse procedure of removal.
NOTE
Follow the tightening sequence given below: