


 1412 / 1906

ELECTRICAL
110
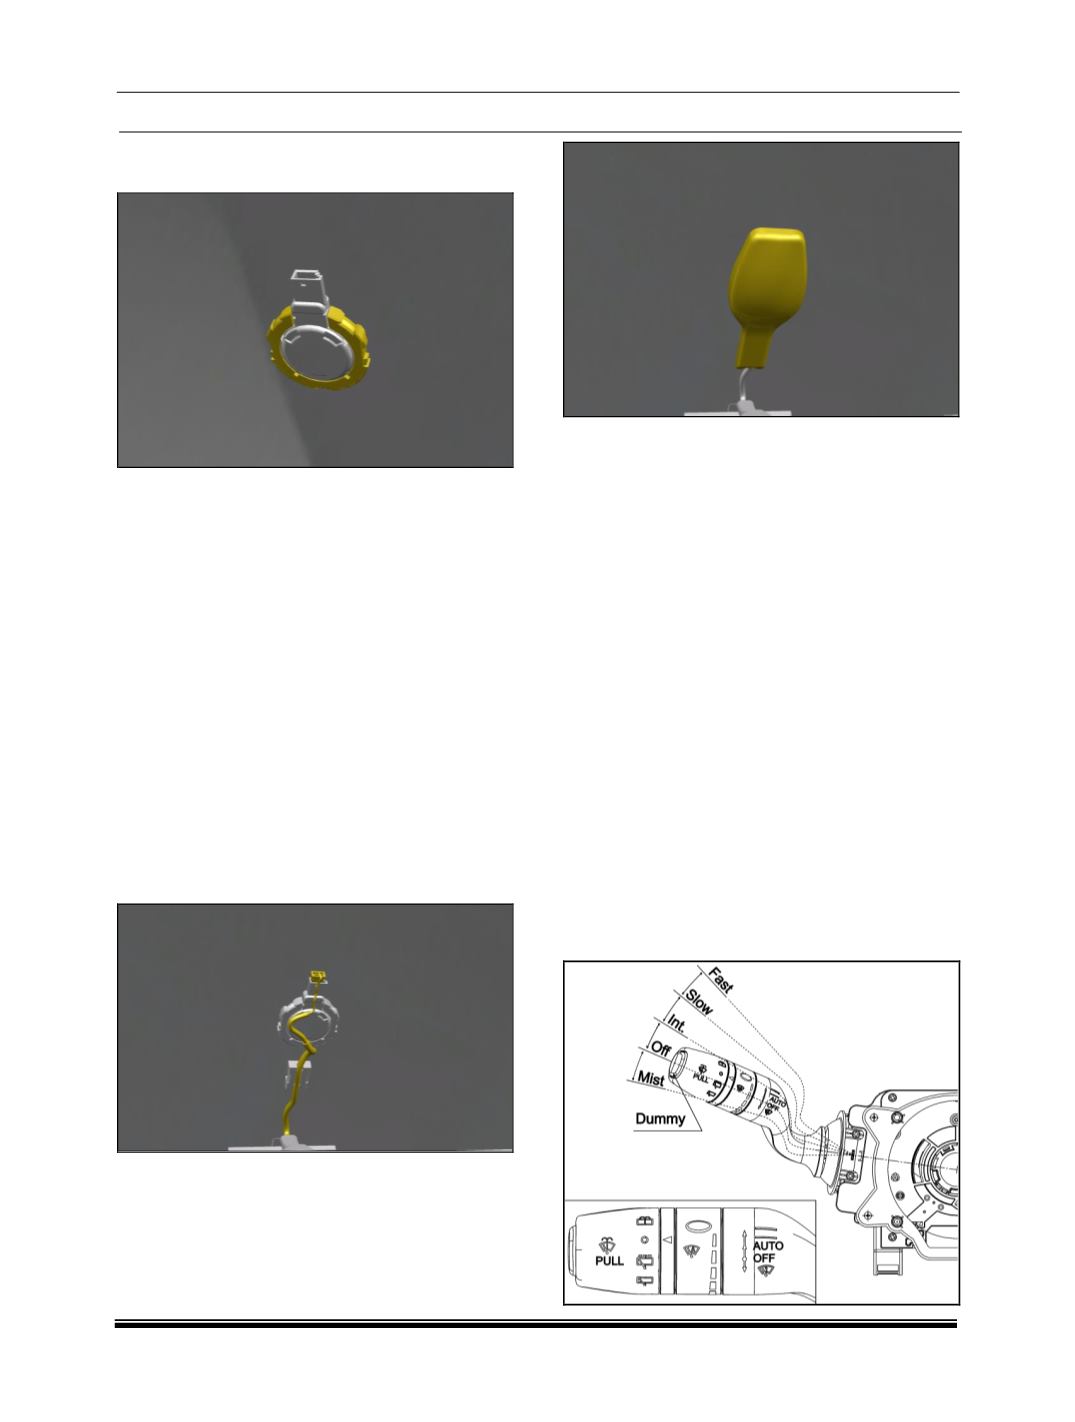
3. Insert the sensor into the ring. Give a gentle
pressure
(Max. 30N)
on the rain light sensor.
NOTE:
To avoid the a dust deposit on the silgel after
removing the transparent protective cap the rain
light sensor must be placed immediately into
the securing ring of the windscreen.
Remove ring protection cover from windscreen.
The contact surface between rain light sensor &
windscreen must be free from pollution as well
as dust & dirt.
To avoid the air bubbles as much as possible
between the silgel & windscreen, the sensor
should be placed into the securing ring so that
the silgel can only touch at one points of its
outside diameter to the windscreen. Therefore
choose the opposing side of the connector
socket.
4. Place a rain light sensor fixation clip.
5. Connect the Wiring harness connector.
6. Fit the rain light sensor cover on windscreen.
NOTE:
If only windshield is damaged during accident &
rain light sensor is OK then after removing the RLS
from front windscreen replace the SILGEL and use
the existing rain light sensor on new windshield
(separate part number).
Follow proper instructions to replace silgel.
FUNCTIONAL DETAILS:
1. AUTO RAIN FUNCTION:
Rain sensor recognizes hitting raindrops on the
windshield and releases the wiping processes
of the windshield wiper according to number of
the raindrops
.
Auto rain function get activated if the auto wipe
switch (
Part of combination switch
) & ignition is
ON.
P1, P2, P3, P4 & P5 have different sensitivity
level which is selected by driver when auto wipe
function is activated.
P1 is highest sensitivity & P5 is lowest
sensitivity.