


 1374 / 1863

ELECTRICAL
72
5. Remove the lamps.
REFITMENT:
1. Fit the Lamp in the cut out on the Bumper.
2. Tighten the four mounting screws of lamp
assembly. Tightening Torque for screws- 0.45 –
0.65 kgf-m
3. Connect the Electrical connections.
4. Fit the Rear Bumper.
BULB SERVICEABLE PROCEDURE
1. Get access to lamp from bottom of vehicle.
2. Disconnect the Electrical connections of lamp.
3. Remove the Bulb assembly by rotating in
anticlockwise direction.
4. Take out the bulb and replace with new one.
5. Fit the bulb assembly by rotating in clockwise
direction.
6. Connect the electrical connection
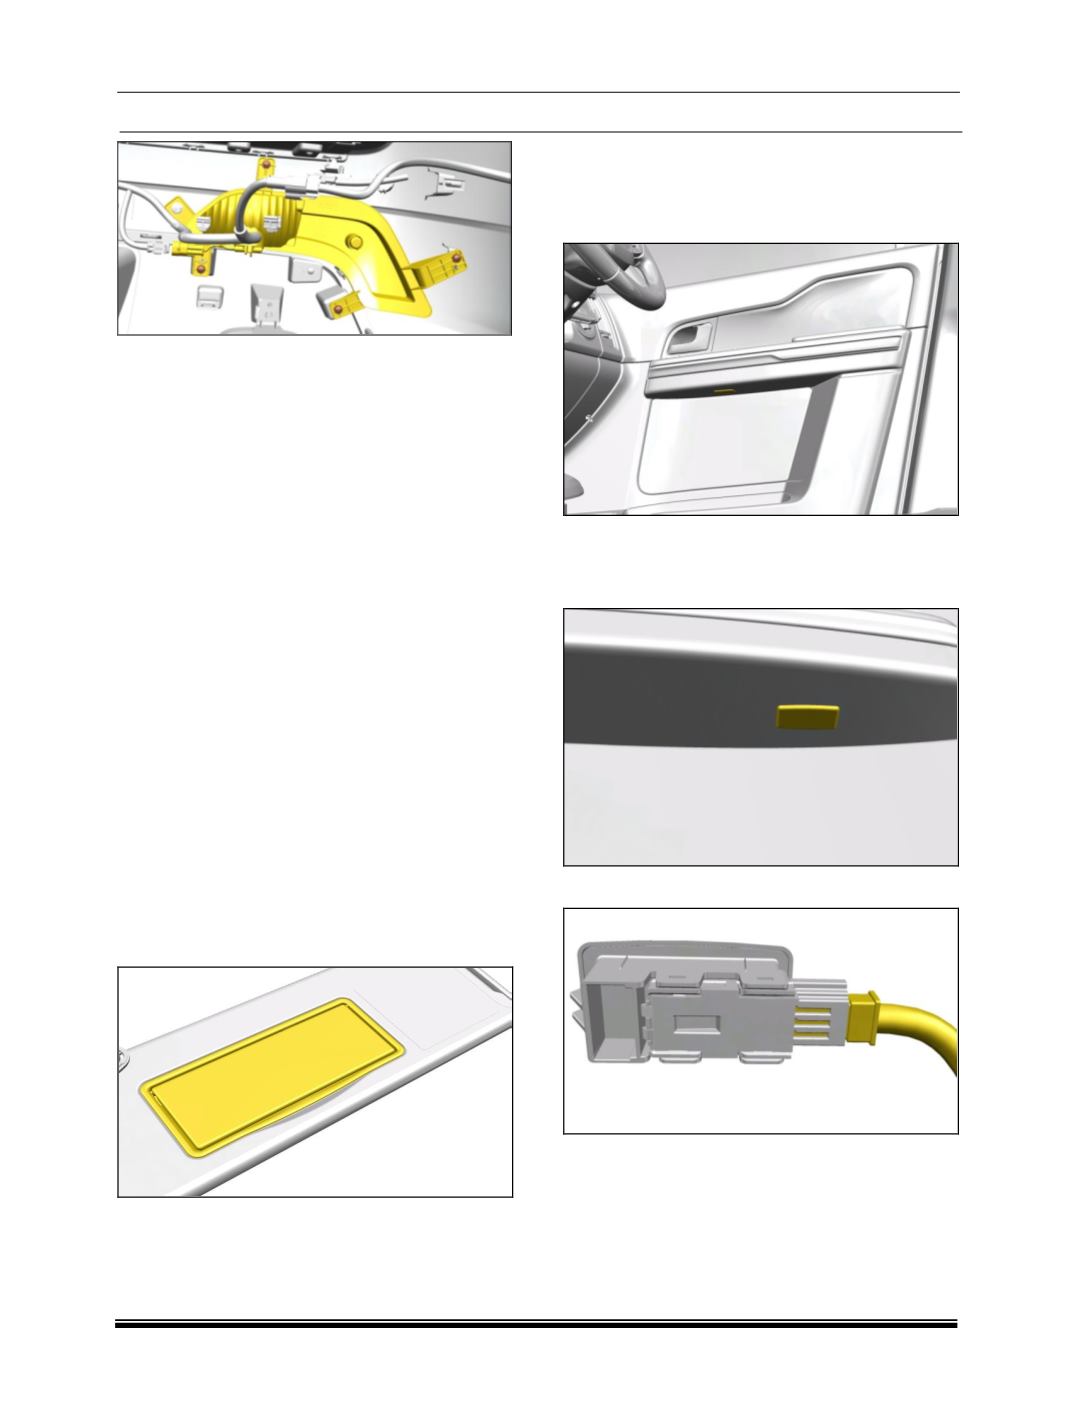
8.4.14 SUNVISOR MIRROR LAMP
Sunvisor mirror lamp is part of on sun visor
assembly. Lamp is not separately serviceable.
REMOVAL
1. Pry out the mirror and lamp assembly.
2. Disconnect the wiring harness.
REFITMENT
Follow the procedure of removal in reverse.
8.4.15 MOOD LAMP
The mood lighting lamp is mounted in Door trim
and Foot well trims at 6 location in vehicle. This
Lamp is LED type.
REMOVAL:
1. Pry out the Lamp assembly from the cutout
provided on Door trim and Foot well trims.
2. Disconnect the electrical connection.
3. Take out the Lamp.
REFITMENT:
1. Connect the electrical connection.
2. Fit the Lamp into the Cutout provided on the
Door Trim and Foot well trim.