


 492 / 1526

17
BRAKES
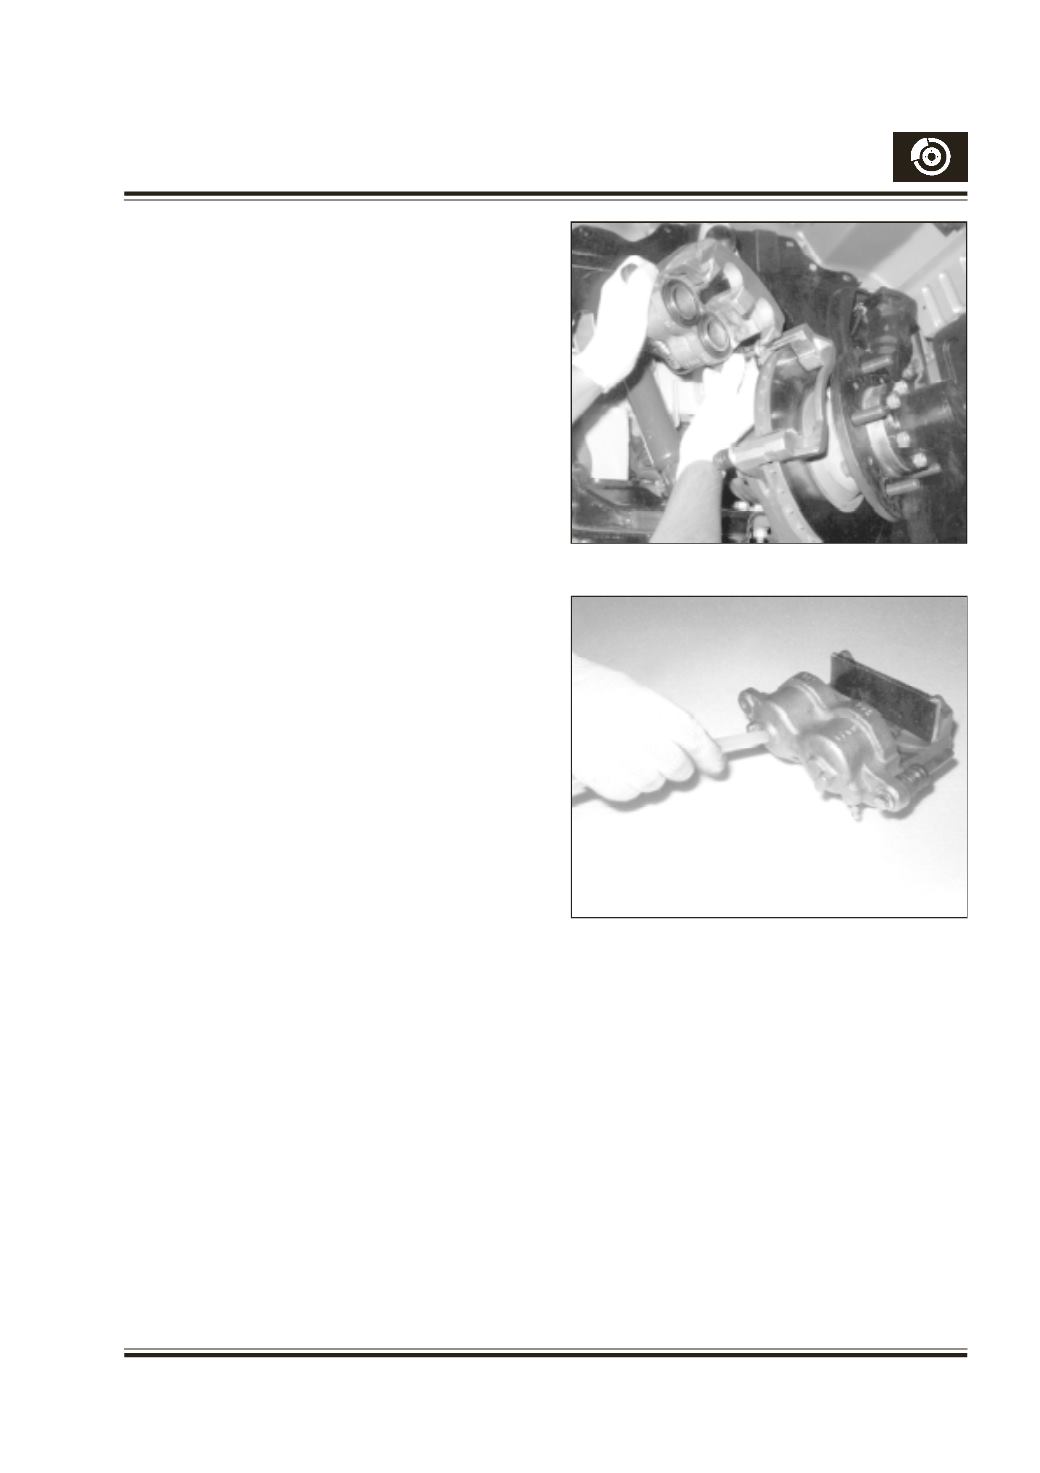
Fig. 10
Fig. 11
DISMANTLING OF CALIPER
Apply parking brake & keep the gear shift lever in
neutral position.
Jack up the front of the vehicle and remove wheels.
Disconnect the hose from the chassis anchoring point
and block the bundy pipe with bleed screw dust cover
to prevent loss of brake fluid. As explained in fitment
of new pads, remove pads by swinging the caliper.
The caliper can be taken out from the carrier by sliding
the caliper body towards inboard of the disc.
(Fig.10)Take out the remaining sliding pin left in the
carrier by releasing the sliding pin boot from the carrier.
Remove hose fromcaliper body by taking out the banjo
bolt.
After cleaning the surfaces with a cloth, remove the
dust boot from caliper body as well as from the piston
by pulling the same with fingers.
Keep a wooden piece in between the plunger and the
caliper body and blow compressed air into the caliper
gradually through the inlet port. Fig. 11 Now you will
observe the piston coming out of the caliper gradually.
Remove sealing ring from the groove in the caliper
housing by using a thin blunt screw driver, taking care
not to damage the bore. Remove the bleed screw from
caliper body.
Note :
1. Take care to avoid puncturing of the dust boot while
removal.
2. Replace punctured boot.
3. Do not apply high compressed air, which will cause
piston to jump out of the cylinder. It should be taken
out gradually withmoderately compressed air about
2 bar.
Caution :
Do not place your fingers in front of piston
when using compressed air. Fig 11.