


 491 / 1526

16
BRAKES
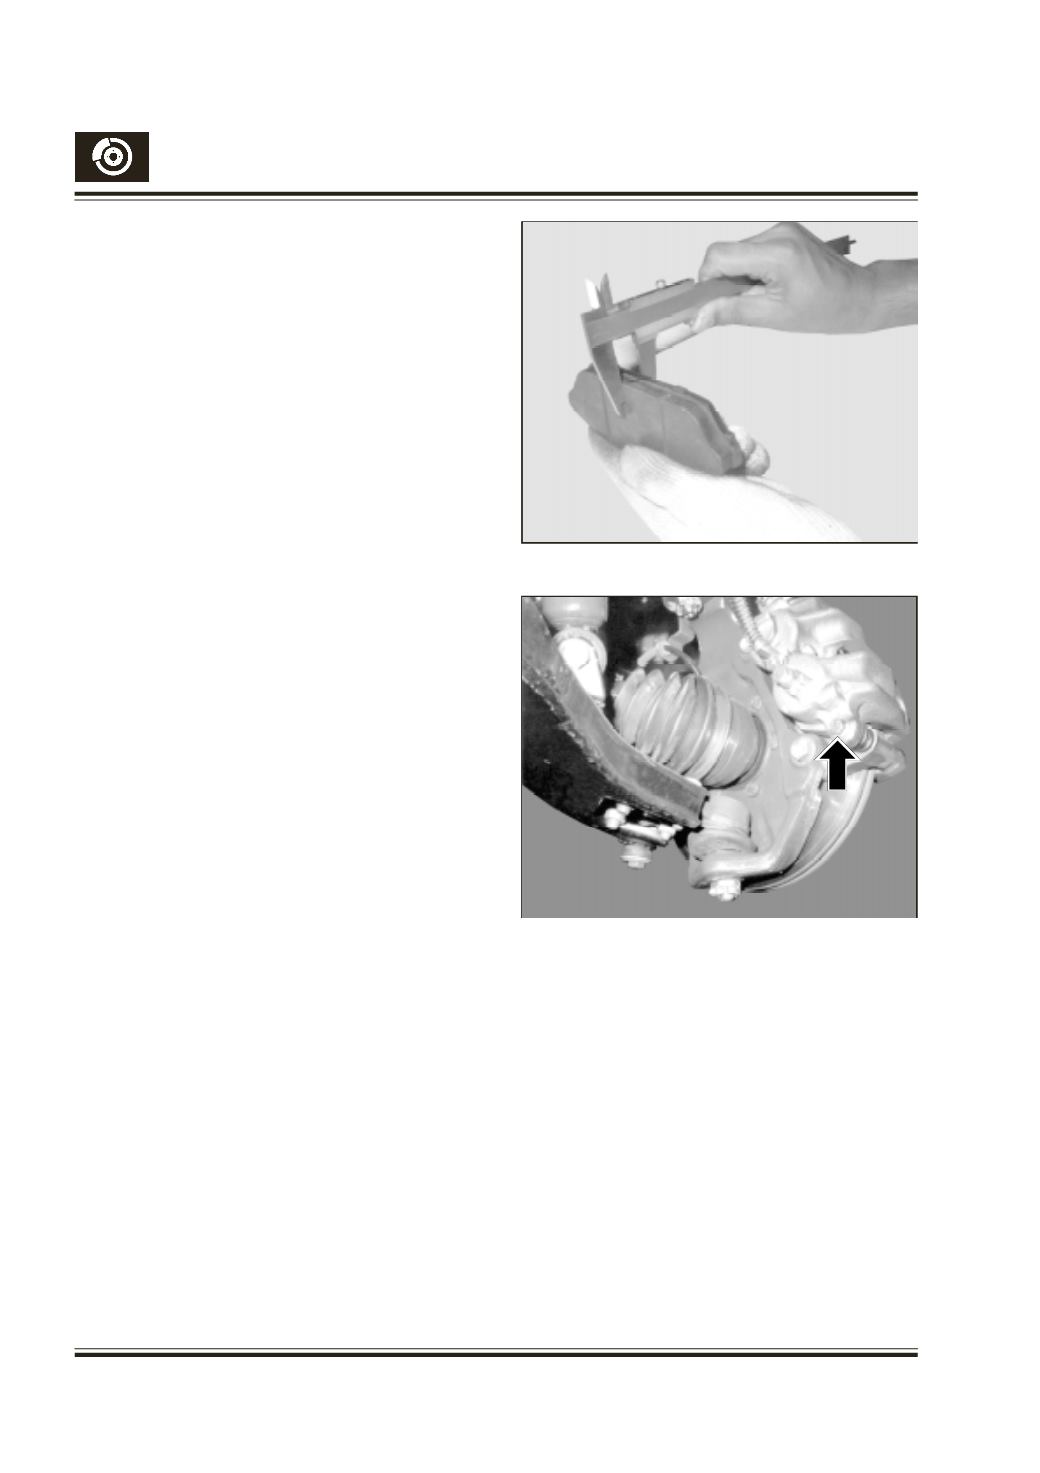
Measure lining and metal pad together with a vernier
and if the thickness is found less than 6 mm anywhere
in the pad, it is time to replace them. Fig. 8
Caution:
When removing the friction pads, mark them to
ensure that the inboard and outboard pads will
be reassembled in their respective places, if the
pads have to be reused.
Do not polish the pads with sand or emery paper
as hard particles of sand or emery paper will
deposit in pad & may damage disc.
Note :
If you find any difficulty in swinging the caliper
up, after removing the sliding pin retaining bolt,
it may be necessary to push the caliper piston,
back along with the pad, using a screw driver,
after loosening the bleed screw. But make sure
to bleed the system if pedal is found spongy after
replacing the pads.
Always use genuine recommended pads for
replacement.
Do not contaminate the pad surface with grease
or oil.
INSPECTION :
Thoroughly clean the disc. If it is scored bad enough,
replacement of new pads alone do not give optimum
performance and service life. Hence follow
instructions as given to recondition the disc.
Check for the condition of the rubber dust boots (7)
of caliper pistons (6) & (4) of sliding pins (3). If
there is no visible deterioration in piston rubber boots
(7) and sliding pin rubber boot (4), new pads can be
fitted.
Check for the condition of the antirattle clips & if
found ok the same clips can be reused after
cleaning.
INSTALLATION OF PADS :
Insert both the pads in between the carrier and disc
such that the friction material faces towards the
disc.
After inserting push both the pads (8) against the
disc with both hands and swing down the caliper (1)
and fit bottom retaining bolt. (2)
Tighten retaining bolt (2) to a torque of 3.00 to 3.5
mkg. by holding the sliding pin. (3) Fig.9
Rotate the disc and make sure it is free to rotate. If
it is not free to rotate, inspect and make sure that
the pads are sitting square with the disc without
any tilt.
Follow same procedure for the other front wheel also.
Fit wheels, jack down the vehicle & release the
parking brake.
Tighten wheel mounting big bolt to specified torque.
CAUTION:
Apply brake pedal couple of times with the engine
started before taking the vehicle for a road test.
Before applying an emergency brake, it is
advisable to apply the brake gently several times
at 50 km (30 miles) per hour to allow the brake
pads to align. Heavy braking or prolonged braking
should be avoided in the initial 100-150 km
(60-90 miles) of run until the new pads are bedded.
Fig. 8
Fig. 9