
BODY
22
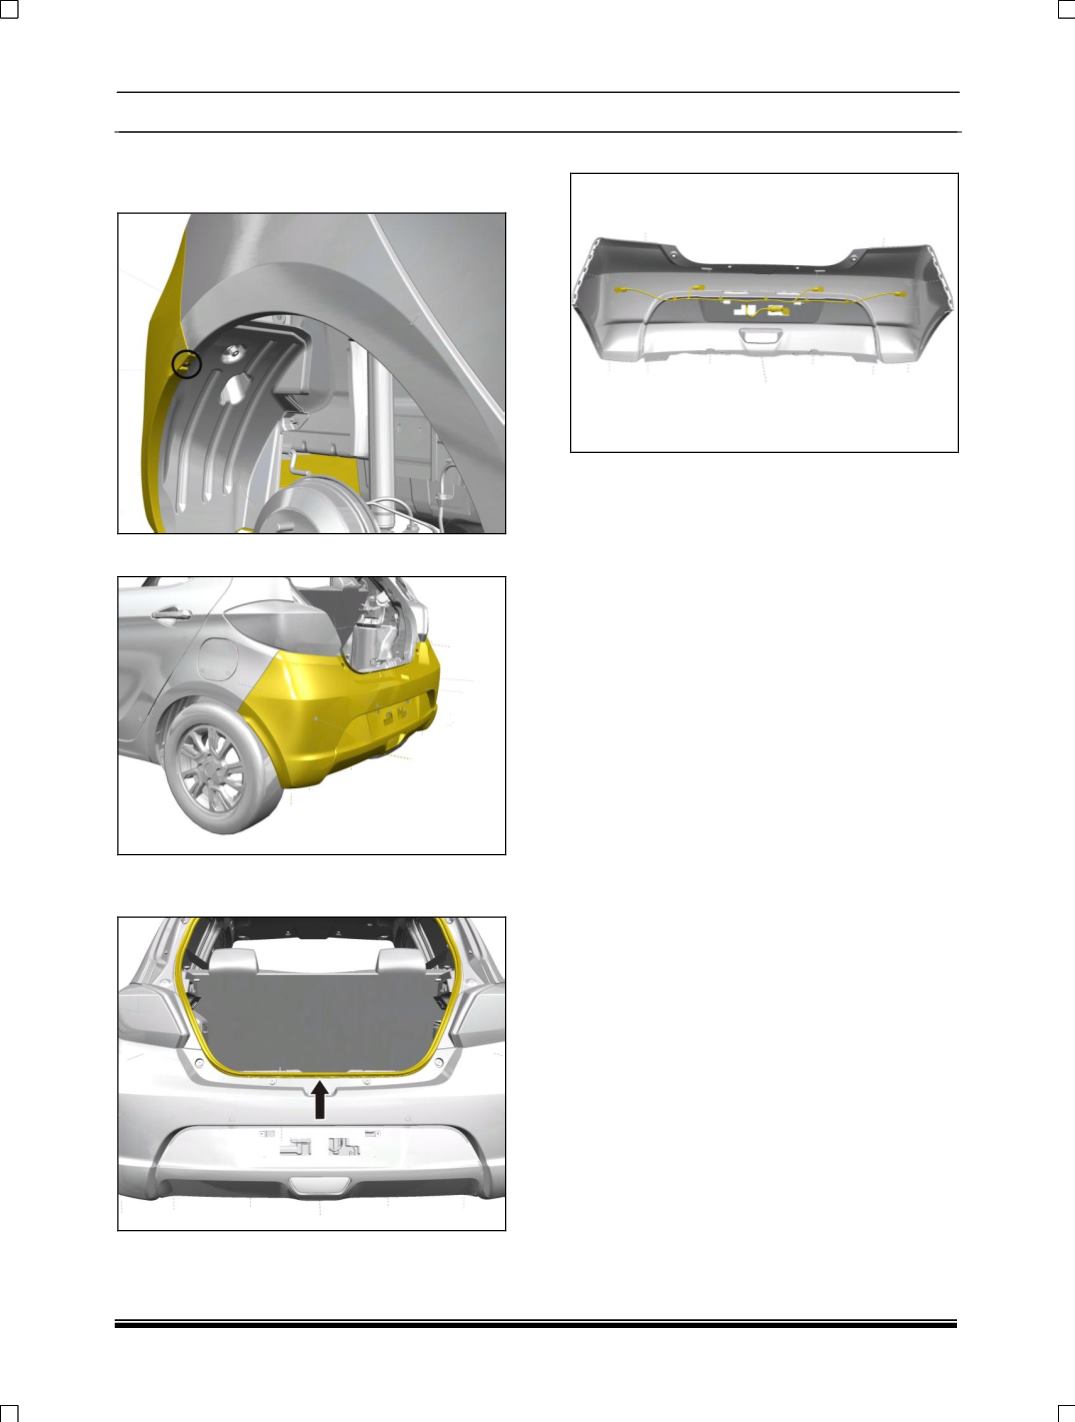
4. Loosen and remove screws which are inside
the wheel arch. Follow the same procedure at
the other end.
5. Pry out the bumper edges from the wheel arch.
6. Take care that the hood seal is removed for
easy removal of bumper.
7. Disconnect the electrical connections.
FITMENT
For fitment follow the reverse procedure of
removal.


