


 16 / 801

HV ELECTRICAL SYSTEM
8
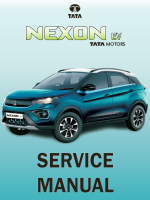
9. Remove any dust on the Charging Gun and
Charging Inlet. Connect the charging gun to
vehicle AC Charging Inlet.
10. Switch on the AC supply.
11. Charging Gun will be locked after switching on
the AC supply. You will hear a “click” sound,
when the gun is connected correctly.
NOTE
When vehicle is in Charging Mode, it will not go in
Drive (D), Sport (S) or Reverse(R).
12. Normally the car starts automatically charging.
If not, please refer ‘Troubleshooting Guide for
Normal Charging’ table.
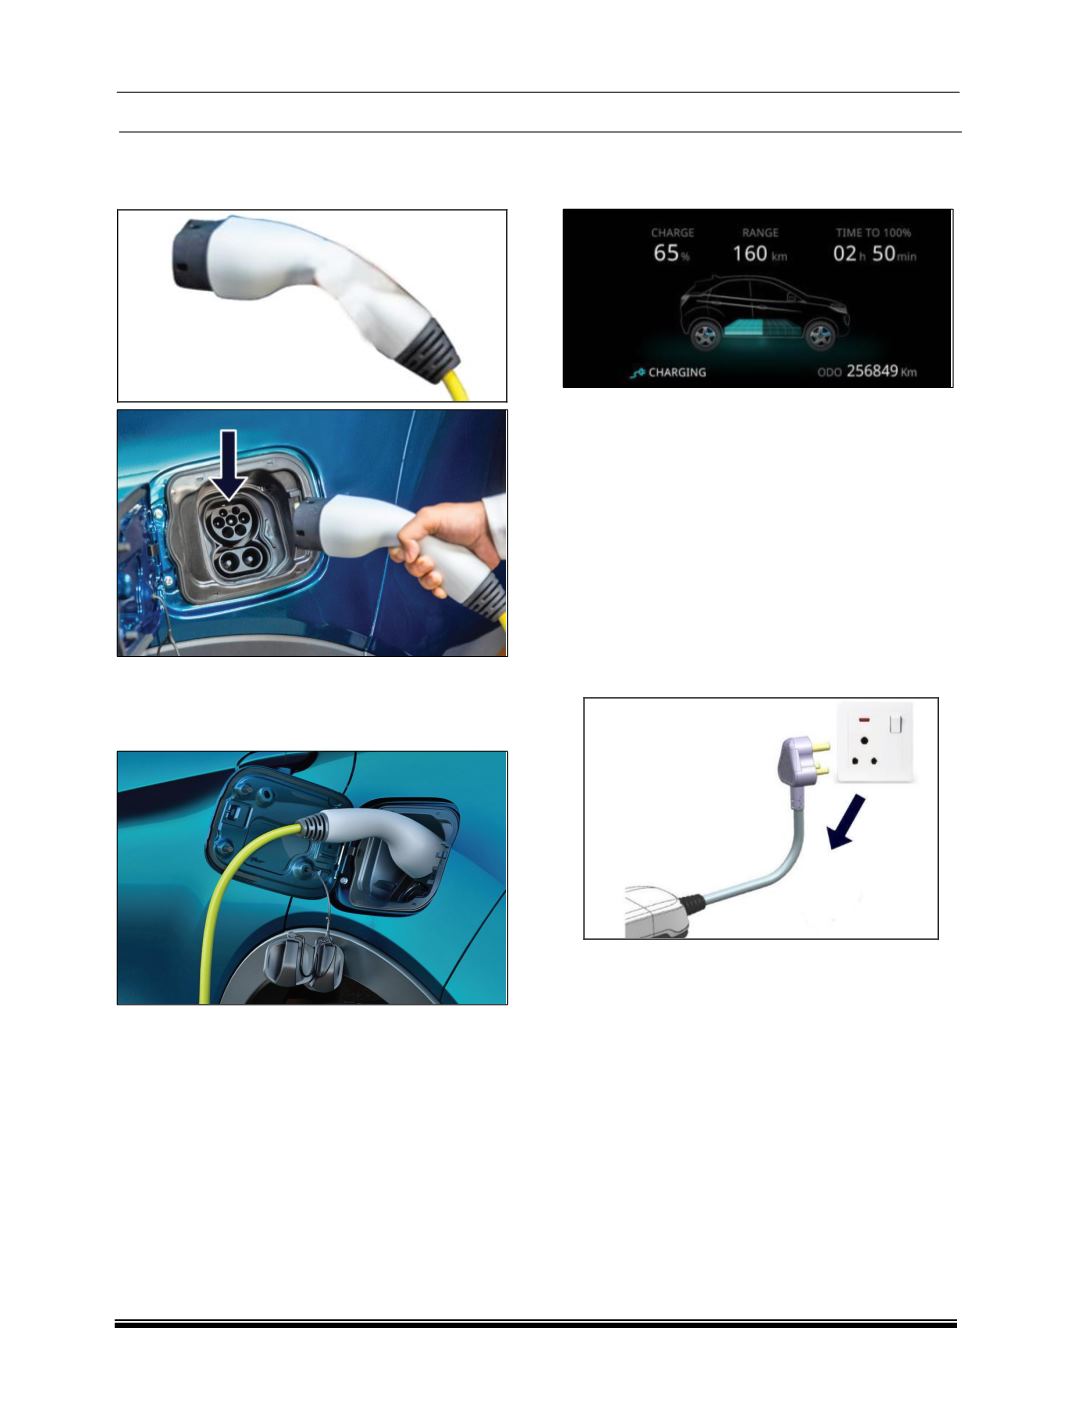
13. Open the driver door and see instrument
cluster to know SoC, time to charge and gun
connection status.
14. In case the park brake is not engaged or
partially engaged the charging won’t start and
‘Engage Park Brake to start charging’
message will be displayed on instrument
cluster.
NOTE
Infotainment and cabin cooling can be used during
charging of the vehicle by putting the vehicle in
Ignition.
15. To stop the charging, switch off the AC power
supply.
16. The charging gun will be unlocked after
switching off the AC supply.
17. Pull out the plug.
18. Put on the protective caps on both Charging
Gun and Vehicle Inlet.
NOTE
•
Once Normal/Fast charging is completed, 90
seconds of time gap is required before the
vehicle can be started.
•
After turning off the vehicle, wait for four
seconds if you want to start the vehicle again.
•
In emergency charging shutdown conditions,
Gun won’t be unlocked. Contact authorised
TATA Service Centre.
•
In unforeseeable circumstances if the charging
gun is stuck to the socket after charging is
done, user has to contact the service
personnel. No mechanical override to remove
the charging gun is available for user.