


 968 / 1906

REAR SUSPENSION
12
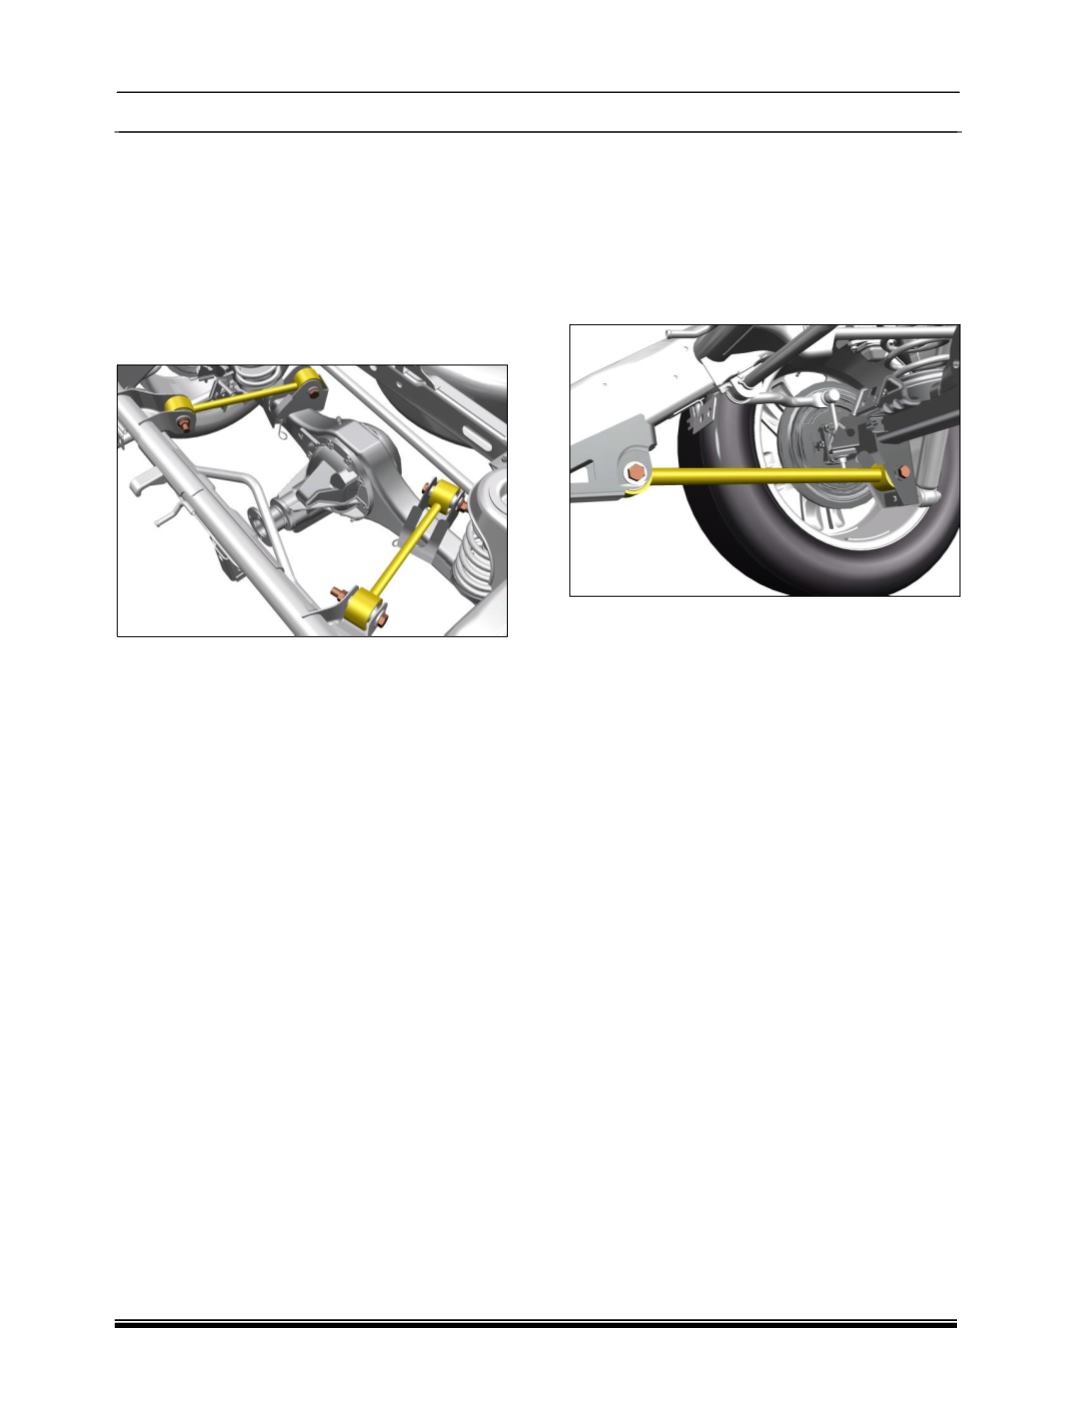
III. UPPER LINK REMOVAL
1. Place chokes at the front wheels to prevent the
vehicle from any movement.
2. Jack up the chassis frame at the rear of
vehicle on both sides
(RH & LH)
such that
there is no load on the top link mounting bolts.
3. Loosen & remove the nuts of top link
mounting. Follow the same procedure at other
end also.
4. Tap out & remove the bolts and take out the
Top links.
INSPECTION
1. Check the condition of rubber bushes. If
required replace the bushes with new one.
NOTE
For replacement of bushes refer the procedure of
bush removal and fitment in overhauling section.
2. Check the condition of upper link for any bend
and damage. If required replace the same with
new one.
REFITMENT
For refitment follow the reverse procedure of
removal. Apply the specified torque as per the
procedure given in
“Rear suspension links
tightening procedure”
.
IV. LOWER LINK REMOVAL
1. Position the vehicle in a 2- poster lift and raise
it.
2. Loosen and remove the mounting bolts of
lower link assembly and separate the link from
the vehicle, follow the same procedure at the
other end also.
INSPECTION
1. Check the condition of rubber bushes. If
required replace the bushes with new one.
NOTE
For replacement of bushes refer the procedure of
bush removal and fitment in overhauling section.
2. Check the condition of lower link for any bend
and damage. If required replace the same with
new one.
REFITMENT
1. Position the lower link and push the mounting
bolts through the lower link bushes.
2. Tighten the mounting bolts of lower link. Do not
tighten them to the specified torque. Just
tighten them.
3. Apply the specified torque as per the
procedure given in
“Rear suspension links
tightening procedure”
.