


 802 / 1526

21
AIRCONDITIONING
Removal and Fitment of A.C. Components
1.
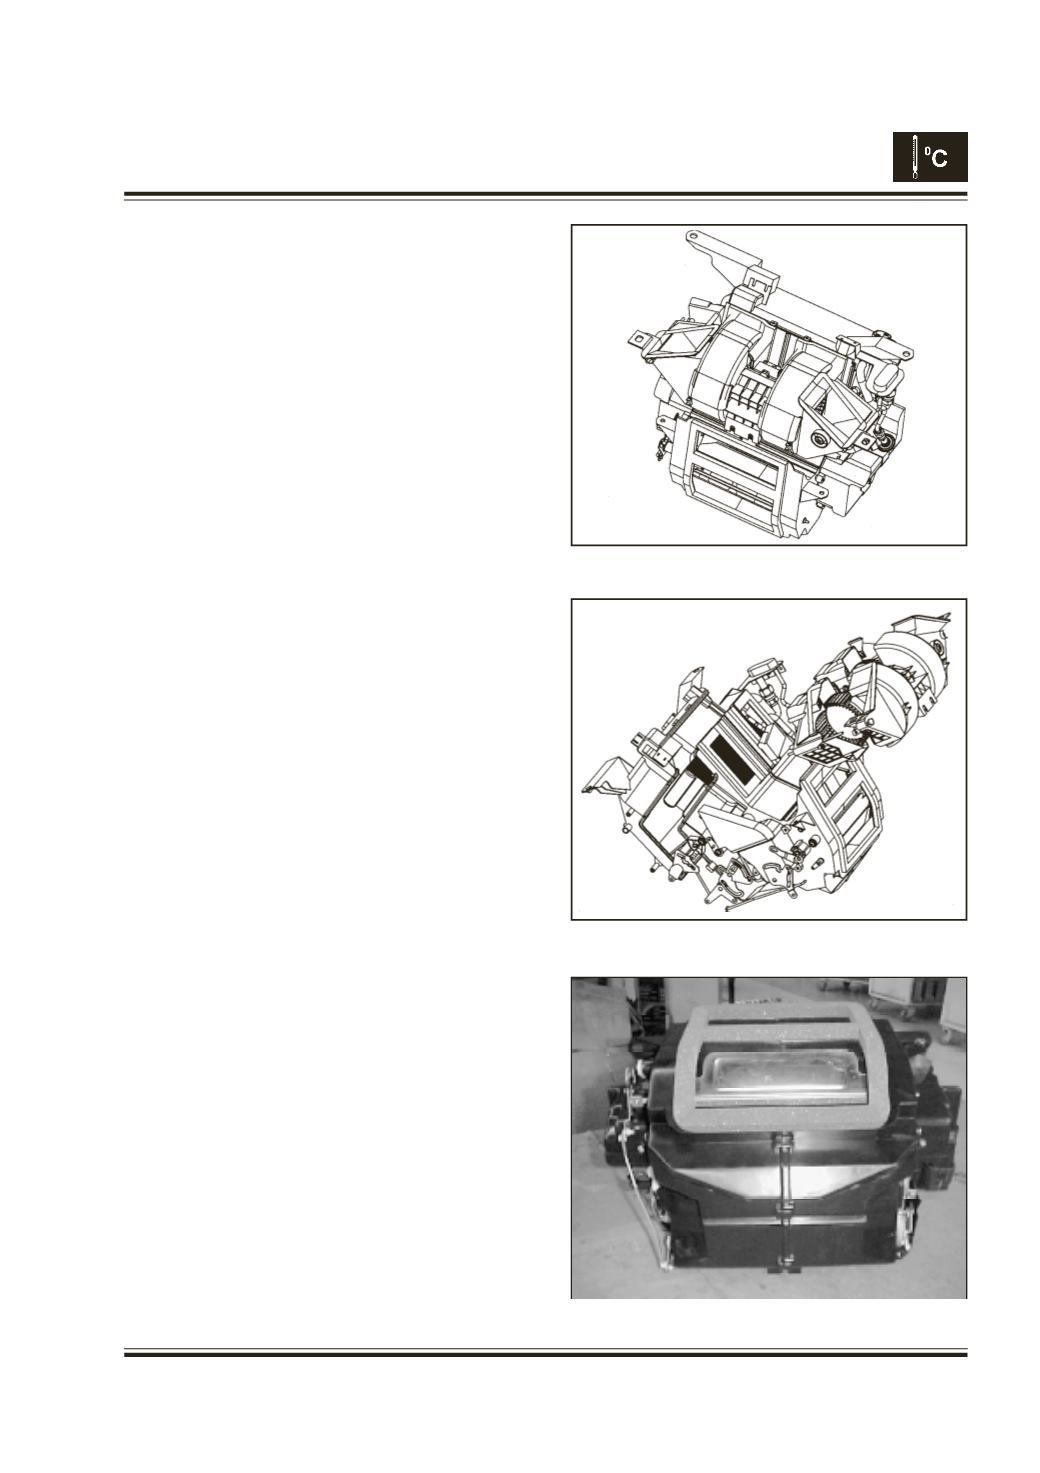
HVAC Assembly
REMOVAL:
To replace the HVAC unit in cabin compartment
following sequence to be followed. Fig. 24 - 26.
Note:
For removal of dashboard refer body group.
1. Discharge the refrigerant with proper equipment.
2. Disconnect the inlet & outlet pipes in the engine
compartment from drauma of cooling coil. Put
proper plug on the drauma and pipes opening.
3. Remove the hoses at the heater inlet and outlet
end, in the engine compartment.
4. Put proper plug at the heater inlet and outlet
ends to avoid any leakages of coolant.
5. Disconnect the electrical connection for blower
motor, blower resistor, control panel etc. and
remove all the connectors of wiring harness from
the HVAC unit.
6. Remove heater & face mode control cable.
7. Remove the fasteners from the mounting points
of HVAC unit and remove the unit from the
vehicle. Also remove the drain hoses.
FITMENT
1. Replace HVAC unit with new one and assemble
it with blower assembly with proper fasteners.
2. Fit the HVAC with drain hoses at the positions
on the firewall and tighten the fasteners at
specified positions.
3. Check and ensure that all connectors of the
vehicle wiring harness are fitted with HVAC unit.
4. Fit the control cable for face mode and heater
control with the HVAC unit and control panel.
Check for the proper functioning of heater and
foot-face mode controls.
5. Connect the refrigerant pipes to the daruma on
the firewall. Make sure that O-rings are intact
and properly seated in their grooves. Apply few
drops of ND8 compressor Oil on O-rings before
fitment.
6. Remove the plugs from the heater inlet and outlet
ends.
7. Connect the hoses to the heater inlet and outlet
ends.
8. Check the systems for leakages and charge the
systems with charge quantity of 980±20 gms.
Fig. 24
Fig. 25
Fig. 26