


 1127 / 1526

12
FUELSYSTEM2.2LDICOR
Procedure for sedimenter Installation:
Place the water sedimenter in the bracket with
both protecting caps still in place.
Avoid any spillage on the water sedimenter while
hydraulic connectors are not fitted.
Tighten the sedimenter on the bracket in the re-
quired position.
Identify inlet and outlet ports of the sedimenter
with the help of printed arrows given on the top
face of the sedimeter.
Remove the protecting cap and clip the inlet hy-
draulic connector. Do not force or bend the pipe.
Remove the protecting cap and clip the outlet hy
draulic connector. Do not force or bend the pipe.
Screw the water sensor to the required torque
Clip the electric connector to the water sensor.
Check that there is no leakage after assembly.
After starting the engine, check to make certain
that the sedimenter warning light is off.
Using hand primer refill the fuel lines before
starting the vehicle.
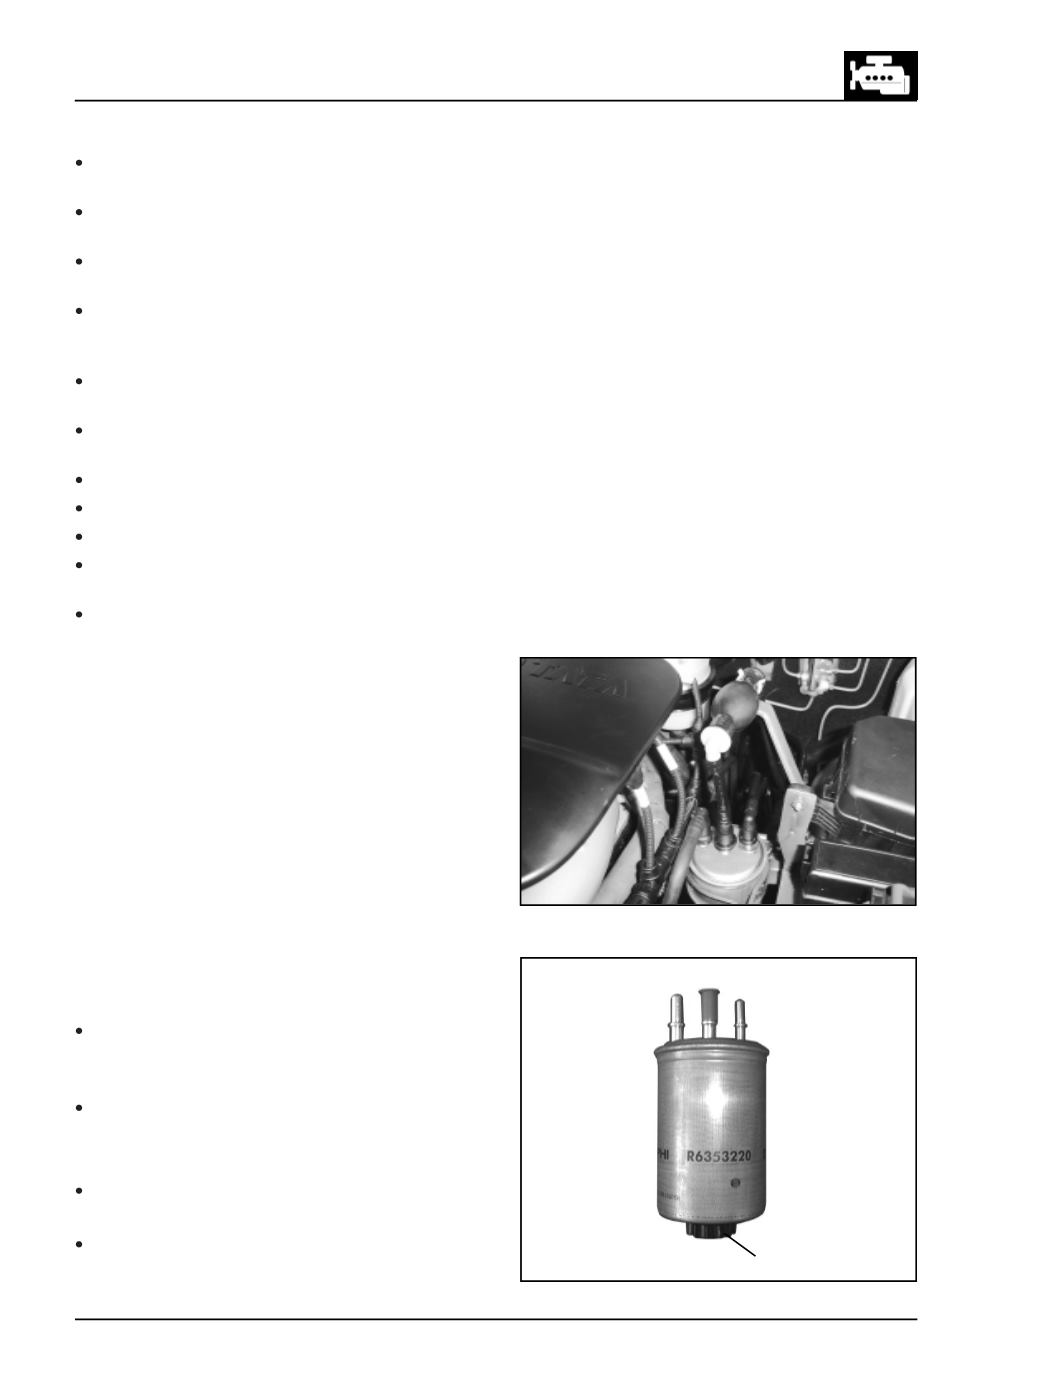
FUEL FILTER : This is located inside the engine
compartment
(Fig. 10 & 10A)
Function / features
1. Particles filtration: to separate and store particles
from the fuel and allow clean fuel into the CR
System, sinceCRSystem is very sensitive to foreign
particles in supply fuel. (Fig. 6)
2. Water separation: to separate and store water
naturally found in the fuel.
3. Air management: tomanage the air naturally found
in the fuel such that the CR system can handle it
(due to a patented Bubble breaker tube).
4. Fuel de-waxing by hot fuel recirculation.
Note
The water sedimenter and fuel filter must be
drained when dashboard indication appears. It is
recommended to drain at every service interval.
Ports of the fuel filter and sedimenter to be
plugged with caps once the pipes are removed.
Removal of Fuel Filter
: -
Clean the filter and surrounding area using a clean
brush.
Disconnect the fuel pump to filter return line from
the filter and plug the pipe with the appropriate
plug.
Fig. 10A
Water drain plug
Fig. 10