
BRAKES
26
CAUTION NOTE:
Use only DOT4 brake fluids confirming to SAE
J1704 from a sealed container. Ensure brake
fluid is not contaminated.
Entire Bleeding operation should be carried out
with the Engine ON (running) condition only.
As the hydraulic lines of brake system are of
DIAGONAL SPLIT, always perform bleeding
operation starting with the caliper farthest from
master cylinder and then at the rear brake
assembly of the same brake circuit. Repeat the
same on the other brake circuit also.
Brake fluid may cause damage to paint. So make
sure that brake fluid should not touch the painted
surface, If it accidentally touches the painted
surface, wipe immediately and clean the surface.
BLEEDING PROCEDURE
Carefully clean all dirt from around the reservoir
filler cap. Remove the filler cap; fill the reservoir
with fresh brake fluid to the Maximum marking
indicated on the reservoir. Before commencing
bleeding, at each bleed screw, remove the dust
cap and clean thoroughly.
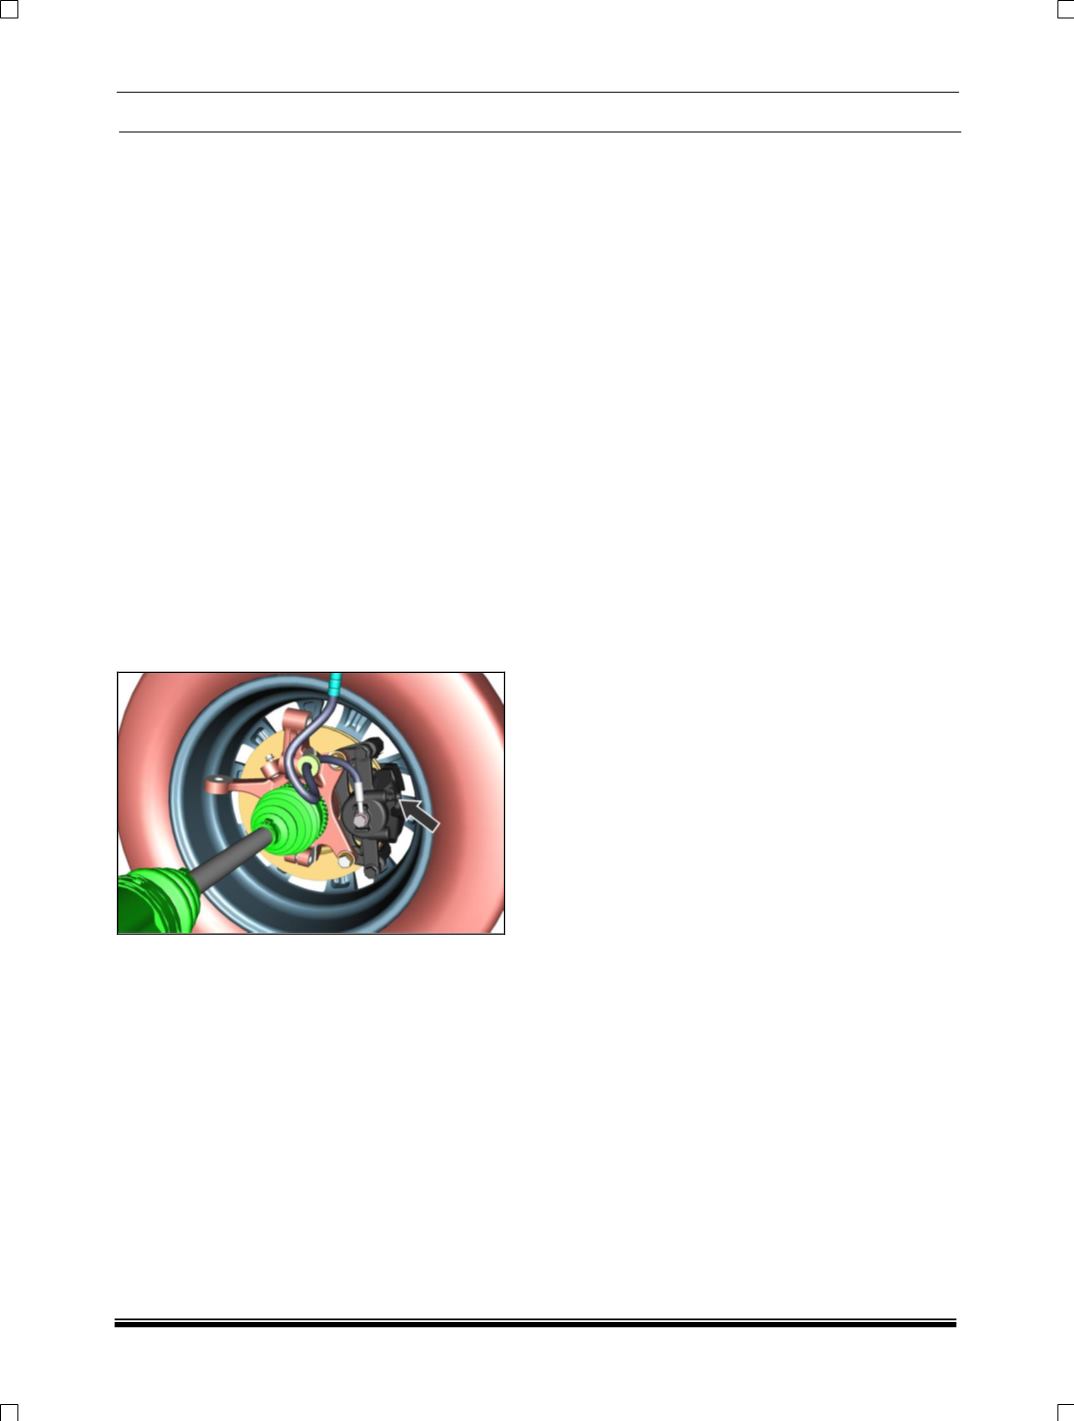
The sequence for bleeding the system is as
shown. Attach transparent (vinyl) bleed tube to
the bleeder screw top of the Left caliper and insert
the other end into a clean glass container
containing recommended brake fluid to submerge
the end of the tube as show in fig.
Start the Engine since the entire bleeding
operation has to be carried out with engine at
running condition only. Depress brake pedal
slowly throughout the full stroke of the pedal and
then holding it depressed, loosen bleeder plug
about one-third to one-half turn. This is sufficient
enough to allow the brake fluid to flow freely.
NOTE:
It is always better to close the bleed screw at the
end of each downward pedal stroke to ensure full
recuperation of brake fluid in the system.
There should be an interval of 3 to 4 seconds
before making the next stroke. This action should
be repeated until bubbles of air cease to appear
at the end of the bleed tube.
Close the bleed screw immediately after the last
downward stroke of the pedal. Whilst the pedal is
thus held, securely tighten the bleed screw to
recommended tightening torque and remove the
tube. Replace the dust cap on the bleed screw.
Ensure that the fluid level in the master cylinder
reservoir does not fall low enough to cause air to
be drawn into the system, throughout the bleeding
operation. Repeat the same procedure on the rear
right wheel cylinder, followed by right caliper
followed by the rear left wheel cylinder. If the
bleeding of any cylinder continues without
success for a considerable time, it may be that air
is being drawn in past the bleed screw threads.
In such instances, the bleed screw should be
closed at the end of each downward stroke of the
pedal, allowing the pedal to return fully to its stop
before re-opening. Tighten the bleed screw finally
after the last downward stroke of the pedal.
Replace the dust cap on the bleed screw.
After completion of bleeding, apply the brake
pedal hard and check for any leak at the joints
and bleed screws. Also check the brake pedal for
“sponginess”, If found spongy repeat the complete
procedure of bleeding.
BRAKE FLUID LEVEL INSPECTION:
After completion of brake bleeding check the
brake fluid level in the reservoir. The fluid level
should be between MIN and MAX level indicated
on the brake master cylinder reservoir. If the
warning light lights during Engine ON condition
replenish fluid to MAX line. Never use container
which has been used for mineral oil or which is
wet. Always keep all brake fluid container capped
to prevent contamination.
SERVICING OF MASTER CYLINDER
Note - Servicing of the fixed seal master cylinder
internal parts are not recommended and if a major
fault is apparent, a new complete guaranteed unit
should be fitted.


