


 584 / 1003

SUSPENSION
25
9. ON VEHICLE PROCEDURE
9.1. REMOVAL OF FRONT STRUT ASSEMBLY
1. Remove wheel rim cover (if fitted).
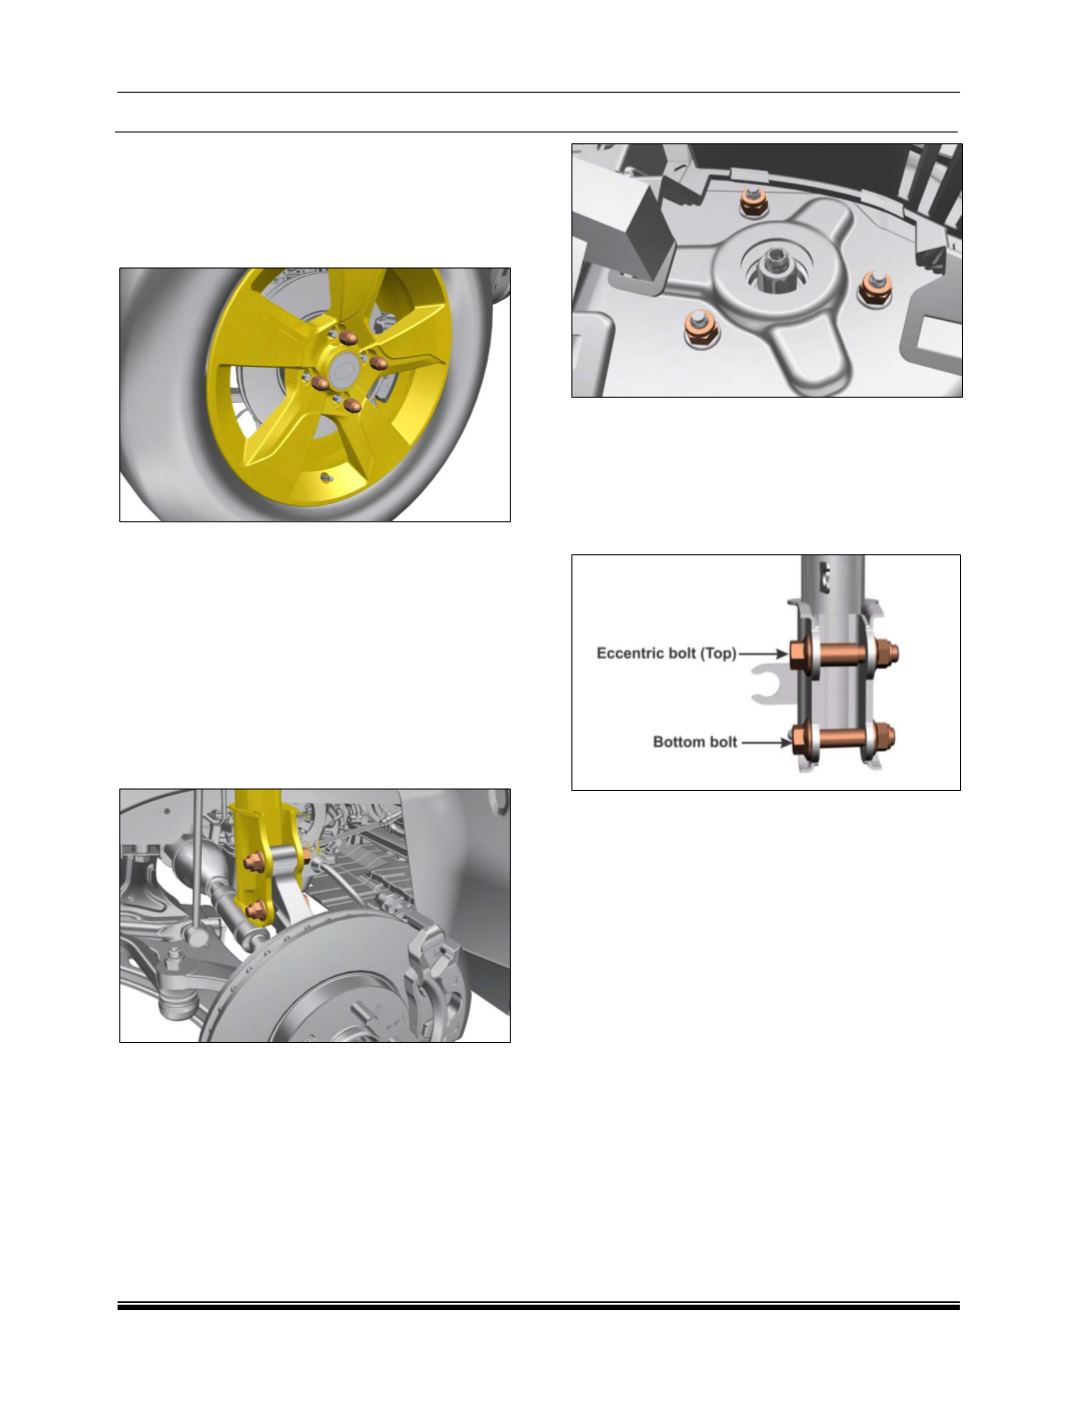
2. Loosen wheel nuts
3. Lift the vehicle using two-post lift allowing the
front suspension to hang freely.
4. Unscrew wheel-mounting bolts and remove the
wheel.
5. Remove ABS wheel speed sensor harness
mounting bolt (if equipped).
6. Remove the Stab link and the brake hose
mounting from the strut.
7. Unscrew the strut holding bolts (Camber bolt)
from the Knuckle.
8. Remove the Leaf screen Cover.
9. Loosen & Remove strut top mounting Nuts.( 3
Nos)
10.Remove strut assembly from bottom.
INSTALLATION:
1. Carry out the above step in reverse order for its
assembly.
2. Fit bolts and nuts.
NOTE:
First, tighten top eccentric bolt and then the
bottom
-mounting
bolt.
1. Tighten all bolts and nuts to specified torque
mention in Torque table.
2. Apply ADH thread locker wicking grade
ANABOND 124 at nut end and bolt thread.
Ensure that the threads are free from oil/grease.
CAUTION:
1. Ensure that brake hose does not damage during
installation.
2. Strut having the same color code mark on the
spring should be assembled on the left hand and
right hand side.