


 864 / 1034

BODY
20
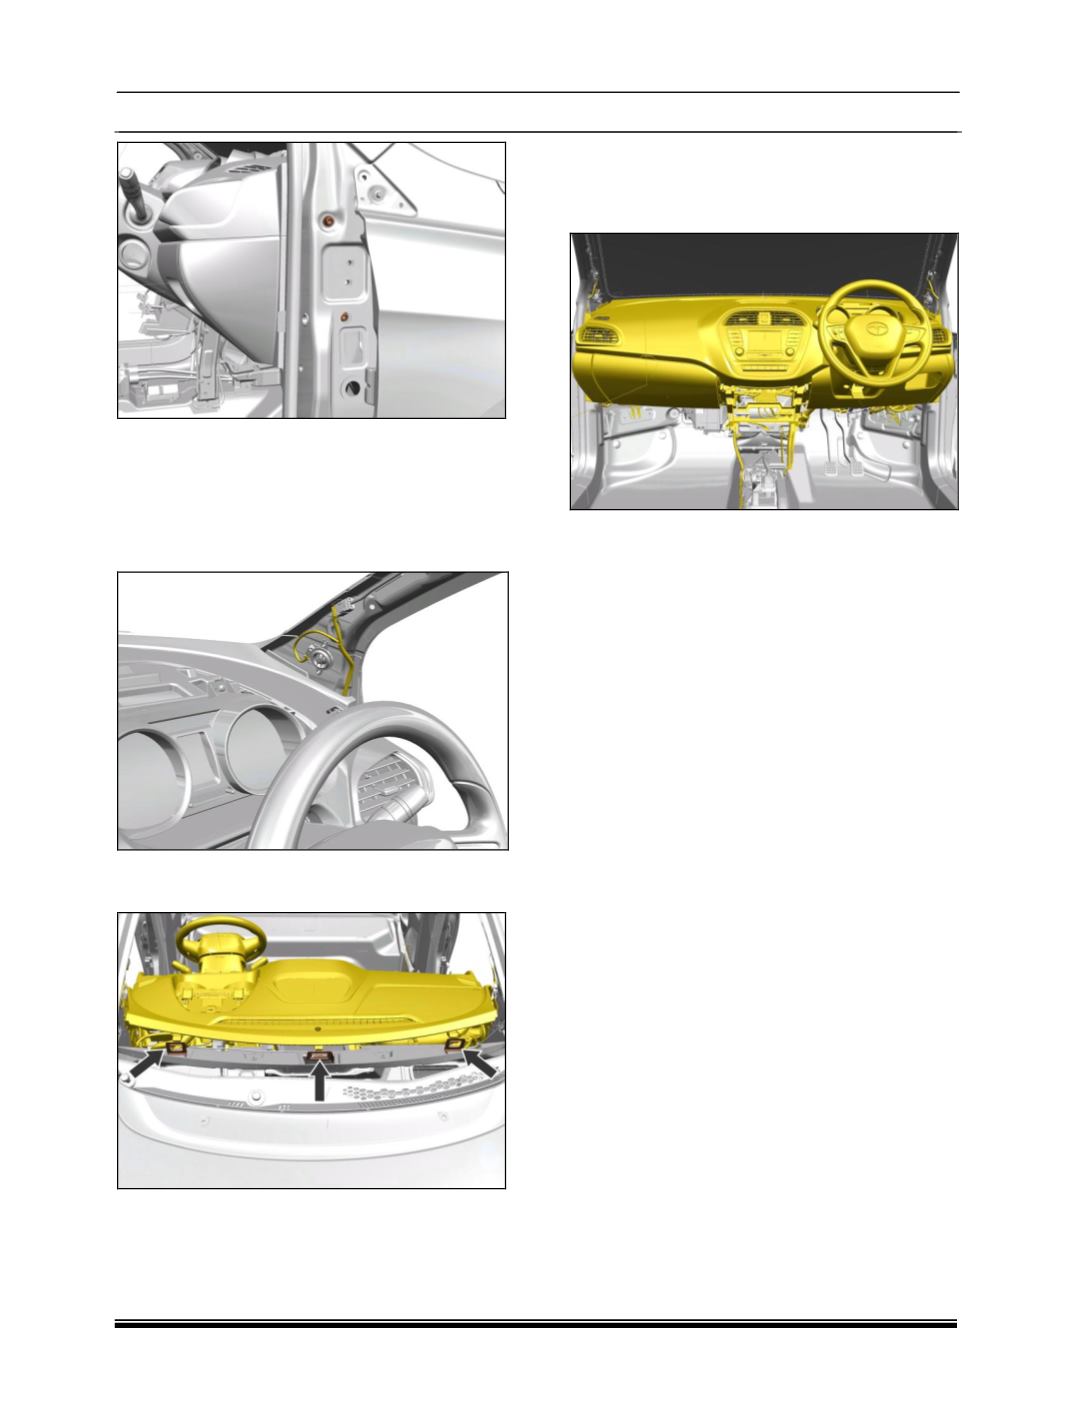
18.Remove A pillar Upper trim on both sides.
(For
procedure refer A pillar removal process).
19.Disconnect the tweeter electrical connection at
both sides and antenna connection at the LH
side and roof lamp connection at the RH side.
(RH side illustrated).
20.Disengage the assembly from 3 locators
located on BIW plenum panel brackets.
21.Remove the dashboard along with other
aggregate as shown, while removing
Dashboard carefully disengage HVAC system
electrical connection.
ON BENCH COCKPIT DISMANTLING
22.Remove steering wheel with Driver air bag
(If
applicable) (For procedure follow the steps as
mentioned in dash board skin removal).
23.Pull out Driver lower panel.
(For procedure
follow the steps as mentioned in dash board
skin removal).
24.Remove nacelle Assembly
. (For procedure
follow the steps as mentioned in dash board
skin removal).
25.Remove the steering column
. (For procedure
follow the steps as mentioned in Steering
section).
26.Remove combination switch assembly and
ignition switch assembly
(For procedure follow
the steps as mentioned in dash board skin
removal).
27.Remove instrument cluster.
(For procedure
follow the steps as mentioned in dash board
skin removal).
28.Pry out gap hider fitted on the dashboard sub
assembly.
(For procedure follow the steps as
mentioned in dash board skin removal).
29.Pry out center facia and air vent assembly
along with Hazard switch and Fascia switch.
(For procedure follow the steps as mentioned
in dash board skin removal).
30.Remove music system
(If applicable(For
procedure follow the steps as mentioned in
dash board skin removal).
31.Remove the glove box.
(For procedure follow
the steps as mentioned in dash board skin
removal).