


 1431 / 1906

ELECTRICAL
129
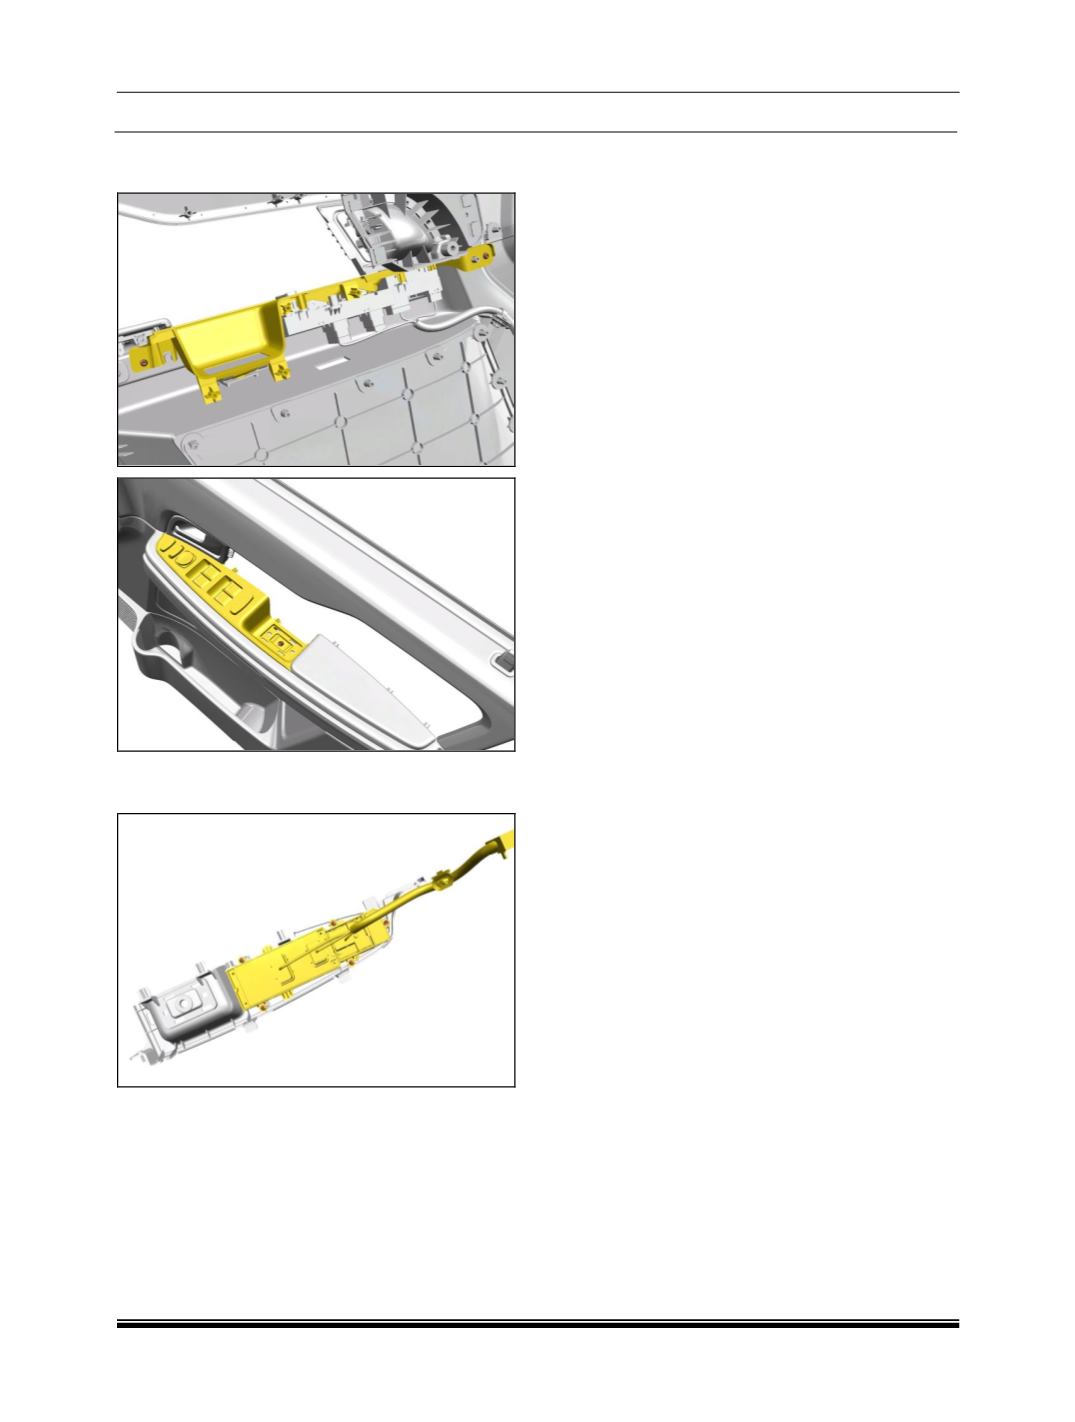
3. Remove window winding switch Trim with
switch by removing the shown 3 torex screws.
4. Separate out the window winding switch from
trim by removing its 5 mounting screws.
5. Take out switch.
INSPECTION:
Window Winding switches:
1. Check the basic function (
Manual operation
function)
.
Turn the ignition switch ON.
Check that the door glass move up when the
power window switch from driver door switch is
pulled UP and moves down when the switch is
pushed DOWN.
Check that the door glass moves up when the
individual power window switch of each door is
pulled UP, and moves down when the switch is
pushed DOWN.
2. Check the auto down operation function.
Turn the ignition switch ON.
Check that the AUTO DOWN function operates
to fully open the door glass when the power
window switch from driver door switch is
pushed DOWN.
Check that the door glass will stop when the
applicable window switch is pulled UP during
the AUTO DOWN operation.
Child lock switch:
Check that the rear power window operation is
disabled when the window lock switch of the
power window master switch is pressed.
Check that the rear power windows can be
operated when the window lock switch is
pressed again
REFITMENT:
1. Fit the power window switch on trim by
tightening its five screws.
Tightening torque for screws- 0.06 to 0.08 Kgfm
2. Fit the window winding switch trim.
3. Fit the upper fabric RH insert.
4. Fit the front door trim.
NOTE:
Same procedure is applicable for remaining door
window winding switches.