


 1364 / 1906

ELECTRICAL
62
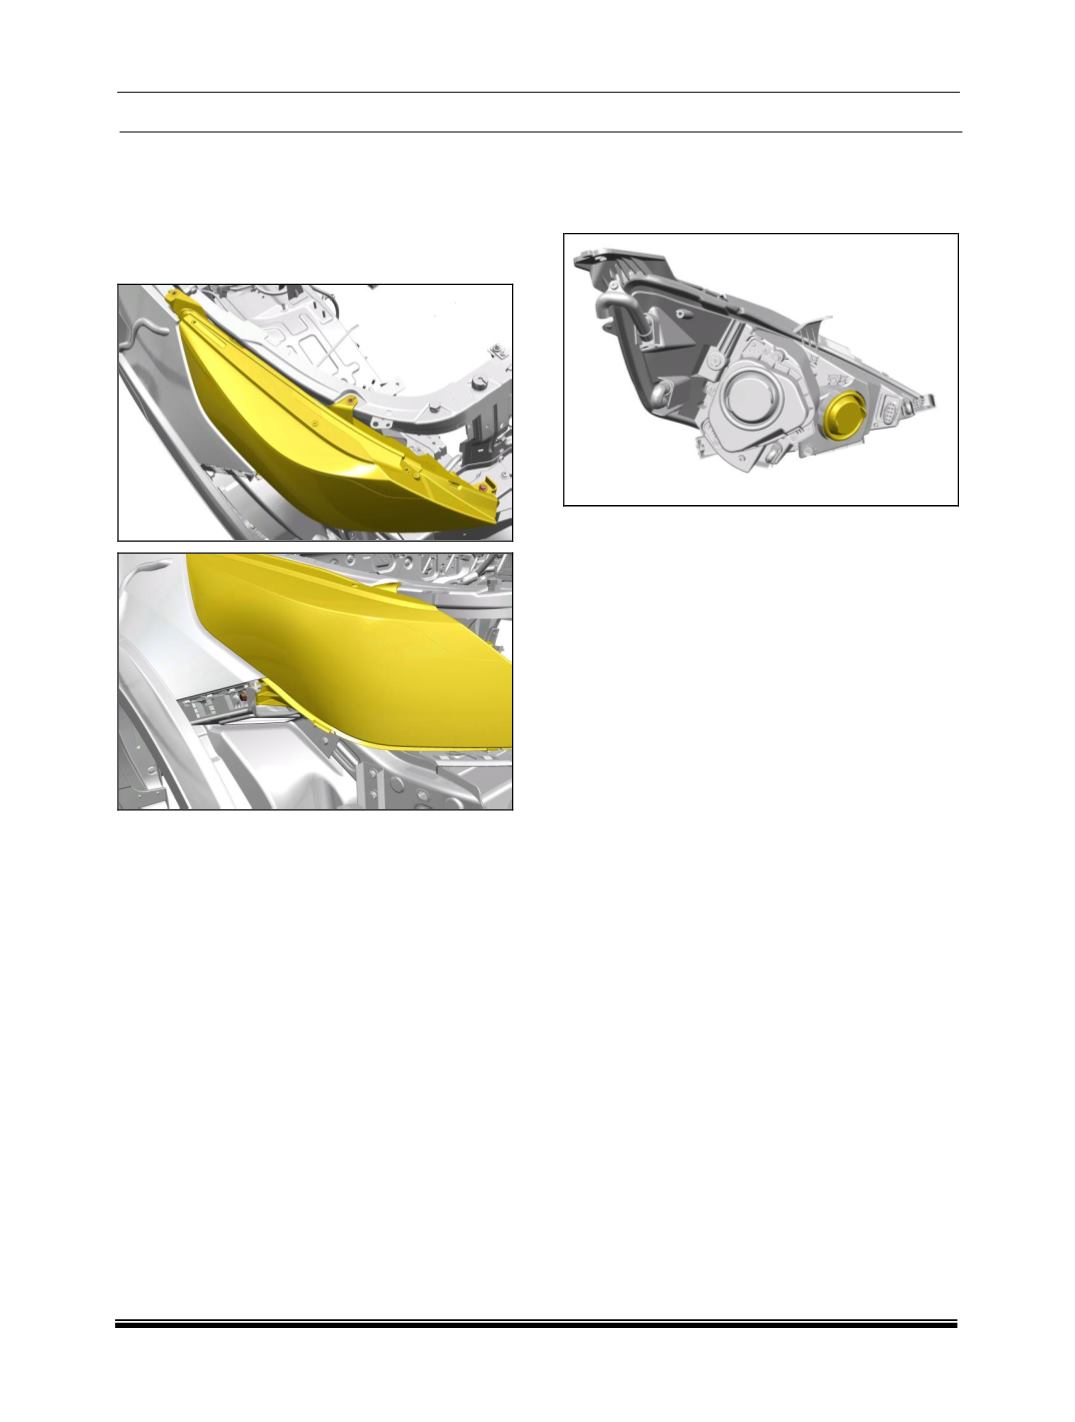
HEAD LAMP REMOVAL:
1. Open the bonnet.
2. Remove the front bumper. (
Refer body section
)
3. Remove the 2 mounting bolts and 2 screws of
head lamp.
4. Disconnect electrical connection.
5. Take out the lamp.
INSPECTION:
1. Check the connectors for any loose terminals or
wires broken at the terminal ends.
2. See if any of the filaments in the bulb is blown.
If so replace the faulty bulb.
3. Check the lens or reflectors for damage. If
damaged replace the head lamp.
REFITMENT:
1. Connect the electrical connection.
2. Tighten the head lamp mounting screws and
bolts. Tightening torque for screws and bolts -
0.45-0.65 Kgfm
3. Fit the front bumper.
4. Close the bonnet.
BULB REPLACEMENT PROCEDURE:
HIGH BEAM (
H7, 12V, 55W
)
1. Remove the rubber dust Cap.
2. Disconnect the electrical Connection of bulb.
3. Release the retainer bulb spring by slightly
pressing and sliding towards arrow.
4. Remove the high beam bulb and replace with
new one.
5. Lock the retainer blub spring to its position.
6. Connect the elect. Connection.
7. Fit the rubber dust cap.
PARKING/POSITION BULB (12
V, 5W
):
1. Remove the rubber Dust Cap.
2. Remove the bulb along with holder.
3. Pull out the bulb from bulb holder and replace
with new one.
4. Fit the bulb assembly into its position.
5. Fit the rubber dust cap.