


 1015 / 1863

FRONT AXLE (4X4)
17
FITMENT
For fitment follow reverse procedure of removal.
NOTE
Wheel alignment has to be done after
removing or dismantling any of the suspension
or Steering components.
For vehicles with ESP, Steering Angle Sensor
(SAS) Calibration has to be done after Wheel
Alignment.
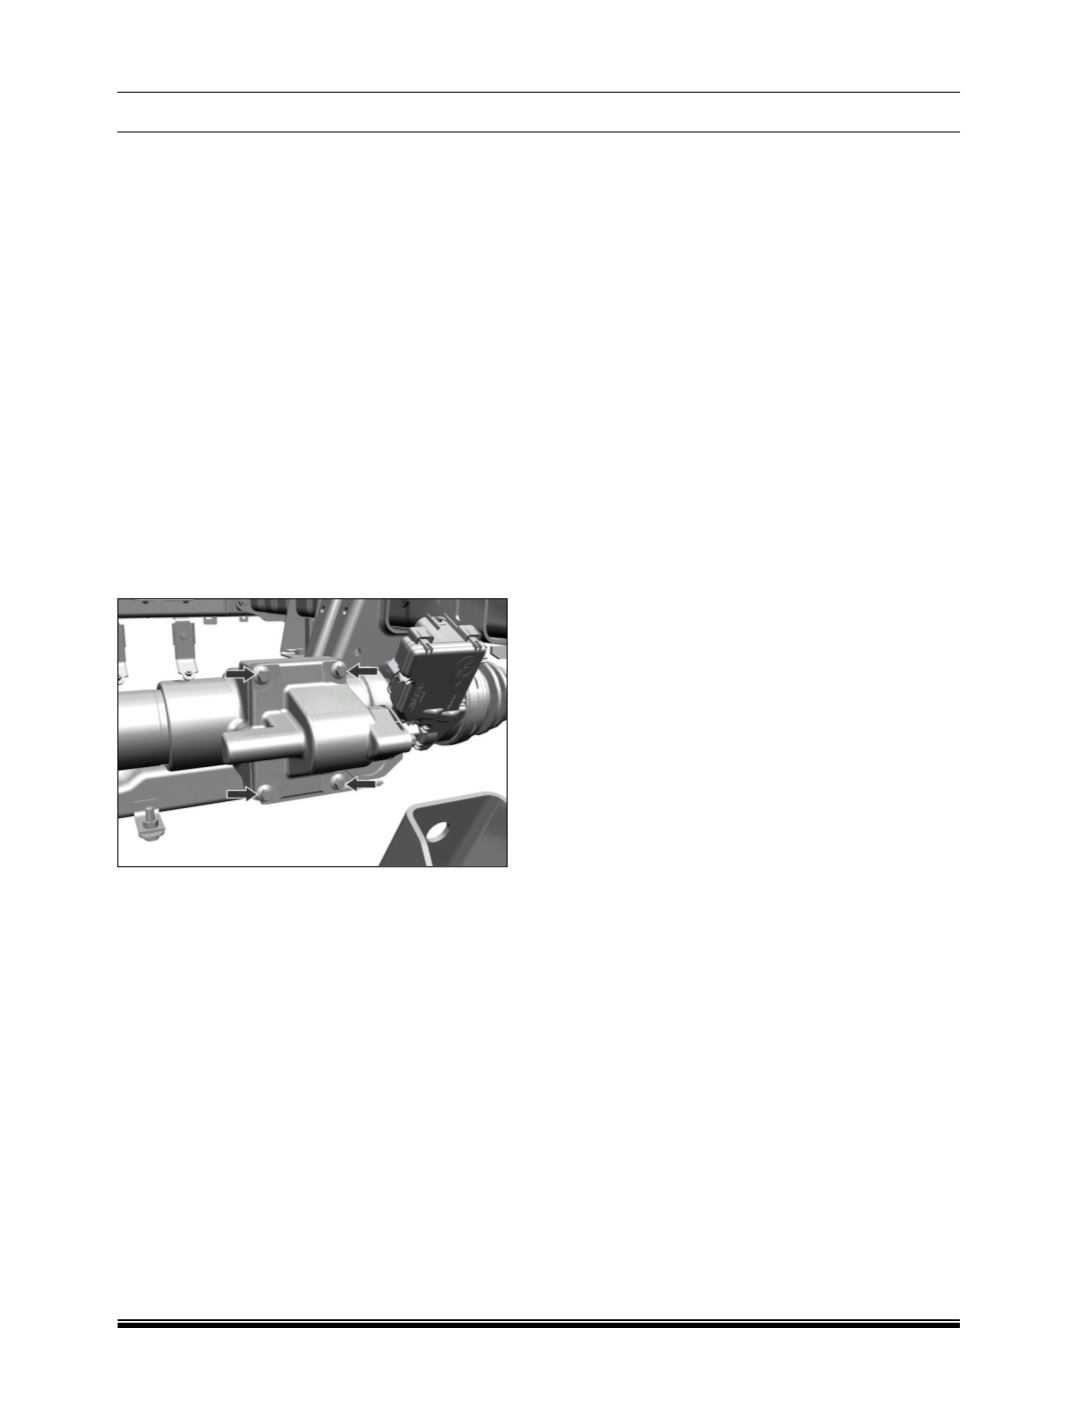
B. ELECTRICAL DISCONNECT ASSEMBLY
REMOVAL
1. Remove the stone guard assembly.
2. Disconnect the electrical connector from the
electrical motor of disconnect assembly.
3. Loosen and remove the mounting bolts
(4
Nos.)
and take out the disconnect cover
assembly from the housing.
CAUTION
While removing front axle disconnect (FAD) oil
might spill out, collect and measure the amount of
oil spill out from front axle disconnect and top up
the same amount of oil through filler plug after
front axle assembly.
NOTE
Discard the gasket between cover assembly
and housing and use new one at the time of
assembly.
Discard the mounting bolts and use new one at
the time of assembly.
FITMENT
1. Ensure the cleanliness of disconnect housing
cover face and cover resting face.
2. Install the new cover gasket while locating in
the dowel on the disconnect housing.
NOTE
Do not bend, wrap the gasket while installing, the
gasket orientation is fixed by dowel on the
disconnect housing hence it will fit in one direction
only. Bent or wrapped cover gasket may lead to
leak during running.
3. Locate the disconnect cover on the dowel and
install the four bolts on the cover and tighten it
with specified torque.
NOTE
Apply Loctite sealant on the bolts while installing,
this avoids the leak through cover.