


 1011 / 1863

FRONT AXLE (4X4)
13
12.3 MAINTENANCE
A. PRELIMINARY INSPECTION
1. Check for any physical damage to the front
axle beam.
2. Check for any damage to the rubber boot of
drive shaft.
B. REGULAR MAINTENANCE
I FRONT AXLE OIL REPLACEMENT
1. Lift the vehicle in the two post lift.
2. Remove the stone guard assembly.
(For
procedure refer stone guard removal
procedure in body section.)
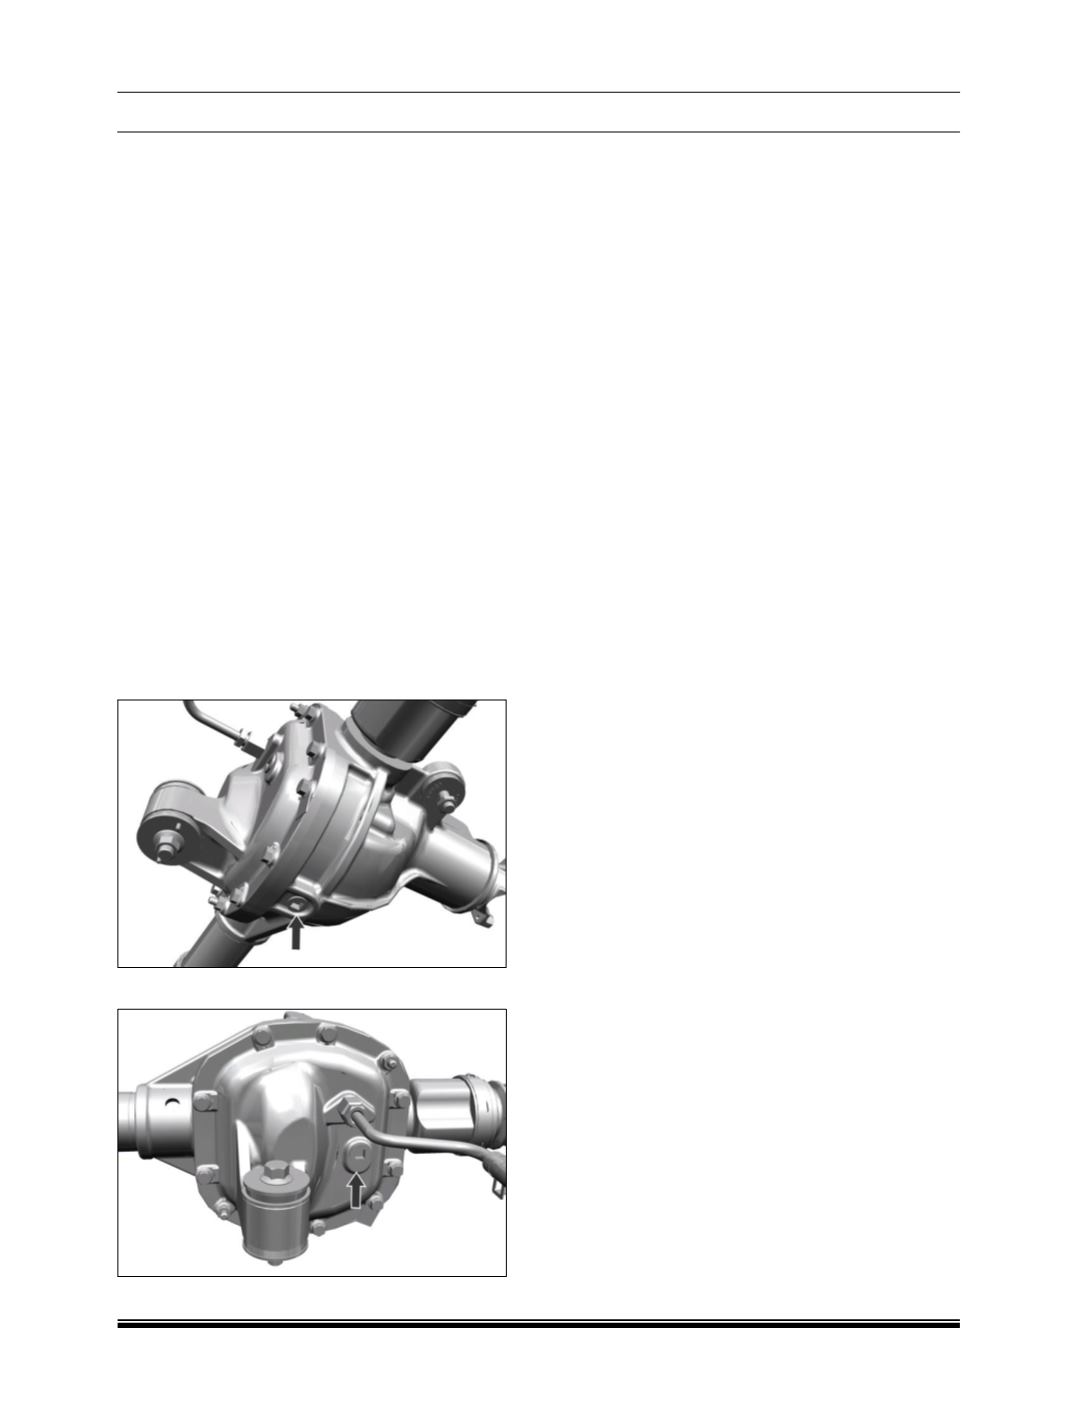
3. Properly position and place the container
below the drain plug.
4. Loosen and remove the drain plug and drain
the front axle oil.
NOTE
Discard the drain plug and use new drain plug at
the time of assembly.
5. After complete draining, refit the new drain
plug and apply the specified torque.
6. Remove the filler plug and fill the front axle oil.
NOTE
Fill the front axle to the specified quantity of
1.2 liters.
Use only the specified grade of front axle oil.
Refit the new filler plug at the time of assembly
and apply the specified torque.
7. Fit the stone guard assembly.
II FRONT AXLE DISCONNECT MECHANISM
(FAD) CHECKING PROCEDURE
To check mechanically if the FAD is functioning
properly or not, follow the following procedure
1. Position the vehicle on a repair pit
(all four
wheels on ground),
switch ON the ignition and
keep the TOD ECU in 4x2 mode using the 4x2
switch on the fascia panel.
2. Rotate the front propeller shaft with hand, if the
shaft is freely rotating, then FAD is retracted/
disengaged; if not, there is some electrical or
mechanical failure in the system.
3. Keep the TOD in Auto mode wait until the LED
on the switch puts off.
4. Rotate the front propeller shaft with hand, it
should not rotate, if it is rotating then it is still in
disengaged or retracted condition, indicating
an electrical or mechanical malfunctioning of
the system.