


 588 / 1236

Rear Axle
20
With force still applied, set indicator to 0.00. Force
differential assembly to the extreme end in
opposite direction.
Repeat above steps until the same reading is
obtained.
Record reading in the format given as 'A'. Remove
master bearing and set aside.
Assemble ring gear to case.
Note:
Use new ring gear screws.
Torque ring gear screws to specification.
Assemble master differential dummy bearing on to
case hubs.
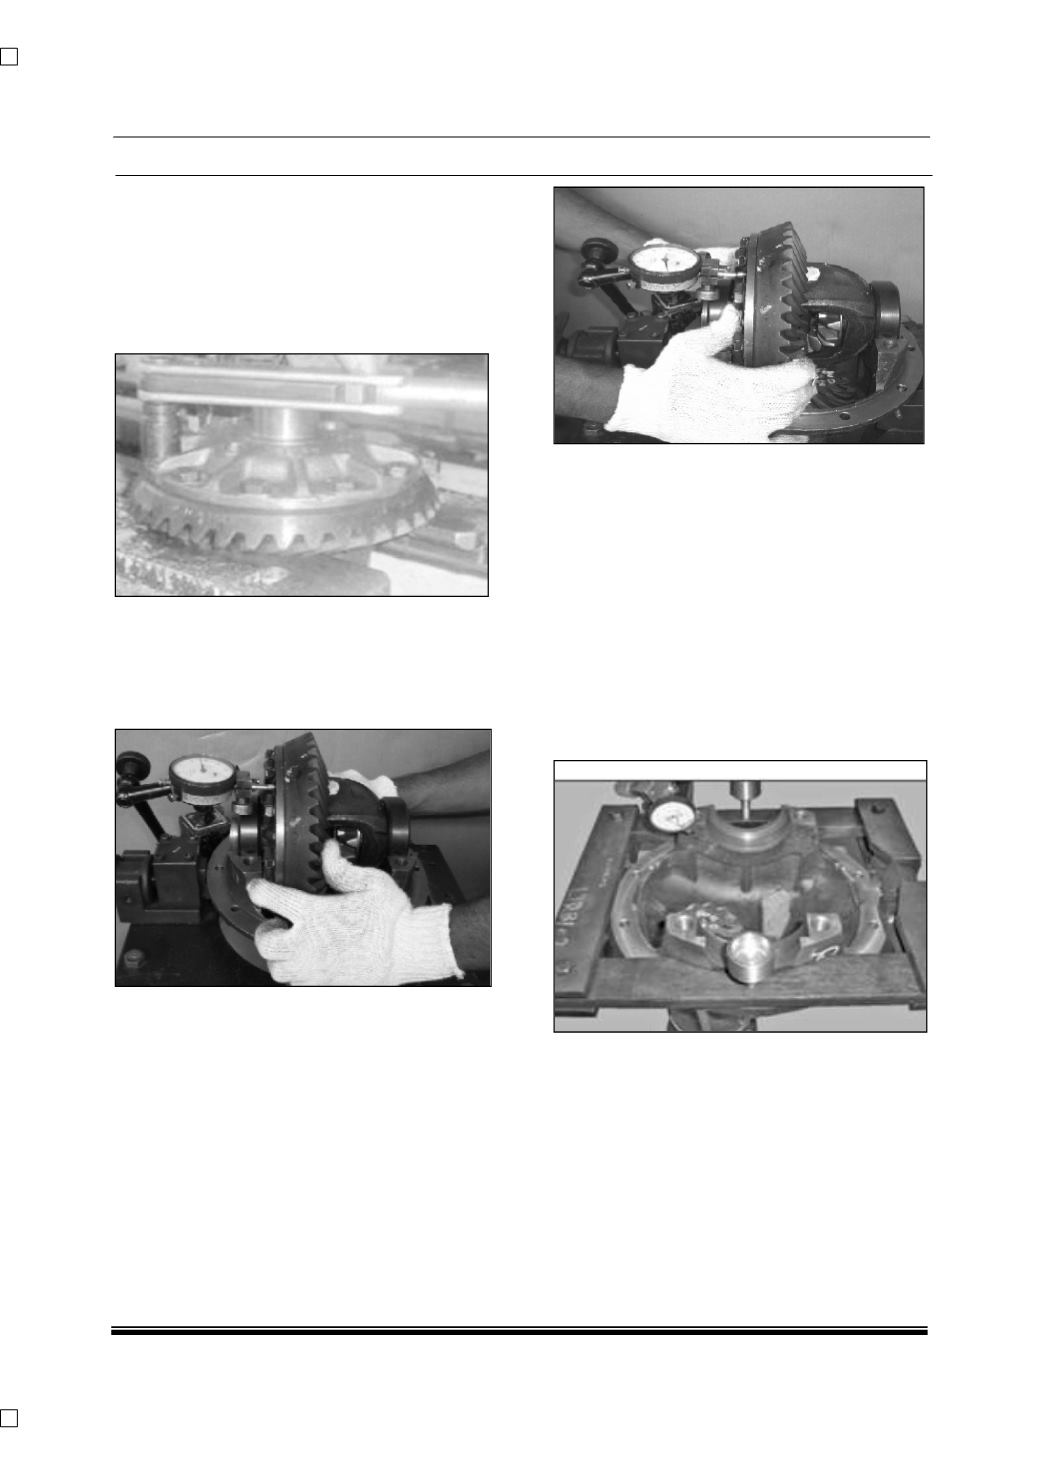
Place differential assembly into housing. Install
dial gauge and locate tip of indicator on the
surface of one of the ring gear screws. Force
differential case assembly away from pinion gear.
With force still applied set indicator at 0 (Zero).
Force differential case assembly and ring gear to
mesh with pinion gear. Rock the ring gear to
allow teeth to mesh Repeat to obtain a stable
reading. Record in given format as B.
Remove indicator and master differential
bearings.
Install side bearing cone on hub off differential
assy. And place bearing cup along with selected
shim pack in between side bearing and carrier
assy.
1. Dolly-pressing diff case bearing.
Repeat this procedure for installation of shims /
bearing cone on opposite side of differential case.
Install spreader and dial indicator. Spread the
carrier.
Do not spread it over 0.58 mm.
Remove dial indicator. Install differential case
assembly into carrier with the help of mallet,
Ensure Diff case shim (spacer bearing preload is
behind the bearing cap).