


 1391 / 1526

8
4 PL FUEL SYSTEM
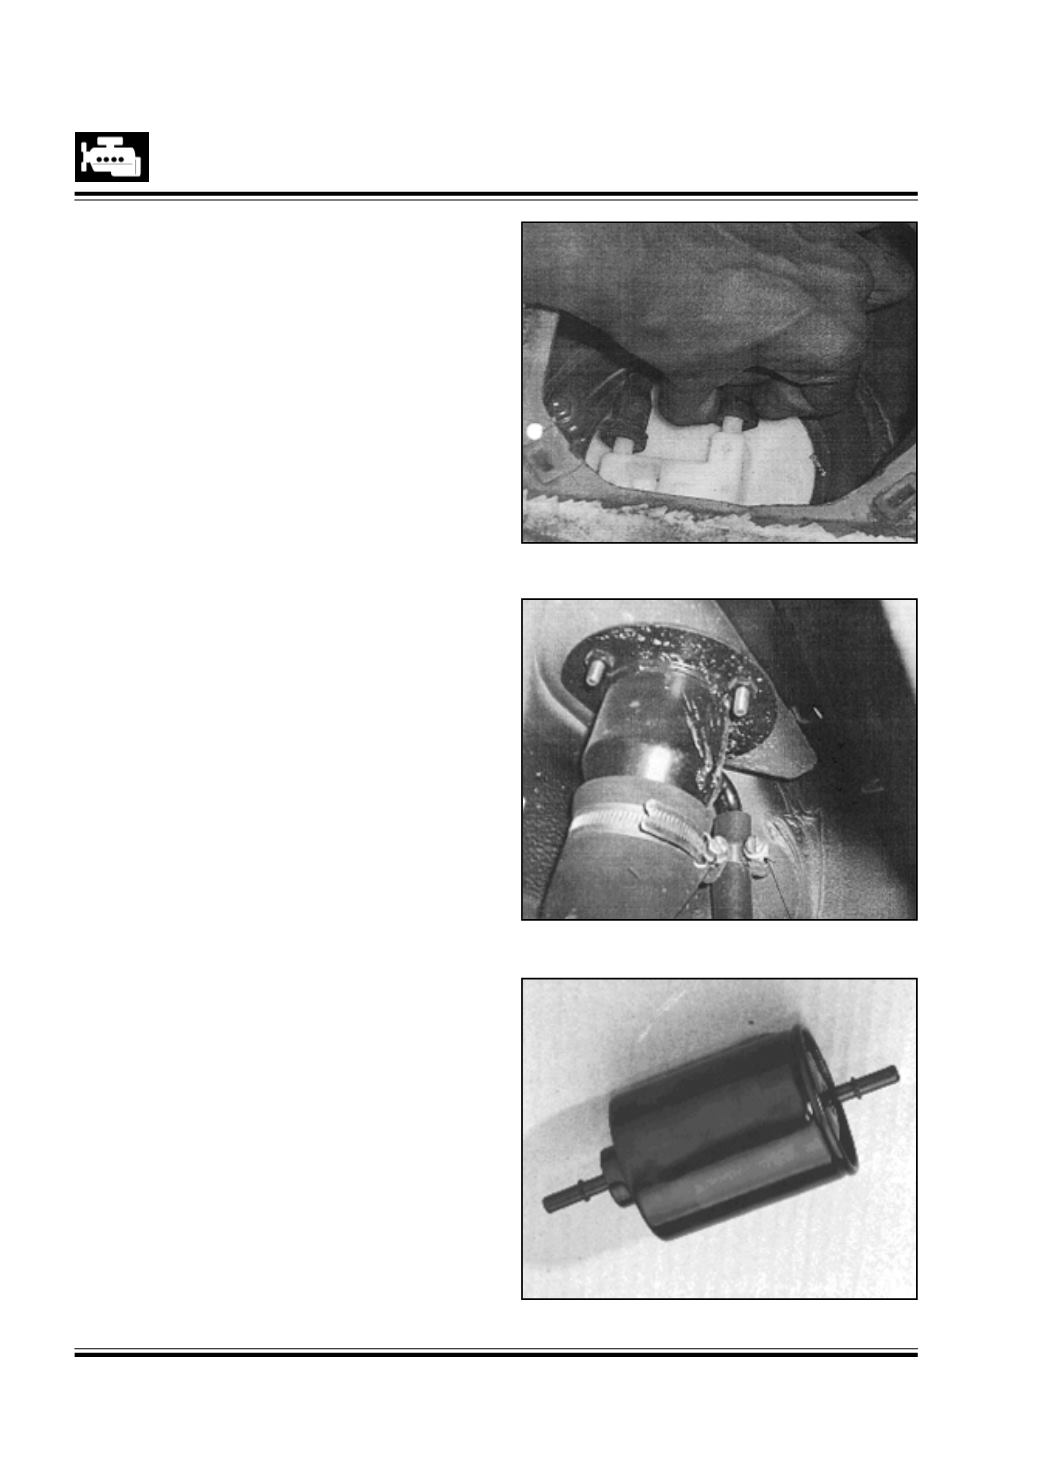
Fig. 10
Fig. 9
Fig. 8
FUEL TANK PURGING PROCEDURE :
Caution :
The purging may not remove all fuel vapours.
Therefore any repair on fuel tank using external heat or
flame may result in explosion causing personal injury or
damage.
1.
Remove fuel tank from the vehicle. Refer procedure
as mentioned for fuel tank removal.
2.
Remove all fuel lines from fuel tank.
3.
Remove fuel pump and fuel level gauge from fuel
tank.
4.
Shift the tank to flushing area.
5.
Fill tank with warm water or normal tap water and
agitate rigorously anddrain thewater throughdrain
plug. Repeat this procedure until inside of tank is
clean.
Replace the fuel tank if it is rusty from inside.
6.
Completely flushout remainingwater afterwashing.
Warning :
Donot allowwater toremain inside fuel tankafterwashing.
This will cause corrosion inside
fuel tank. Use shop cotton cloth for tank cleaning. Do not
use cottonwaste.
Assembly :
1.
Assemble fuel pump to fuel tank. Tighten the fuel
pump screw to tightening torque 0.8 - 1.0 kgm.
Replace gaskets for pump and fuel level gauge, if
necessary.
2.
Assemble fuel level gauge to fuel tank. Tighten the
screws to tightening torque 0.5 kgm.
3.
Connect quick fix couplings on to the pump stems
by hearing a click sound. Fig 8. Connectors must be
pushed onto amating stemand thenpulledback to
assure complete connections. The stem should be
lubricated with SAE 30 weight oil before
re-connections.
4.
Connect fuel breather hose and fuel filler hose to
fuel tank. Fig 9.
5.
Assemble filter mounting bracket.
6.
Assemble fuel tank on the vehicle.Tighten the fuel
tankmounting screw to tightening torque 2.2 kgm.
7.
Assemble filter.The arrowstampedon theouter case
of the filter indicates the fuel flow direction. Fig 10.