


 1298 / 1526

ENGINE
130
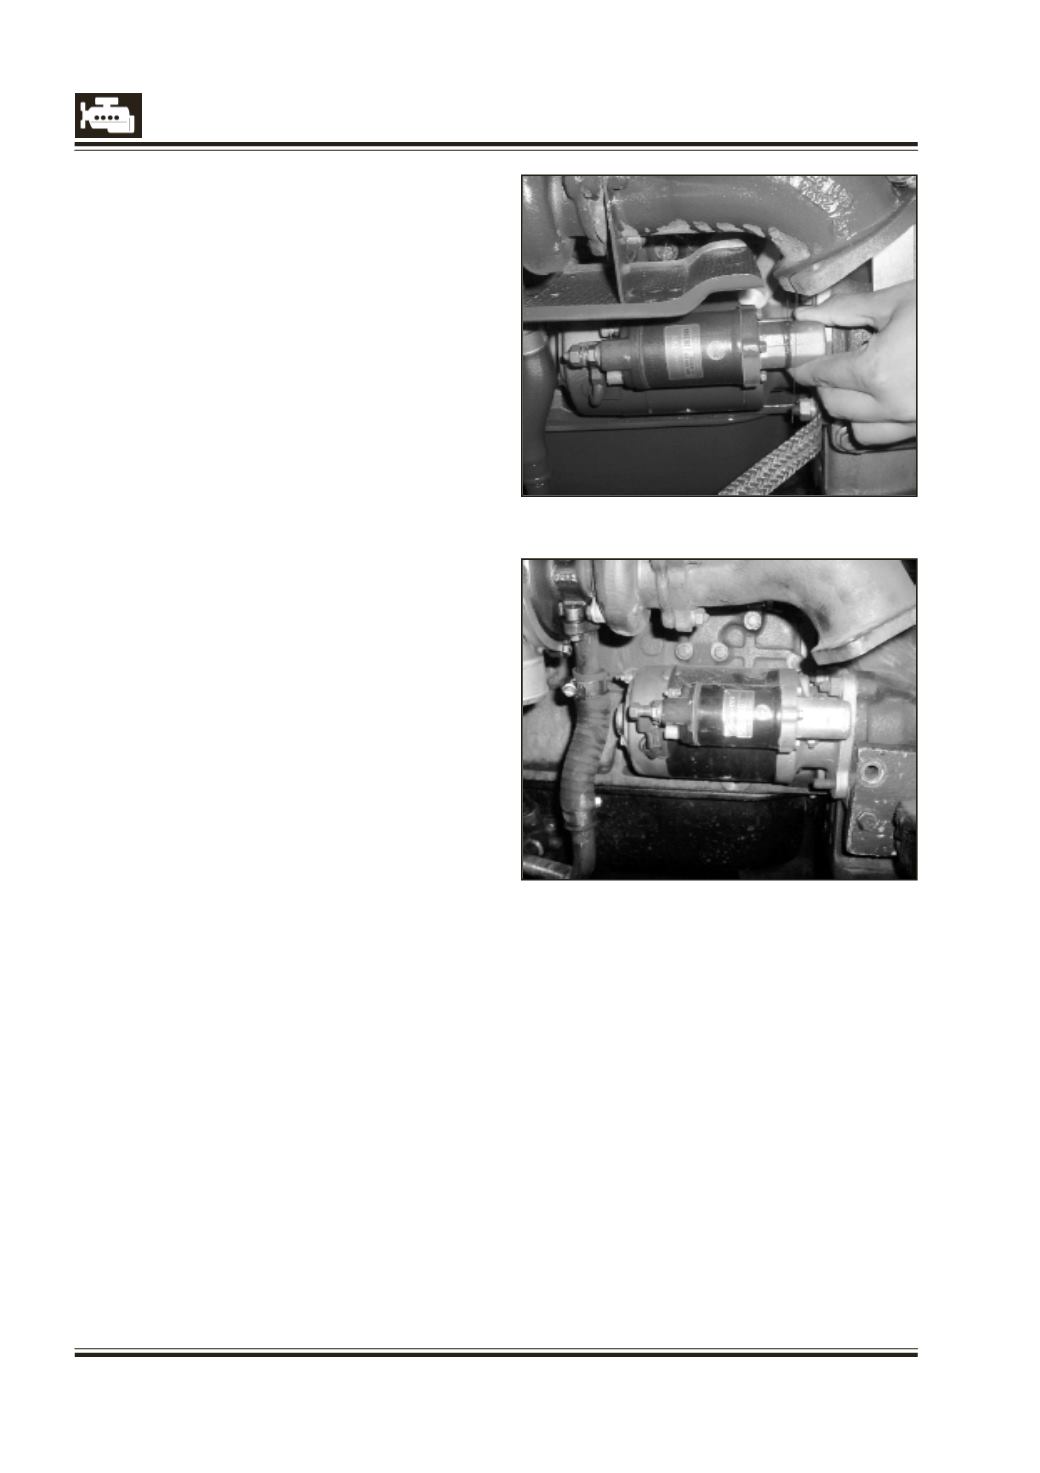
Fig. 1
Fig. 2
ELECTRICAL EQUIPMENT ON ENGINE
A) STARTER MOTOR
REMOVAL
1 Disconnect cable from the negative terminal of
the battery. It is recommended to first disconnect
battery from the circuit before any attempt is
made to remove the starter motor.
2 Disconnect cable from starter terminals. Identify
starter terminals and cable connector by suitable
marking or note down cable colour with respect
to connecting terminals so that they can be
reconnected in the same position.
3 Unscrew and remove starter mounting stud nuts.
4 Pull out starter motor towards front of the engine
and remove. Fig. 1.
INSTALLATION
1 Check starter motor pinion teeth for wear and
damage. Replace excessively worn out or
damaged pinion.
2 Check oil/dust seal on pinion for leakage and
damage. Replace, if necessary.
NOTE
Testing and major overhaul of the starter motor
is detailed in electrical group.
3 Remove oil plug (grub screw) from the starter
motor mounting flange and put little quantity of
recommended oil using oil can. Refit the oil plug.
4 Smear pinion shaft and teeth with grease.
5 Refit distance piece between starter motor and
clutch housing if it is removed.
6 Install starter motor and tighten mounting nuts
on spring washers fully. Connect earth cable from
chassis to engine at one of the starter mounting
studs.
7 Connect electrical cables to respective terminals.
Fasten cables on terminals firmly. Do not keep
connections loose in any case.
8 Glean battery terminal post and cable connector
using fine polish paper. Tighten battery cable
connectors on to the battery terminals. Apply :
vaseline/petroleum jelly on terminals and
connectors.