


 674 / 1904

662
ELECTRICAL
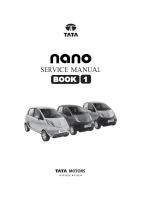
REGISTRATION PLATE LAMP: EXPLODED
VIEW
REMOVAL & REFITMENT OF REGISTRATION
PLATE LAMP
REMOVAL
1. Remove rear bumper (Refer REMOVAL &
REFITMENT OF REAR BUMPER” from Body
section).
2. Disconnect the electrical connector.
3. Remove two screws and take out number plate
Lamp. (Each side).
REFITMENT
1. Fit two screws of number plate lamp. Connect the
electrical connector.
2. Fit rear bumper.
BULB REPLACEMENT PROCEDURE FOR
REGISTRATION PLATE LAMP
1. Remove the lamp from the bumper. Refer
“REMOVAL & REFITMENT OF REGISTRATION
PLATE LAMP”.
2. Unscrew the screw from lens side.
3. Remove the lens & packing from assy.
4. Remove & replace the bulb from housing.
5. Position the lens & packing back.
6. Tighten the screw from lens side.
7. Tighten back the lamp assy on bumper.
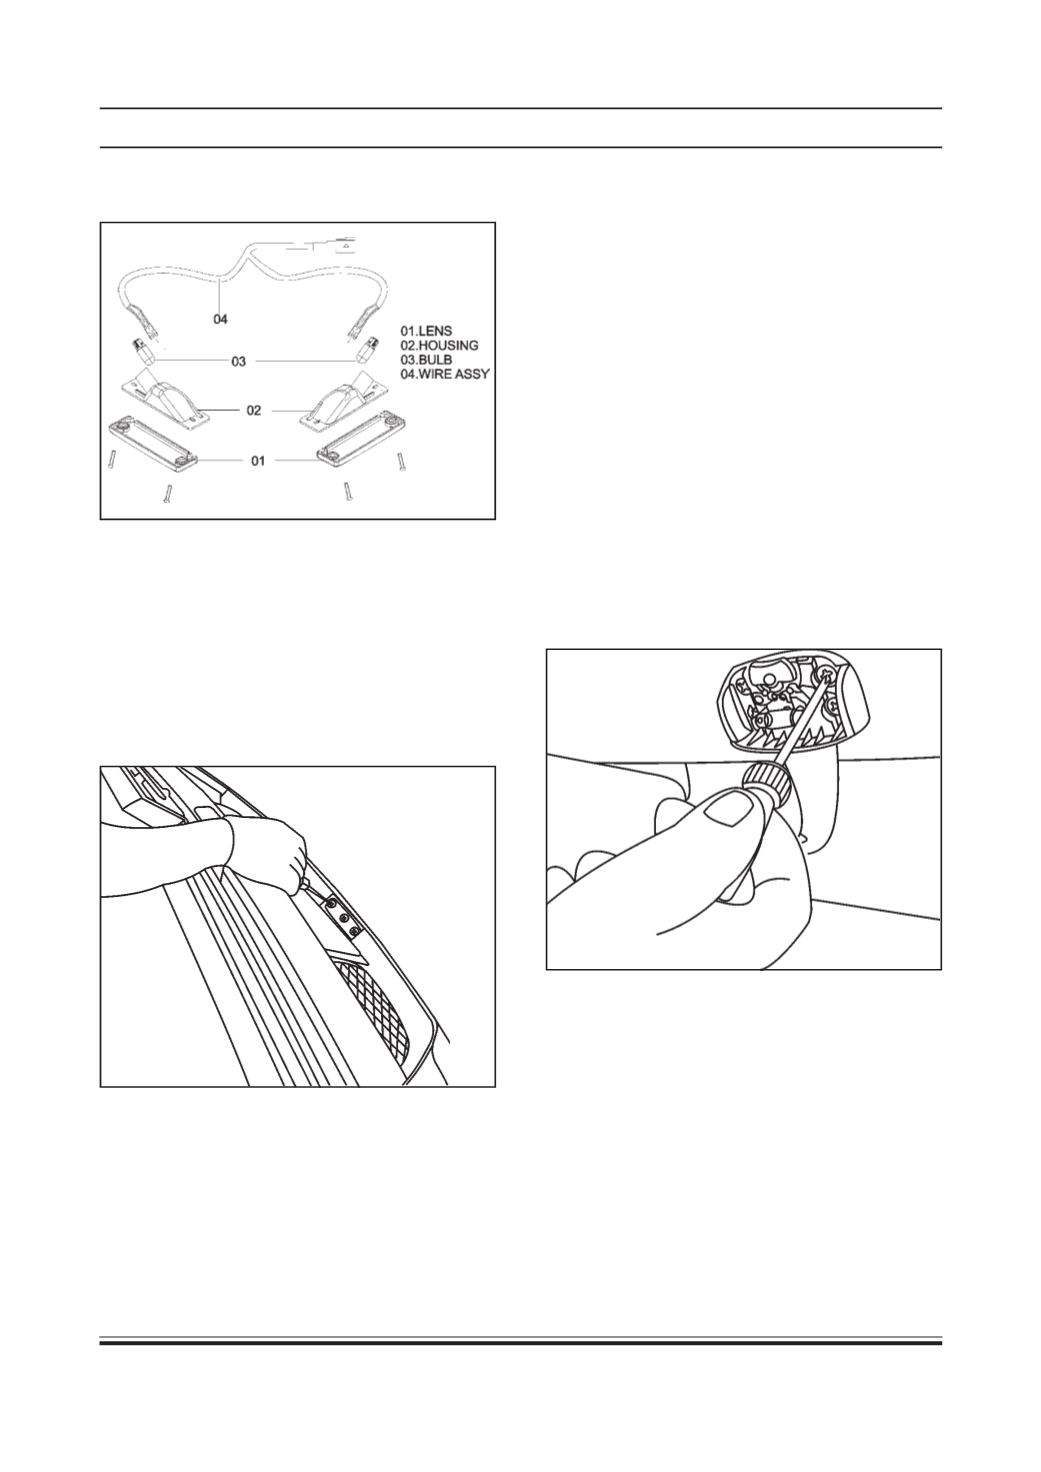
ROOF LAMP WITH MIRROR
REMOVAL & REFITMENT OF ROOF LAMP WITH
MIRROR
REMOVAL
1. Pry out roof lamp panel. Remove four screws and
take out roof lamp with mirror.
REFITMENT
1. Tighten both mounting screws and fit Roof lamp
along with mirror.
2. Fit roof lamp panel.
BULB REPLACEMENT PROCEDURE FOR ROOF
LAMP
1. Pry out roof lamp panel.
2. Remove the Bulb.