


 360 / 948

BRAKES
30
NOTE
If the bleeding of any caliper continues without
success for a considerable time, then tighten
the bleed screw after each downward stroke of
the pedal, allowing the pedal to return back.
After the bleeding is done check for any leaks
in the bleed screw by applying the brake pedal
hard.
B. ABS SECONDARY CIRCUIT BLEEDING
PROCEDURE
(USING DIAGNOSTIC TOOL)
The secondary circuit bleeding has to be done
only for ABS vehicles and only for the below
mentioned specific cases.
a. If the customer has not changed the brake fluid
for 5 years or more.
b. If the brake pedal becomes spongy after ABS
intervention/operation.
! CAUTION
Do not spill brake fluid on the vehicle, it may
damage the paint, if the brake fluid does
contact the paint, wash it off immediately with
water.
Make sure no dirt or other foreign matter is
allowed to contaminate the brake fluid.
NOTE
Always use the brake fluid recommended in
the specification list.
Do not reuse the drained fluid.
Entire bleeding operation should be done with
ENGINE ON (running).
The reservoir on the master cylinder must be
at the Max (upper) level market the start of
bleeding procedure and checked after bleeding
each brake caliper and have to be topped up
as required.
1. Bleed the brake fluid manually as mentioned in
the previous procedure “Brake Bleeding
Procedure”.
2. Connect the Diagnostic tool and select “Repair
Bleed” in the ABS ECU section of the tool.
3. Open the bonnet.
4. Open the reservoir cap and pour brake fluid till
the lower edge of the filler neck.
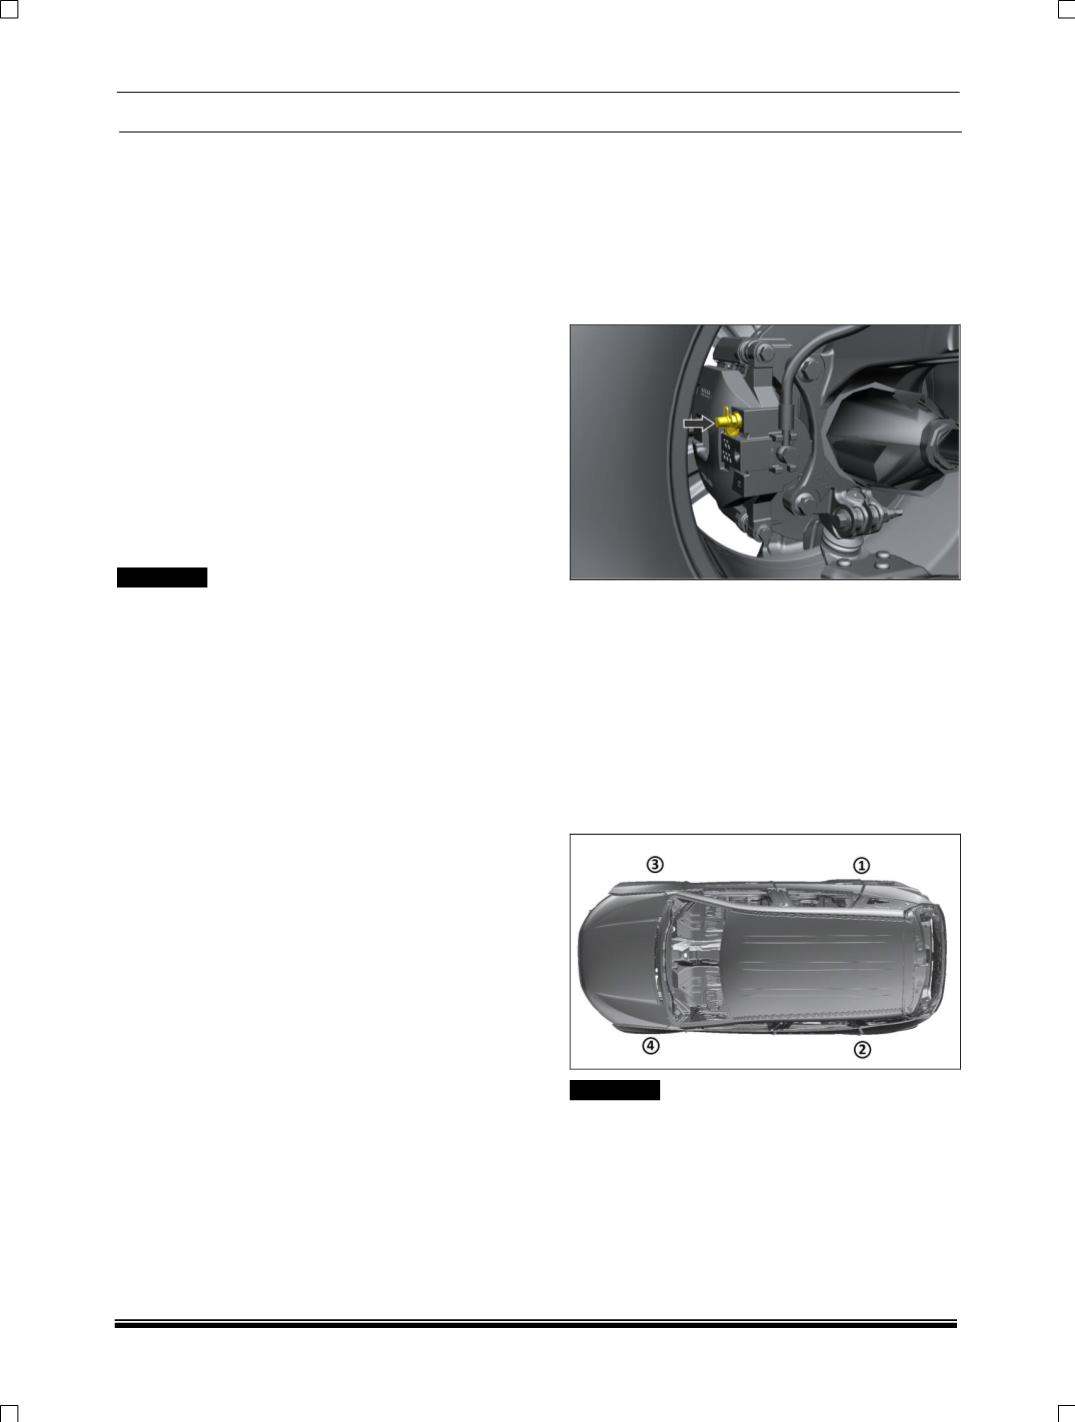
5. Connect the bleed tube to the rear left caliper
bleed screw and place the other end
submerged in a transparent container
containing sufficient brake fluid.
6. Click on the start button on the diagnostic tool
to start the process.
Depress the pedal completely, holding it
depressed.
7. Open the front left caliper bleed screw
.
8. Press the OK button to start bleeding the rear
left wheel.
9. The tool will start bleeding the rear left wheel.
10.When the tool finishes bleeding the rear left
wheel, pump the brake pedal until the fluid
flowing out is free of air bubbles; Close the
bleed screw, Press “OK” to continue bleeding
the Front Left wheel.
Continue to bleed the remaining wheels; the
diagnostic tool will follow the following sequence.
! CAUTION
At all times during the bleeding process, it has
to be ensured that the fluid level in the
reservoir does not drop below minimum.
Allow a gap of 10 minutes before re-trying to
bleed the system using diagnostic tool. This is
needed to allow the solenoids to cool down.