


 297 / 1232

ENGINE 1.3 QUADRAJET (75PS)
72
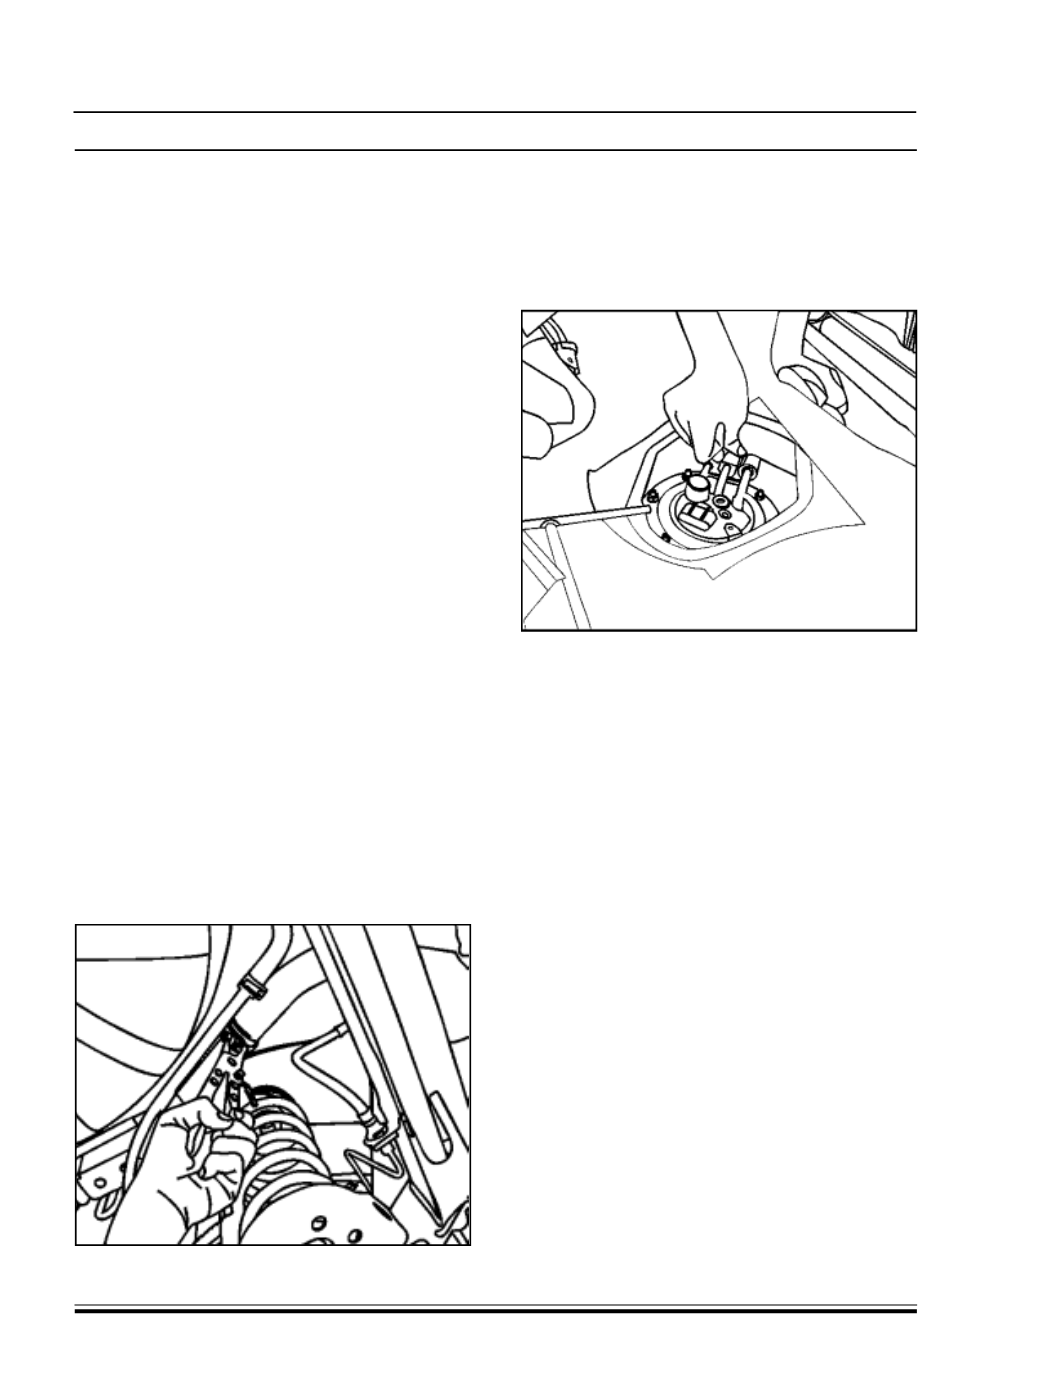
3. Assemble intank fuel pump to fuel tank carefully.
Tighten the screw to tightening torque 0.8 - 1.0
kgm.
4. Assemble delivery and return fuel lines on to the
appropriate port/pipe.
5. Connect unit electrical connector to tank pump.
6. Fill the tank with fuel.
7. Connect the battery.
8. Start engine and check each joint of fuel system
for leakage. Rectify if necessary.
D) FLUSHING FUEL TANK
CAUTION :
Any repair on fuel tank using external
heat or flame may result in explosion causing
personal injury or damage.
Do not allow water to remain inside fuel tank after
washing. This will cause corrosion inside fuel tank.
Use shop cotton cloth for tank cleaning. Do not use
cotton waste.
1. Remove fuel t ank from the vehicle. Refer
procedure as mentioned for fuel tank removal.
2. Remove all hoses from fuel tank.
3. Shift the tank to flushing area.
4. Fill tank with 5-6 liter of warm water or normal tap
water and rinse rigorously for 2 minutes and drain
the water either through filler pipe or breather pipe.
Repeat this procedure until inside of tank is clean.
Replace the fuel tank if it is rusty from inside.
5. Completely flush out remaining water af ter
washing.
WARNING:
Do not allow water to remain inside fuel tank after
washing. This will cause corrosion inside fuel tank.
Use shop cotton cloth for tank cleaning. Do not use
cotton waste.
FUEL TANK ASSEMBLYAND REINSTALLATION:
1. Assemble fuel tank on the vehicle. Tighten the
fuel tank mounting screw to tightening torque 2.2
kgm.
2. Connect fuel breather hose and fuel filler hose to
fuel tank.