


 740 / 1906

GEAR BOX
35
NOTE
If replacement is required, always replace the syn-
chro sleeve and hub as a unit
.
Inspect inside of synchro cone for wear. Inspect the
synchro cone teeth.
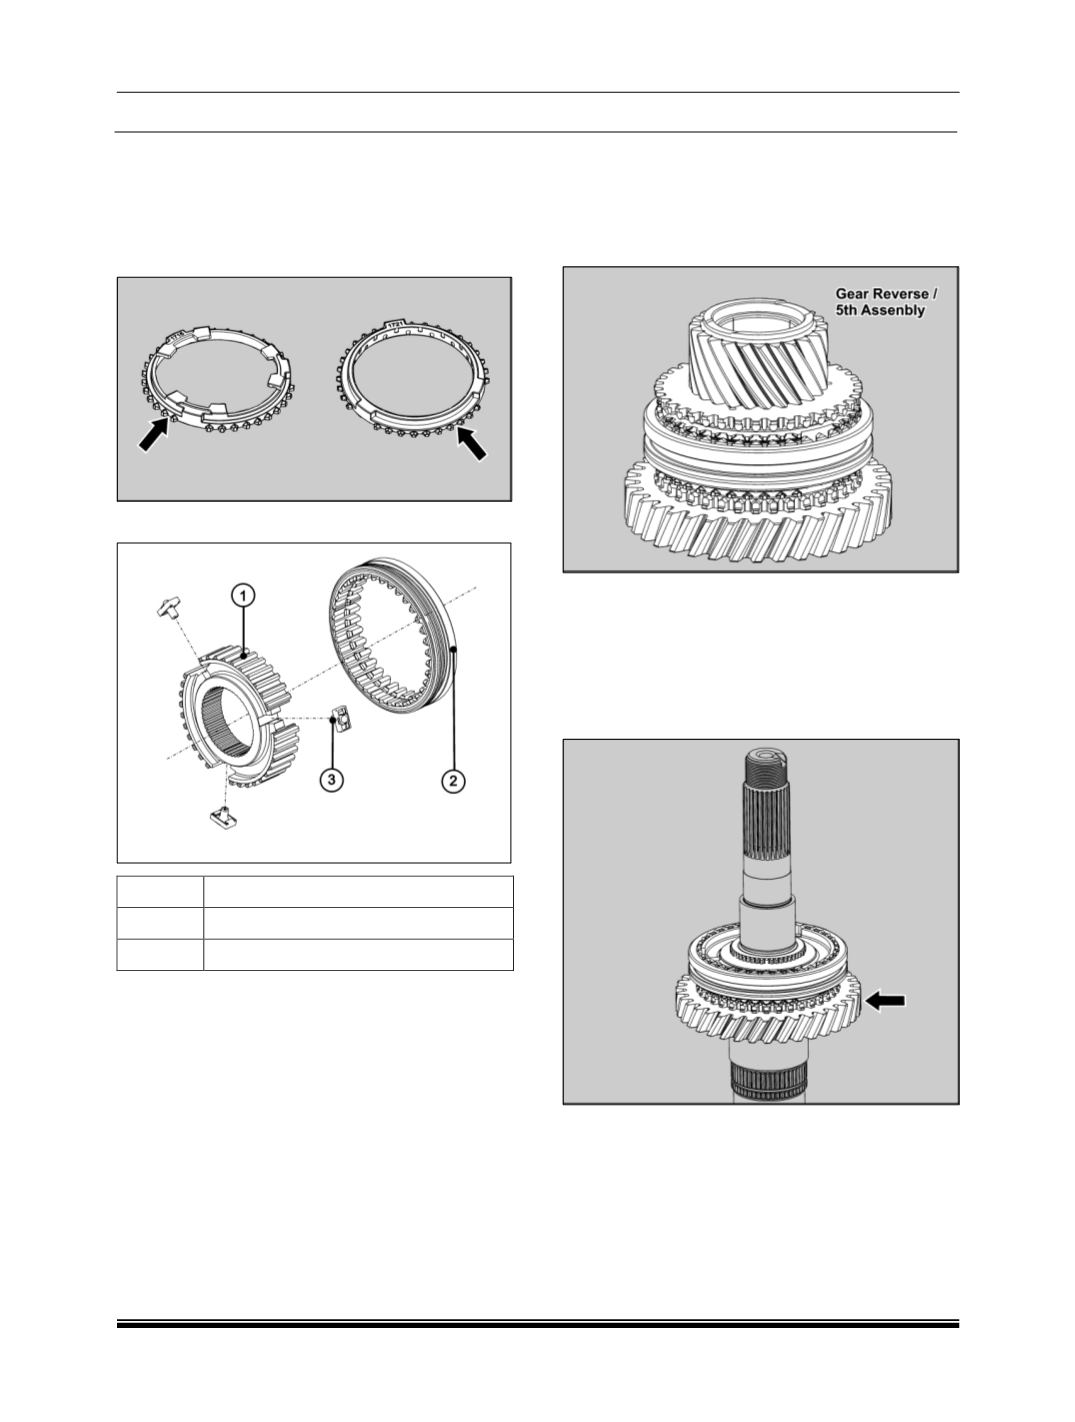
SUB ASSEMBLY OF ENGAGING GEARS
01
Engaging Gear
02
Shifter Sleeve
03
Interlocking ball and cage assembly
Identify all the gears and needle bearing cages. The
gears are to be assembled in pairs of 1
st
/ 2
nd
, 3
rd
/ 4
th
and reverse / 5
th
.
Keep gear such that dog teeth are facing upwards.
Fit proper synchro cone. Fit proper engaging gear
over synchro cone, fit other pair of gears.
NOTE
While assembling 1
st
/2
nd
engaging gear the sin-
gle groove on the sleeve should be towards 2
nd
gear side. Locate strut 3 nos. in slot of engaging
gear with help of grease.
While assembling 3
rd
/ 4
th
gear, the shifter sleeve
without groove to be fitted with broader side to-
wards 3rd gear.
In Reverse/5
th
gear assembly, fit double groove
side of shifter sleeve towards reverse gear.
ASSEMBLY
1. Hold the main shaft vertically keeping the cou-
pling flange end upwards.
2. Slide reverse gear subassembly on main shaft
along with needle roller cage and engaging gear
keeping engaging gear upwards.