


 1832 / 1863

HVAC
61
REAR AC DUCTING
REMOVAL
1. Loosen and remove the bottom mounting of front
seat belt.
(For Procedure refer front seat belt re-
moval in cab section.)
2. Remove the “B” pillar trim LHS.
(For procedure
refer “B” pillar trim in body section.)
3. Pull out the front door and rear door garnish and
then remove the “B“ pillar garnish by pulling it
upwards.
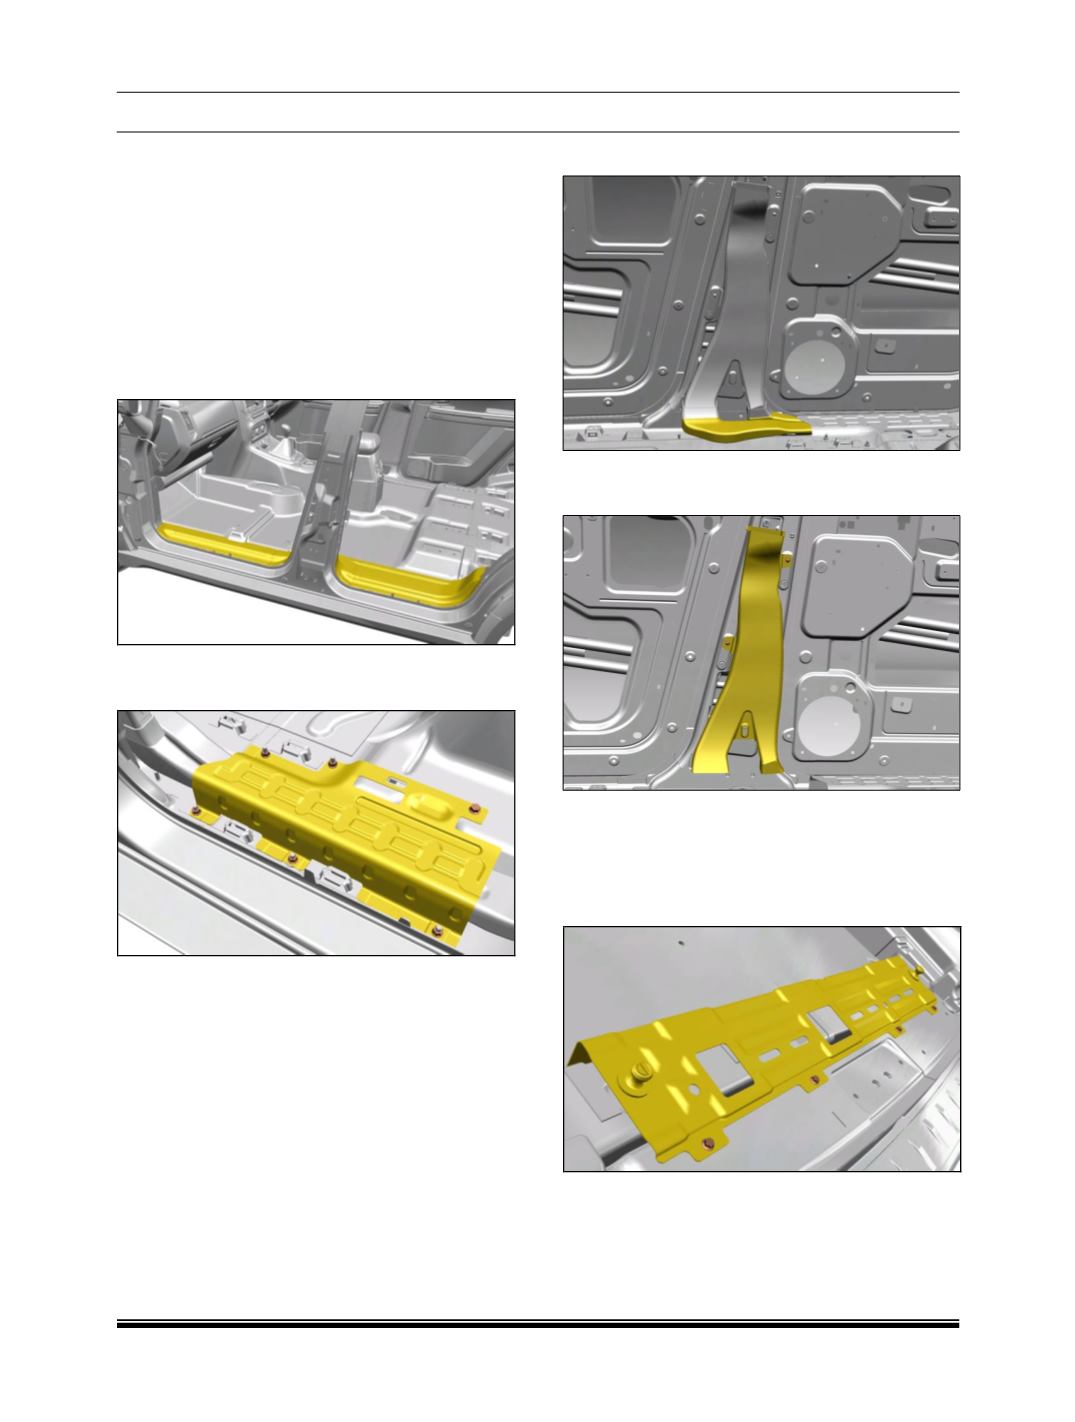
4. Loosen and remove all mountings and take out
the floor duct protection bracket.
5. Remove the Duct B-Pillar RH bottom.
6. Loosen and remove two mounting screws and
pull out the “B” pillar duct
(LHS)
assembly.
7. Remove “C” pillar trim
(LHS)
.
(For procedure re-
fer “C” pillar trim removal in Body section.)
8. Open the load floor assembly. Loosen and re-
move two mounting screws and pull out the scuff
plate to release all tree clips.
9. Remove rear quarter trim from LHS and RHS.
(For procedure refer rear quarter trim removal
in Body section.)