


 74 / 1236

ENGINE
42
12.Take out the timing belt.
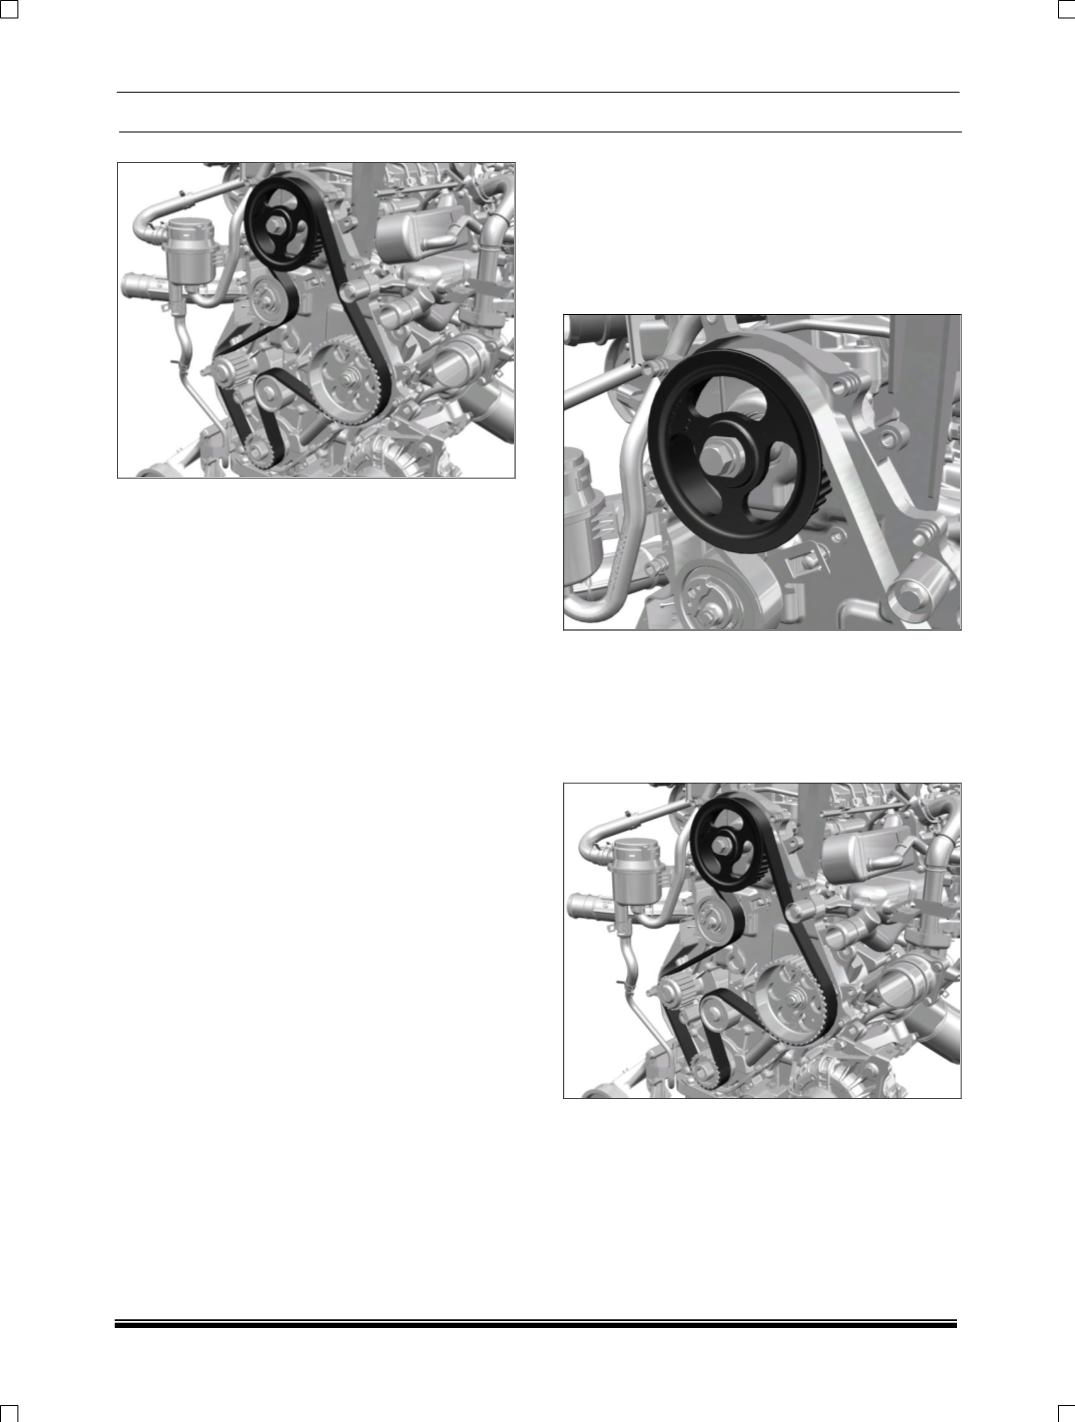
13.Remove the auto tensioner and replace it with a
new one during re-fitment.
NOTE
Ensure that every time the timing belt is re-
placed, auto tensioner is to be replaced with a new
one.
Do not remove any of the special tools.
INSPECTION
Inspect the Timing belt for wear, cracks and
signs of failures. Replace if required or replace at
recommended interval.
Inspect tensioner mounting face on cylinder
head and idle mounting spacer surface on cylinder
block and ensure that the face is not damaged and is
clean.
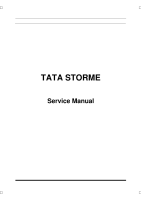
G. FITMENT OF TIMING BELT
1. Ensure that engine is in initial position / first cyl-
inder in top dead centre, with camshaft, FIP and
crankshaft locked in position.
2. Slightly tighten the camshaft gear Keep the
camshaft bolt loose so that the gear is free to ro-
tate.
3. Ensure Back plate in position on locating pin.
Nut to be finger tightened on M8 stud bolt (loose
fit, 0.2 - 0.3 kgm).
4. Position the belt on pulleys like crank pulley steel
idler FIP touch idler cam pulley tensioner water
pump.