


 743 / 1526

36
BODY
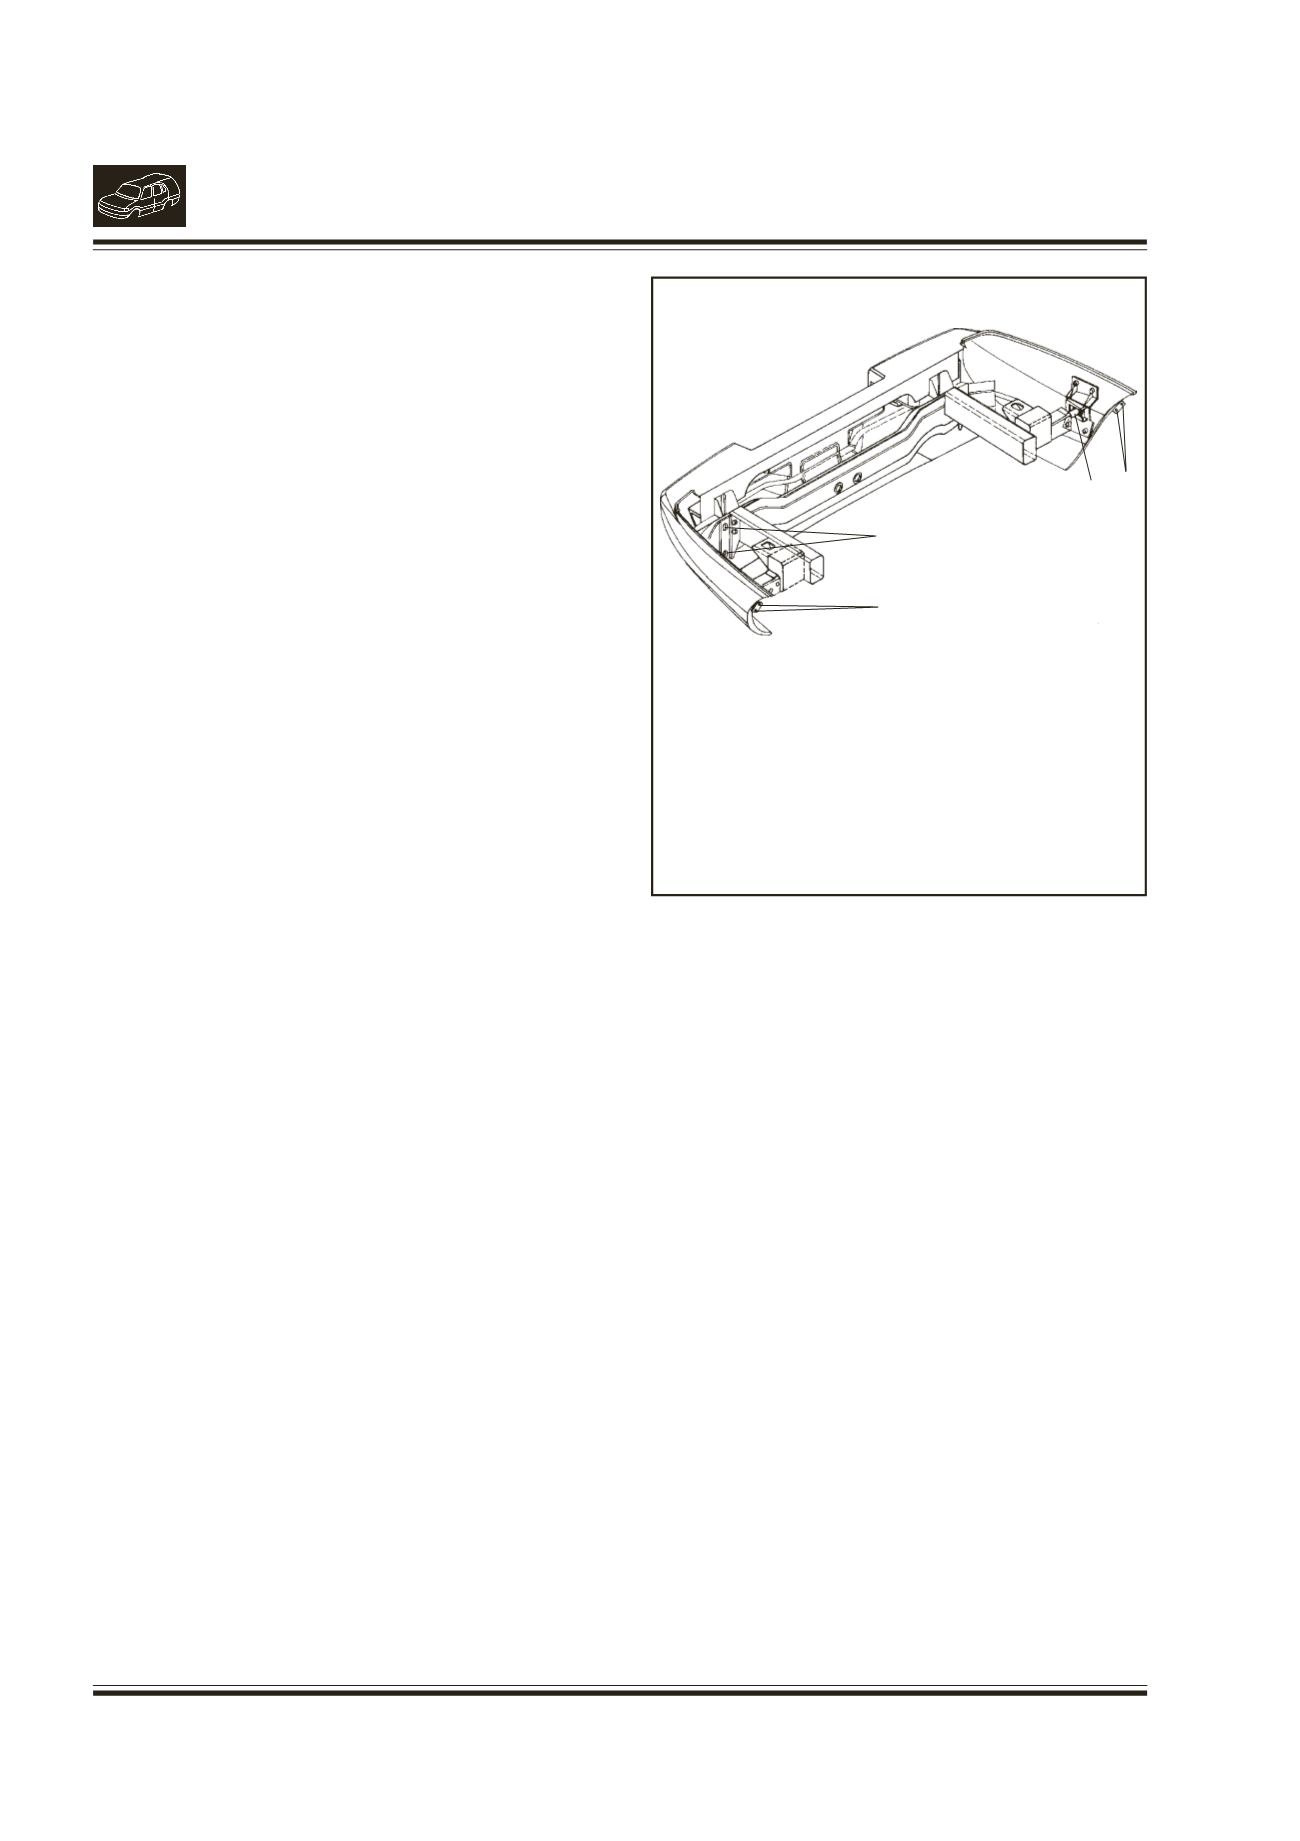
16. REMOVAL/INSTALLATIONOFREAR BUMPER
(Fig. 22)
REMOVAL
l
Remove the two screws of each side strip
mounting bumper with the rear wheel arch at both
sides.
l
Remove the mud flap from the side mounting
bracket from both sides.
l
Remove the electrical connections for fog lamps
and number plate lamps.
l
Support the bumper and remove the two nuts
from each rear mounting bracket from below the
bumper.
l
Pull out the bumper.
INSTALLATION
l
Support the bumper and complete the electrical
connections for fog lamps and number plate
lamps.
l
Loosely mount the bumper on side adjusting
screws.
l
Fit the 2 hex. fl. nuts (M8) and washers (8.4) on
each bracket, loosely from below the bumper.
l
Adjust the gaps and once they are set tighten
the nuts and adjusting screws.
l
Fit the mud flap on side bracket at both sides.
l
Tighten the two screws of each side strip with
the wheel arch at both sides.
Fig. 22.
1.
LOCATION OF MOUNTING SCREWS FRONT
2.
ADJUSTINGSCREW
3.
LOCATION OF STRIP MOUNTING SCREWS
1
2 3
3