


 1074 / 1526

34
GEAR BOX G-76
18. ASSEMBLYOF SUB – ASSEMBLIES
GENERAL INSTRUCTIONS
The chips collected by the magnetic drain plug must be removed at every oil change.
Clean all the parts thoroughly to be assembled.
CHECK
- Shafts for scoring or grooving and spline wear
- Gears for chipped teeth
- Bushes for wear and cracks
- Bearings for wear and cracks by spinning them. If they shake or rattle then they must be replaced.
Change all worn out and damaged parts.
Maintain proper cleanliness while assembling bearings and oil seals to avoid premature failures.
Lubricate the shaft and seat before assembling oil seals or fitting bearings.
Do not interchange inner and outer races of taper roller bearings.
Oil seals and gaskets should be changed at the time of overhaul.
Pay attention to the direction of the oil seal and insert all the way after applying oil to the lips.
Do not reuse dowel sleeve and nyloc nut. Always replace them with NEW one.
Circlip/snap ring should not have axial play.
Use sealing compound MAXIFIX S-758 DUNLOP or DURAPLEX 120 for sealing plugs and screws.
Use adhesiveANARBOLICmedium duty for fasteners.
Use Grease 3% MO S2 320 for metal/plastic parts.
Use Grease silicon mollycote medium-33 between metal/rubber parts.
Synchro cone gap is to be checked. It should be 1+ 0.3 mm. If found less or if the threads are found to be
damaged, replace synchro cone.
Spin the shaft to see the gears are running smoothly.
Engaging gear should be free from play.
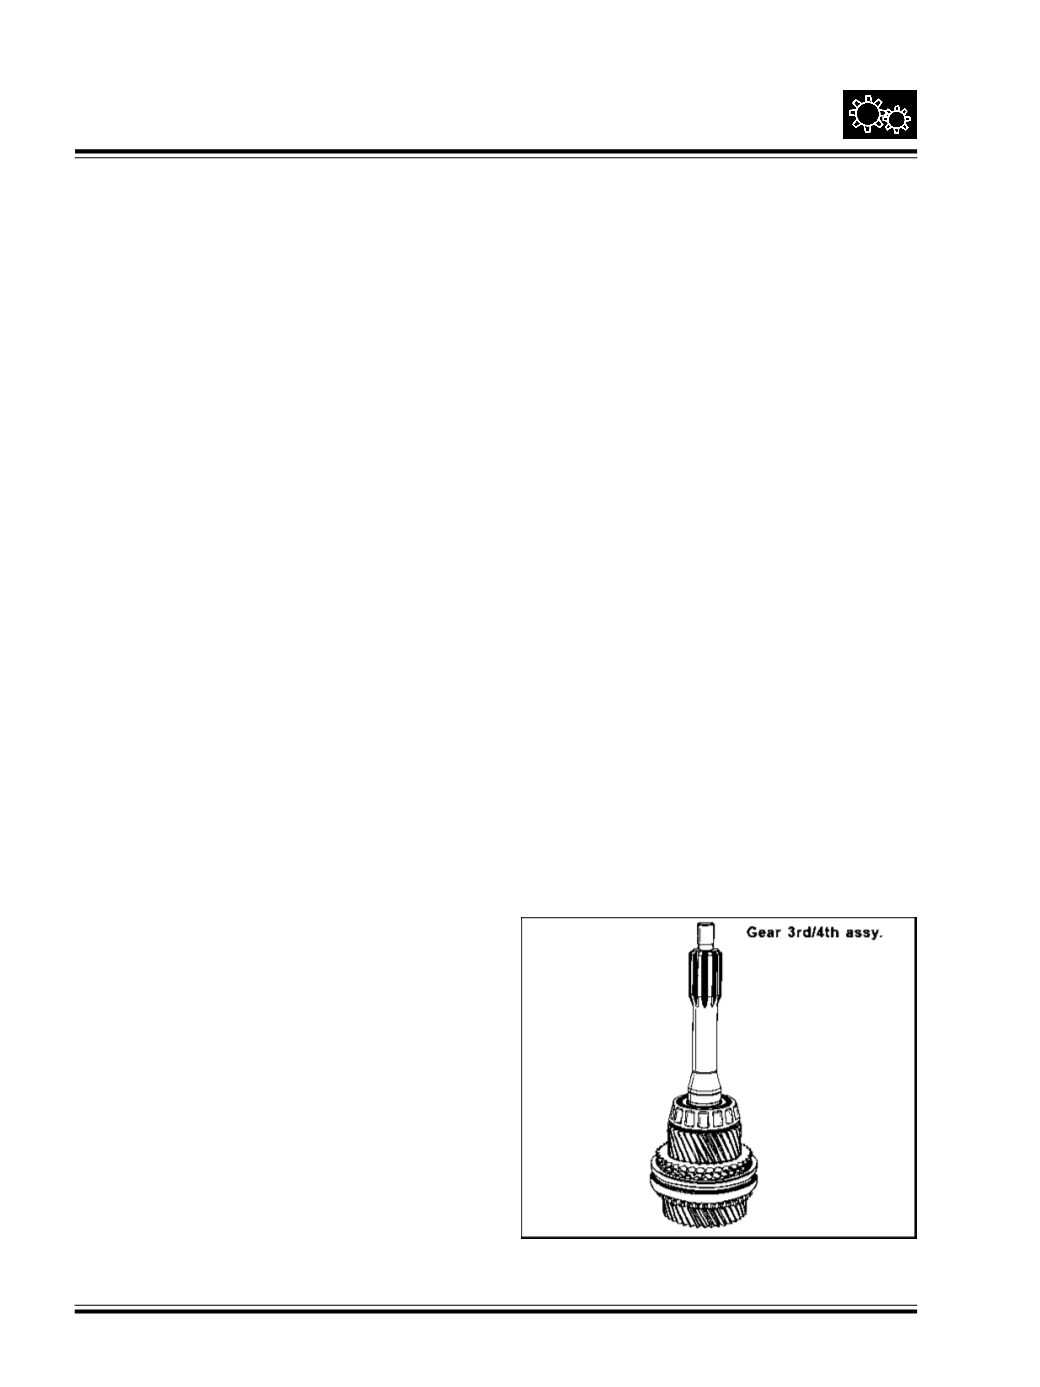
Fig. 71
i.
SUBASSEMBLYOF ENGAGINGGEARS
Identify all the gears and needle bearing cages. The
gears are to be assembled in pairs of 1
st
/ 2
nd
, 3
rd
/ 4
th
and Reverse/5
th
.
Keep gear such that dog teeth are facing upwards.
Fit proper synchro cone. Fit proper engaging gear over
synchro cone, fit other pair of gears. Ref Fig. 71
Note :
While assembling 1
st
/ 2
nd
engaging gear the
longer shank to be on 2nd gear side. In the same way
for Reverse/5
th
engaging gear, the longer shank to be
assembled towards reverse gear. Locate 3 Nos.
carriers in slot of engaging gear such that chamfer
over carrier is facing outwards. Place springs & balls
at seat of carrier with help of grease.
Assemble proper shifter sleeve over engaging gear,
pressing all the balls simultaneously.