


 1233 / 1525

ENGINE
66
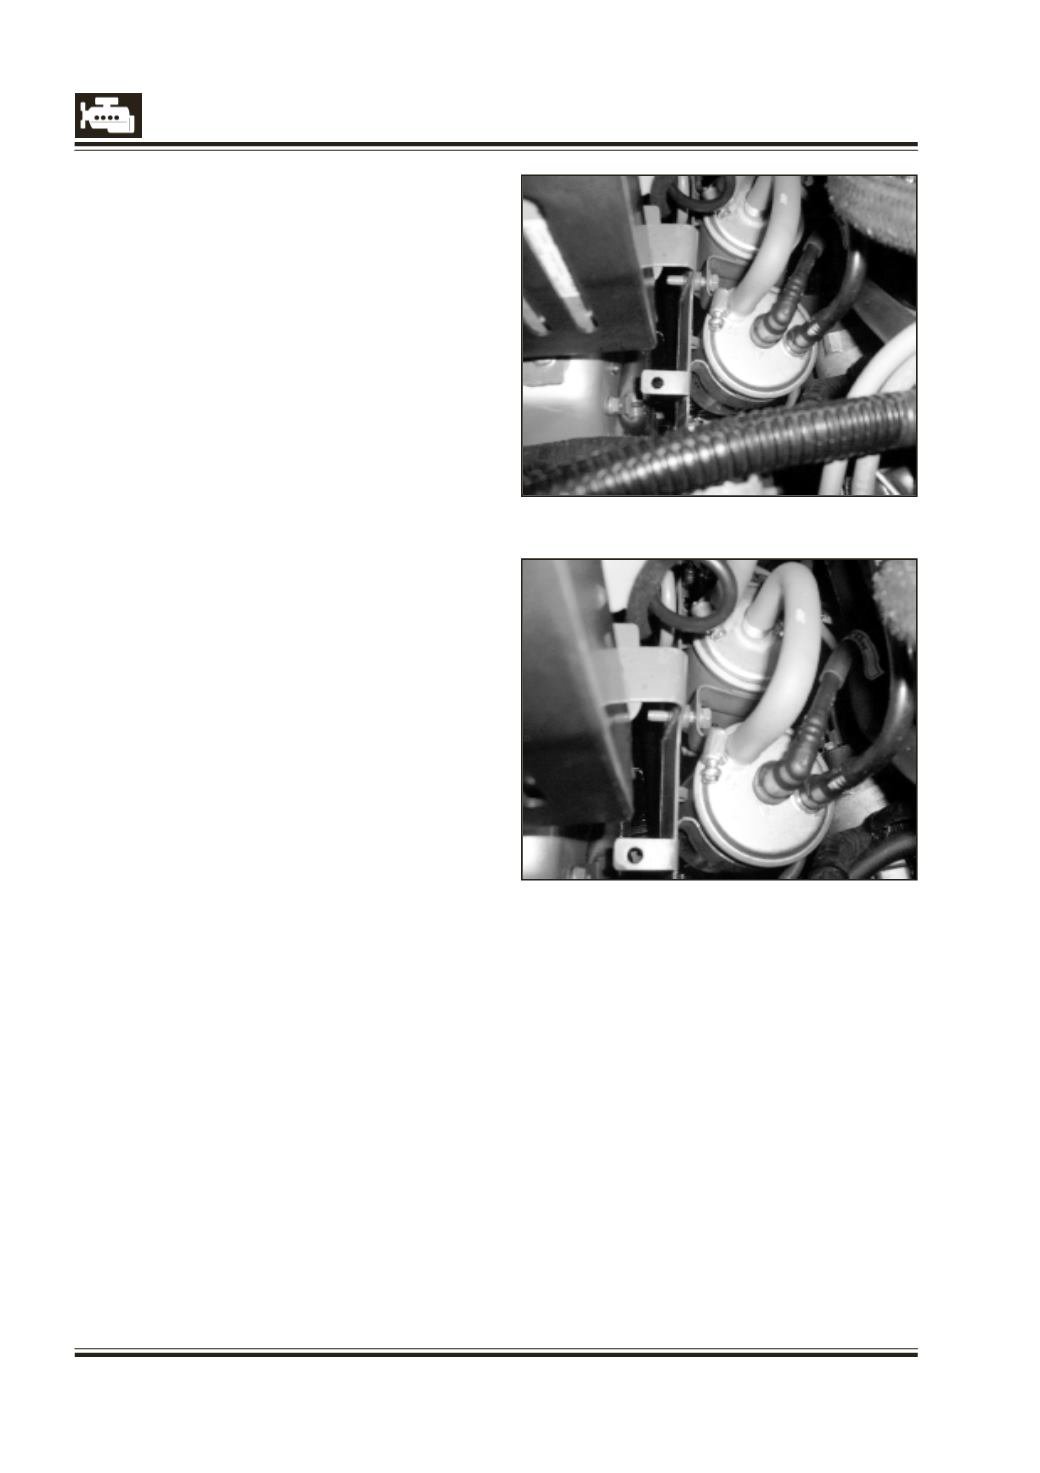
Fig 1
Fig 2
Procedure For Removal Sedimenter (Old type)
Removal
1.
Remove the upper engine cover.
2.
Further clean the sedimenter, its connections,
and the surrounding area.
3.
Disconnect the water sensor electrical
connector.
4 Disconnect the fuel tank to sedimenter supply
pipe and plug the pipe and port with
appropriate plug.
(Fig: -1)
5.
Remove the quick fit connectors from
sedimenter to fuel filter and plug the pipe and
port with appropriate plug.
(Fig: - 2)
6.
Loosen and remove the M8 bolt with a suitable
ratchet spanner of the fuel filter and
sedimenter mounting bracket.
7.
Lift the filter / Sedimenter.
Follow the draining procedure above till the point
5 (keep water sensor) then
l
Wait until all fuel water drained out of the
water sedimentor.
l
Remove the water sedimentor from the
vehicle.
Then follow the installation procedure given
below.
Installation
The installation procedure is as follow
1.
Place the water sedimentor in the bracket, the
2 protecting caps still in place.
2.
Avoid any spillage on the water sedimentor
while hydraulic connectors are not fitted.
3.
Tighten the sedimenter on the bracket in the
required conditions. Identify inlet (printed
arrow going forward to the port), outlet
(printed arrow going outward to the port)
ports on the water sedimenter.
4.
Remove the protecting cap and clip the inlet
hydraulic connector. Do not force or bend the
pipe.
5.
Remove the protecting cap and clip the outlet
hydraulic connector. Do not force or bend the
pipe.
6.
Screw the water sensor to the required torque
7.
Clip the electric connector to the water sensor.
8.
Check that there is no leakage after assembly.
9.
After starting the engine, check to make
certain that the sedimenter warning light is off.
NOTE
Fitting of sedimenter :
It is important to specify that it must be fitted
correctly (i.e. vertical with no angle) to avoid
possible damage due to it vibrating against metallic
attach that could cause
GO
leaks.