


 1230 / 1525

ENGINE
63
Fig 1
Fig 2
Fig 3
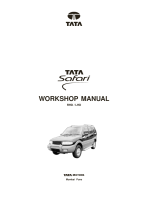
HP pipes removal procedure (Pump to Rail)
1.
Disconnect electrical connections, taking care
not to damage either half of the connectors.
Protect these against fuel/cleaning fluid splashes
with lint-free non-flocking cloth (fig. 1).
2.
Further clean the high pressure pipe, it’s
connections and the surrounding area with
solvent applied using a clean brush. Remove
particles with a vacuum cleaner.
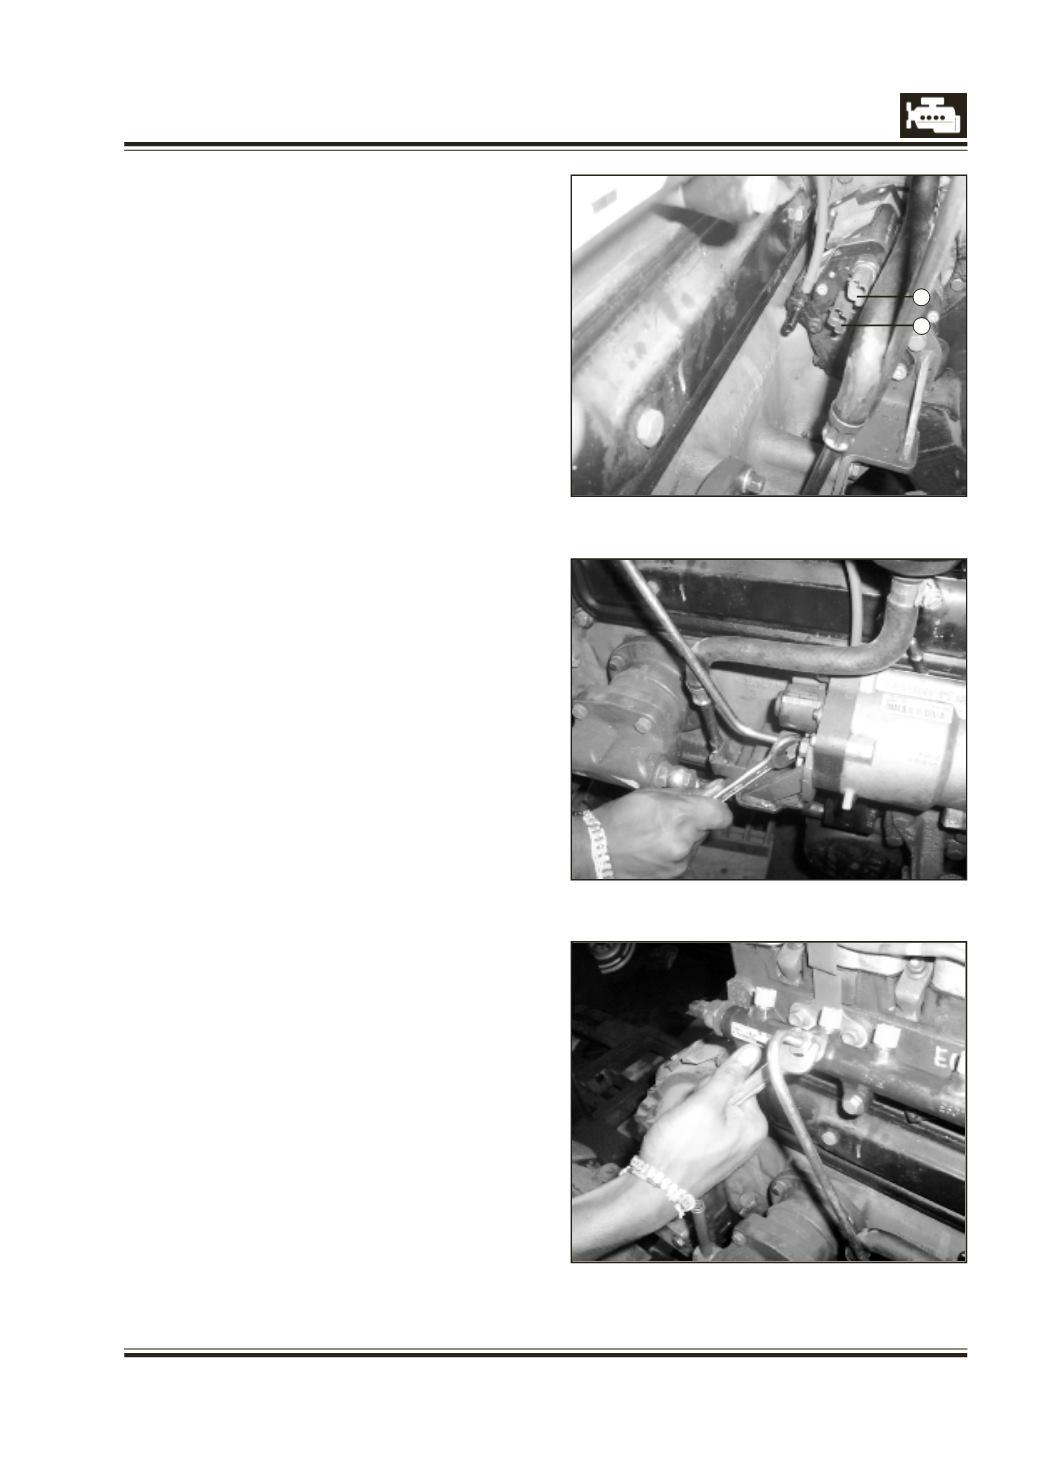
3.
Slacken the high pressure pipe nuts, pump end
first, using a 17mm spanner. (Fig: - 2.) & then
remove the pipe at rail end (fig. 3)
NOTE
: Apply the torque to the upper half of the
nut in order to avoid damaging it.
4.
Keep the pipe nipple in contact with the rail
cone with one hand and completely unscrew
thee nut with the other.
5.
While maintaining the pipe nipple in contact
with the rail, vacuum any contaminants
between the joint.
6.
Repeat the operation for the pipe connection
to the pump outlet.
7.
Remove the pipe, vacuum any particles within
the cones (rail and pump outlet) and
immediately protect inlet /outlet of the rail &
pump with the appropriate caps.
HP pipes fitment procedure (Pump to Rail)
Important:
A used HP pipe must not be reused.
Remove the protective plugs only when connecting
the HP pipe.
Allocation of outputs on the rail: (Fig: A.)
Warning : Plugs must be discarded after use.
1.
Slacken the rail in order to release the pressure
on the pipe.
2.
Remove the new pipe from its packaging at
the last moment and remove plugs.
NOTE :
Do not reuse the old pipe under any
circumstances.
3.
Remove rail & pump protection plugs.
4.
Lubricate the nut threads with the lubricant
supplied in the kit.
5.
Position pump end of the pipe in its cone &
hand tighten the nut.
6.
Position rail end of the pipe in its cone & hand-
tighten the nut.
1
2