


 617 / 1575

Rear Axle
29
After Torturing bend the lock washer in at least
two of the slot on locknut.
Install tone ring & press fitted on axle shaft in
similar way that of used for press the bearing on
axle shaft (refer 'press bearing housing on axle
shaft' instruction) till gets Bottom out.
Note:
Tone Ring Requires 700 to 1200 Kgf Force to
Press fit.
Warning:
Do Not Use the Tone Ring if Found Damaged,
This
May malfunction the ABS system.
CHECK AXLE SHAFT ASSEMBLY:
Check Following Points on the axle shaft
assembly.
1. Bearing is properly pressed on Axle Shaft.
2. No Damage on Axle Shaft Flange Face.
3. Bearing is not damaged or No Grease is
spilling out from Bearing.
4. Lock Washer is properly bent into the
Locknut.
5. Tone Ring is Free from damage & Pressed
Properly.
6. Wheel Bolt Threading is not damaged.
7. Brake Assembly Bolt Threading is not
damaged.
6.0 RE-ASSEMBLY OF AXLE & FIT TO
VEHICLE
6.1 INSTALL CARRIER SECTION ON BANJO
BEAM
Flat face of the carrier assy. and flat surface of the
banjo beam must be free of any oil film or foreign
material. Apply Ana bond A-676 or 3M sealant to
flat surface of banjo beam. Ensure that sealer
bead is on the inside of screw holes.
Bead must be 3 to 6 mm high and 3 to 6 mm
wide.
Install stud into banjo flat surface at 8-'0' clock and
2-'0' clock positions. Use the two studs to guide
Carrier assembly position on the banjo beam.
Install nut for tightening & Torque it to 23-29 N-M
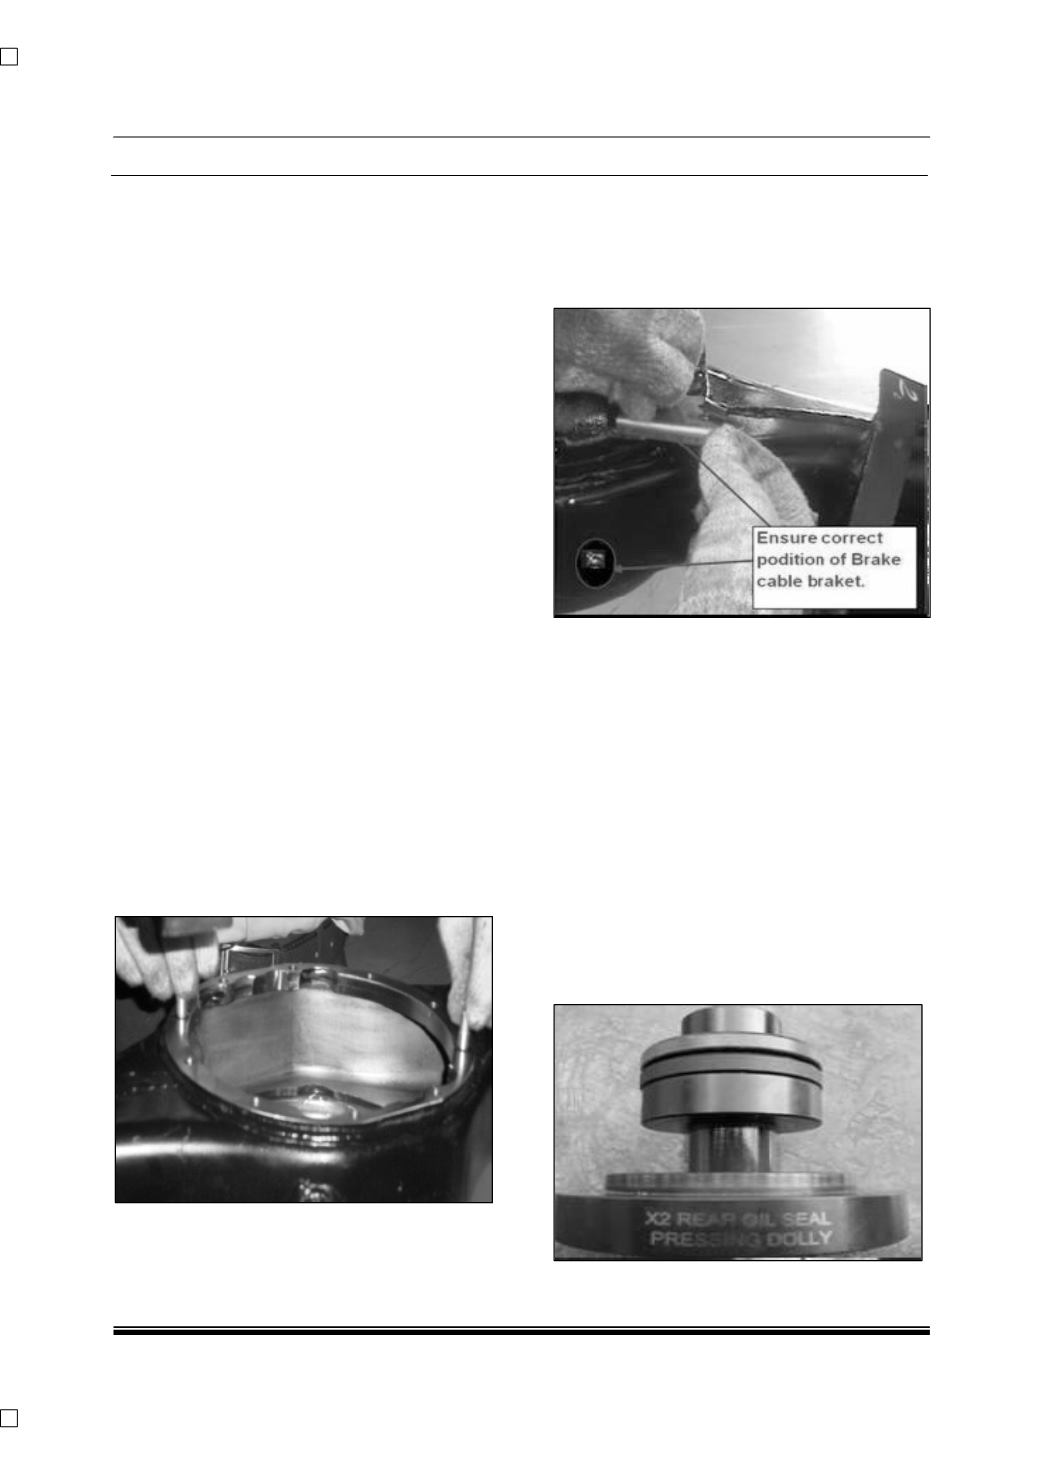
Install Break Bundy Bracket on stud near to
breather
And add nut on it. Add remaining carrier section
Mounting screws as shown in the
Torque screws & Nuts to 23 to 29 N-M; evenly &
alternately.
Note:
Allow one hour cure time before vehicle
operation.
6.2 Install Axle Shaft Assembly on Banjo Beam
Install Inboard Oil Seal & Shaft Guide: