


 165 / 1081

1.2L REVOTRON ENGINE
130
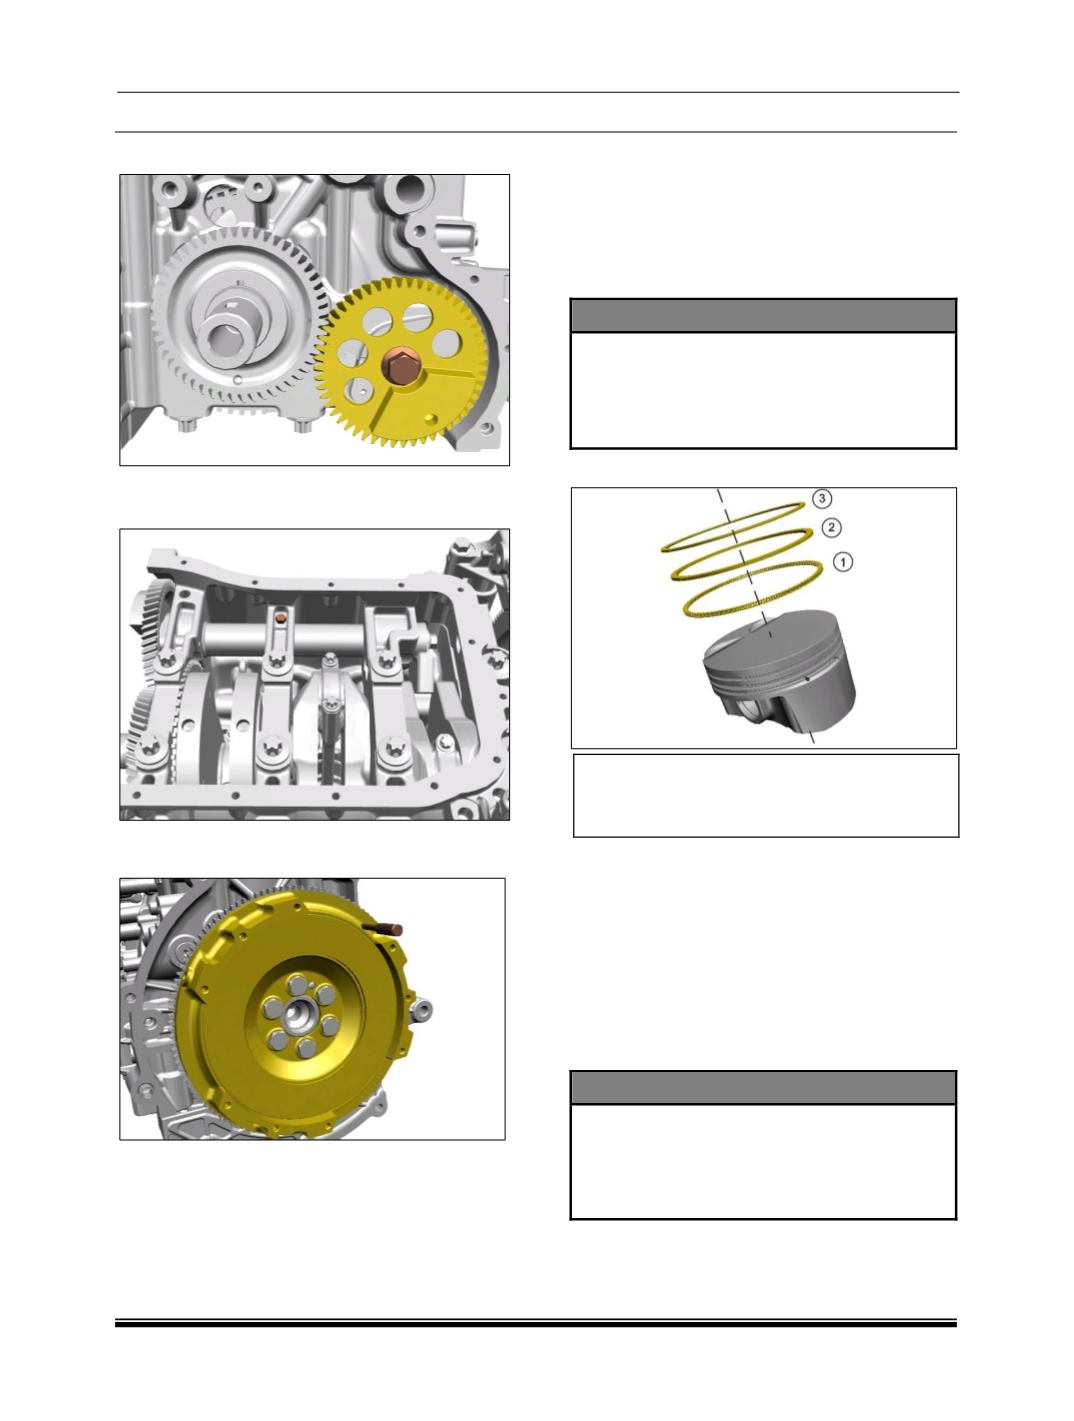
26. Lock the balancer gear using a mounting bolt.
27. Remove the mass balancer locking bolt from
the bed plate.
28. Remove the flywheel-locking tool and check
for two complete free crankshaft rotations.
II.
Fitment of Piston and Connecting rod
Sub-Assemblies
1. Starting with oil rings, install the taper faced
rings and top rings using ring expander as per
illustrated in fig.
2. Ensure the top mark on the top ring should be
on top facing piston crown.
CAUTION
The piston ring gap should not be inline
with each other while assembling on
piston.
Place the piston rings on the piston, such
that the ring gaps are 120
0
apart.
3. Using ring expander, assemble piston rings.
1. Oil Ring.
2. Taper Faced Ring.
3. Top Ring.
4. Place the bearing shells of connecting rod
assembly.
5. Lubricate the gudgeon pin and small end
before assembly.
6. Place the gudgeon pin to the small end of
connecting rod to assemble connecting rod in
piston assembly.
7. Assemble gudgeon pin from the small end of
connecting rod.
8. Assemble connecting rod.
NOTE
Ensure that the arrow mark on the piston
crown is facing the left of technician and
connecting rod notch is on the opposite
side of arrow mark while assembling the
piston connecting rod assembly.