


 1389 / 1906

ELECTRICAL
87
4. Press the lock button and push down the blade
assembly from its location and take out the
wiper blade assembly from wiper arm.
INSPECTION:
Inspect wiper blade rubber for any cut. If found,
replace the wiper blade assembly.
REFITMENT:
1. Before fitting the wiper arm and blade assembly
bring the wiper motor to the parking position.
This can be done by switching ON the Ignition
and giving a single wipe.
NOTE
Switch OFF the Ignition only after the motor has
stopped.
2. Fit the wiper arm in its parking position to the
shaft locating it on the splines so that the wiper
blade is just clear of the windshield glass. As
shown in the below figure.
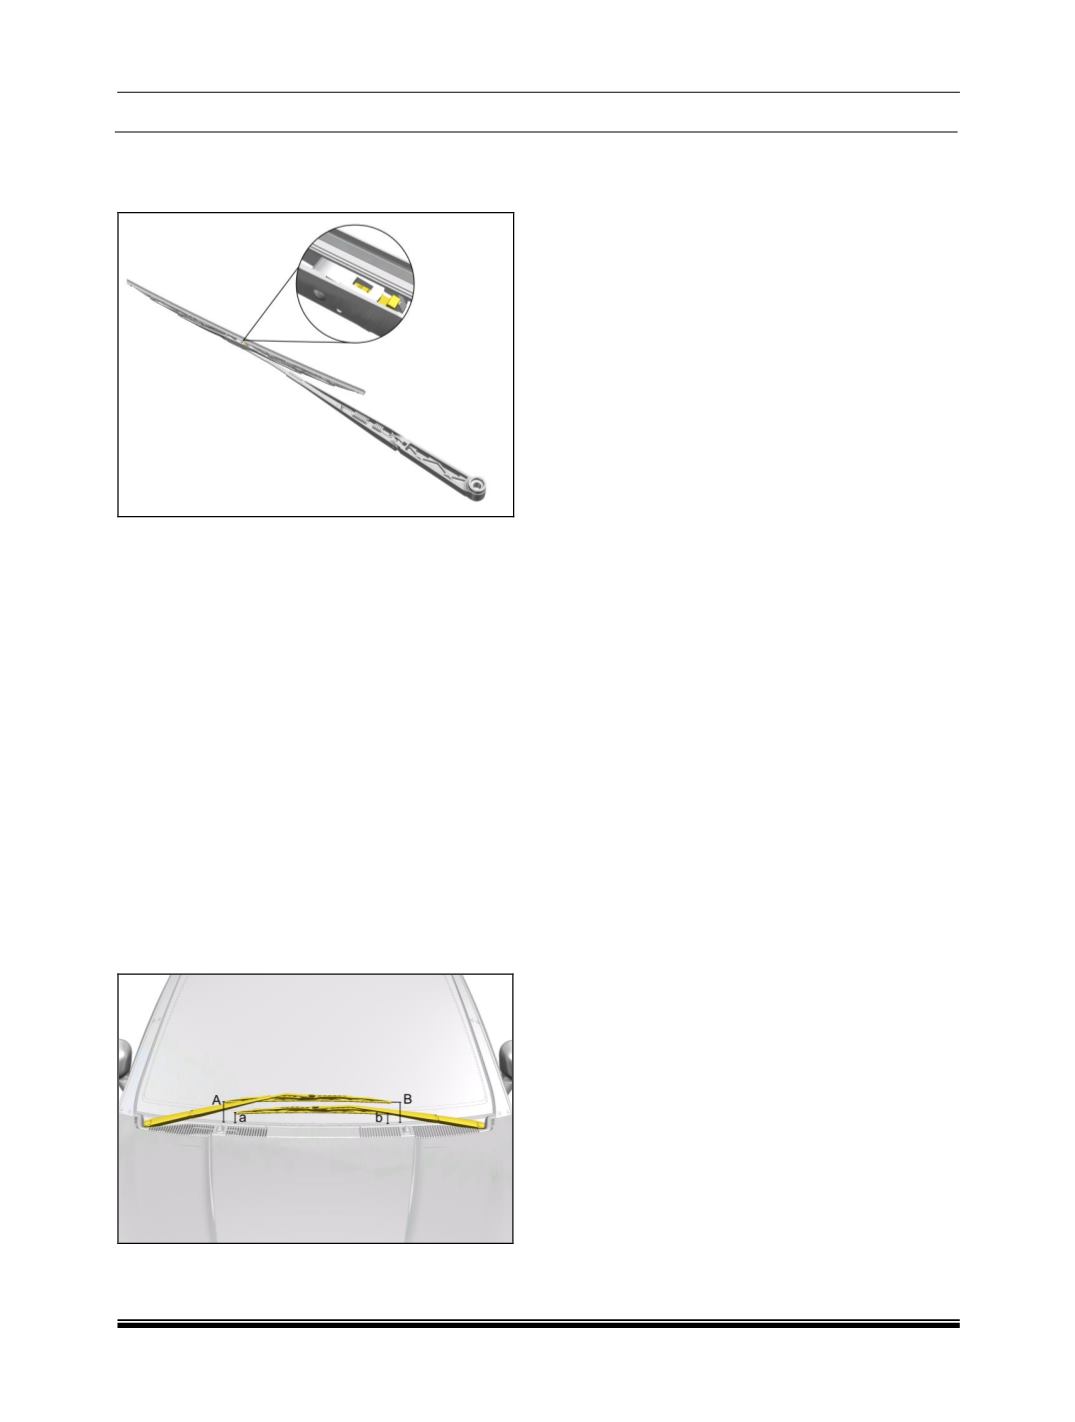
3. Make sure that the distance of wiper blade with
respect to leaf screen mould is as shown in the
below fig.
Driver side Blade distance with respect to leaf
screen mould
A = 79 mm
B = 83 mm
Co-driver side Blade distance with respect to leaf
screen mould
a = 30 mm
b = 24 mm
NOTE:
Co-driver side wiper ARM andblade assembly
should be aligned with marking provided on the
black band of the windshield glass.
4. Fit one mounting nut and tighten with specified
torque.
Tightening toque for Nut: 2.5 Kgfm
5. Fit the rubber cover.
6. Check the correct operation of wiper.