


 1180 / 1906

BRAKES
43
Assembly :
NOTE :
Discard all the rubber parts and the anti-rattle
clips and use new one at the time of
assembly.
1. Dip the sealing rings in fresh brake fluid and
fit it on to the groove in the caliper pot and
work around with fingers until properly seated.
2. Smear fresh brake fluid to the pistons surface,
assemble piston boot on to the piston by
reversing the dust cover.
3. Smear brake fluid liberally into the bores. Now
locate the piston squarely and push gradually
into the bore until it reaches the bottom.
NOTE :
If the piston does not move smoothly, remove
it and examine the sealing ring for correct
seating in its groove. Fit the other end of the
piston boot on to the caliper housing. Fit the
other piston by the same method.
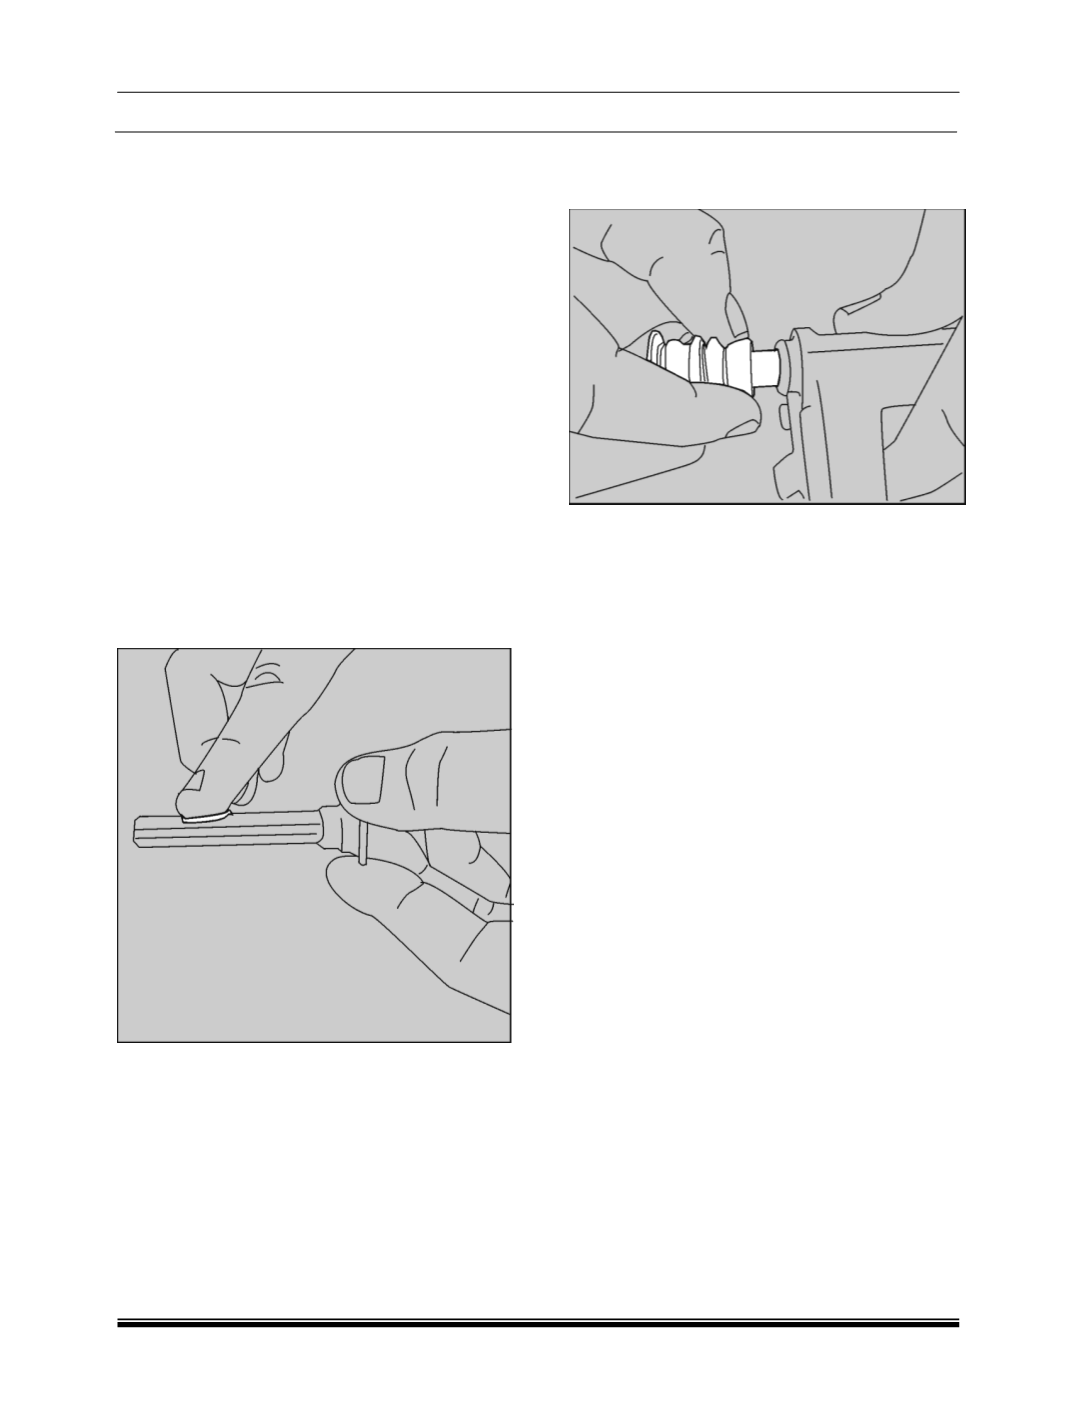
4. Smear sliding pins with the grease provided in
the kit.
5. Fit the sliding pin rubber boot on to the sliding
pin.
CAUTION :
Do not use mineral base grease for
lubricating sliding pin. Using mineral base
causes swelling of sliding pin rubber bush.
6. Insert the sliding pin into the carrier bores and
fit the sliding pin boots on to the carrier
(thick
collar end of the boot).
7. Now fit the caliper housing to the carrier in the
reverse order of removal.
NOTE :
Adjust the sliding pin such that the flat end
should match caliper housing slot.
8. Tighten the pin bolt.