


 1127 / 1863

PROPELLER SHAFT
10
B. PROPELLER SHAFT
(4X4)
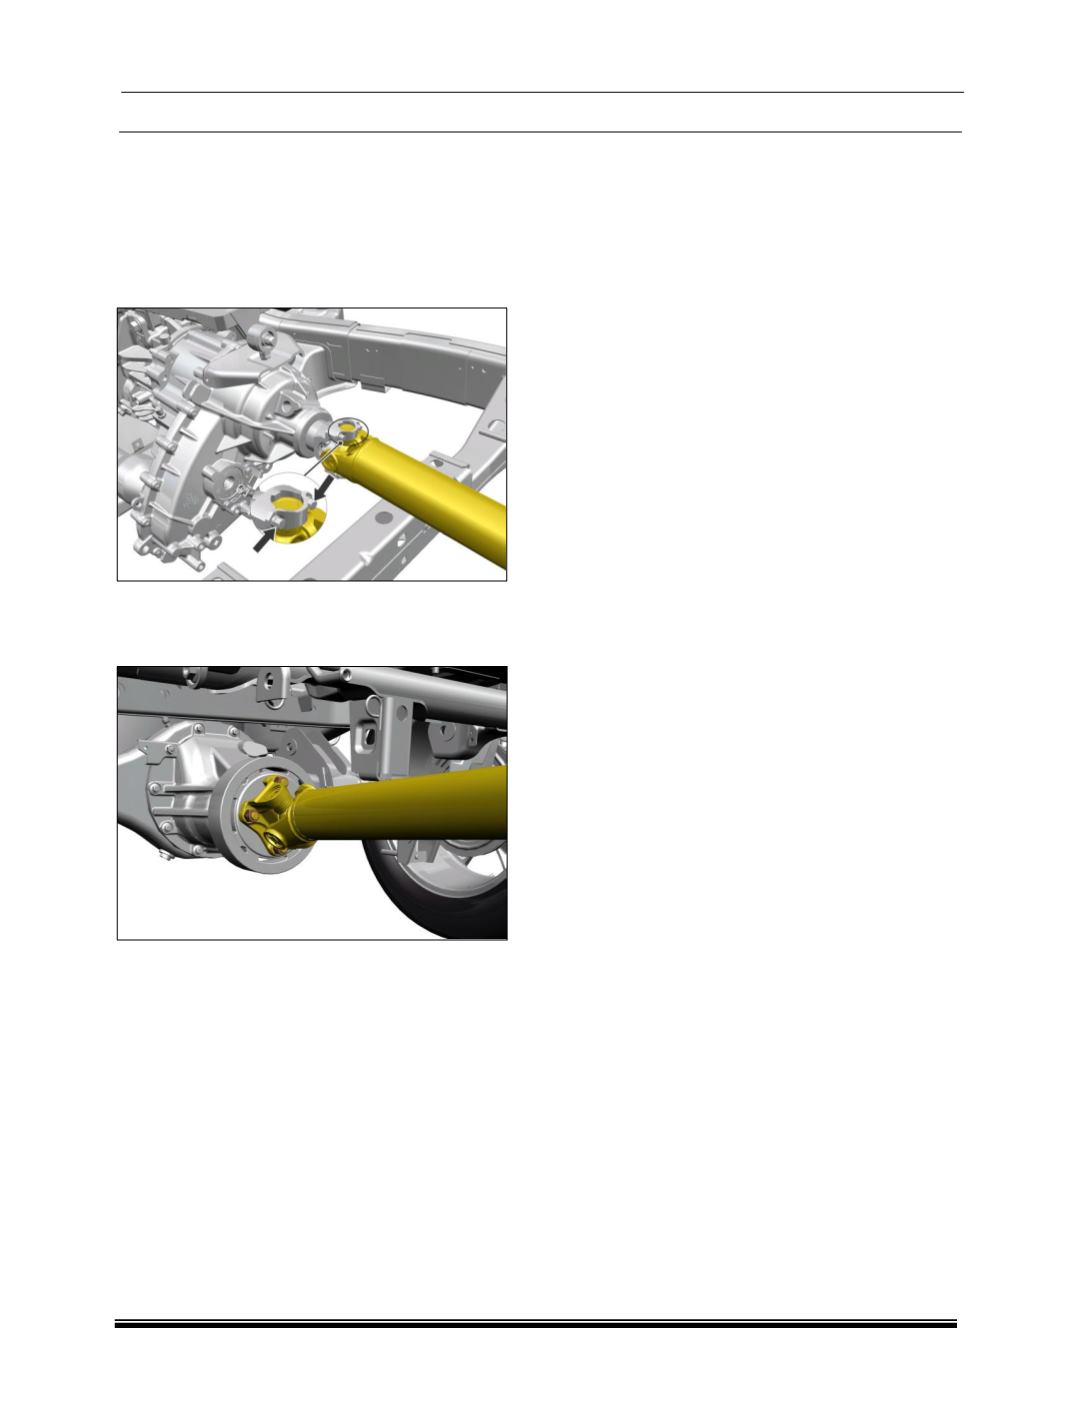
I REAR PROPELLER SHAFT
REMOVAL
1. Loosen and remove the front mounting bolts
from Transfer case. Take out the front end of
rear propeller shaft from transfer case.
2. Loosen and remove the mounting nuts
(Nos.4)
of bearing strap from rear axle. Take out the
rear end of propeller shaft from rear axle.
FITMENT
Before fitment ensure that
1. Splines should slide freely with slight drag from
splines shaft seal. Cross should flex and be
free from excessive bind.
NOTE
A slight drag is the most desirable condition on a
new cross and bearing kit. Excessive looseness is
not desirable and will result in an unbalanced
propeller shaft.
2. Mounting Flange should be free from burrs,
paint and foreign substances which would not
allow proper seating at assembly.
3. While installing and servicing, the system
balanced assemblies, the following care
should be taken:
CAUTION
End yokes must not be rotated from their
original position during reassembly.
Self-locking bolts and Nyloc nuts used with
bearing straps should not be reused
.
CAUTION
1.
Do not go under the vehicle when the engine is
running.
2.
Install a support strap when servicing propeller
shaft to prevent personal injury.
WARNING
A serious or fatal injury can occur due to:
1.
Lack of proper training.
2.
Fail to follow procedures.
3.
If proper tools and equipment are not in use.
4.
If assembly of propeller shaft components is
improper.
5.
Use of incomplete propeller shaft components
assembly.
6.
Use of worn out or damaged propeller shaft
components.
7.
To avoid this get proper training, learn and
follow safe operating procedures, use proper
tools and safety equipment’s, use proper
components in good condition.
For installation proceed in the reverse.