


 686 / 1236

BRAKES
60
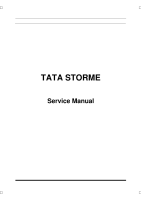
7 Remove sealing ring from the groove in the
caliper housing. Remove the bleed screw from
the caliper housing.
INSPECTION
After thoroughly cleaning with fresh brake fluid
examine all parts for damages and corrosion.
PISTON
Outer surface should be free from nicks, score or
rust and should feel smooth to touch. Do not use
emery paper on piston surface.
CALIPER HOUSING
Bore should be free from score, pitting and
corrosion. The seal groove in the bore should be
thoroughly cleaned and there should be no nicks
at the edges. If the above conditions are quite
satisfactory then replacement with appropriate kit
will give satisfactory performance. If not the
caliper assembly should be replaced.
SLIDING PINS
Sliding pins should be free from rust, bends and
sliding pin dust covers should be soft and free
from cracks or puncture if required replace them.
ASSEMBLY
1 Smear the sealing ring with fresh brake fluid, fit
it on to the groove in the caliper pot and work
around with fingers until it is properly seated.
Smear fresh brake fluid on to the piston
surface. Fit dust boot in to the caliper groove.
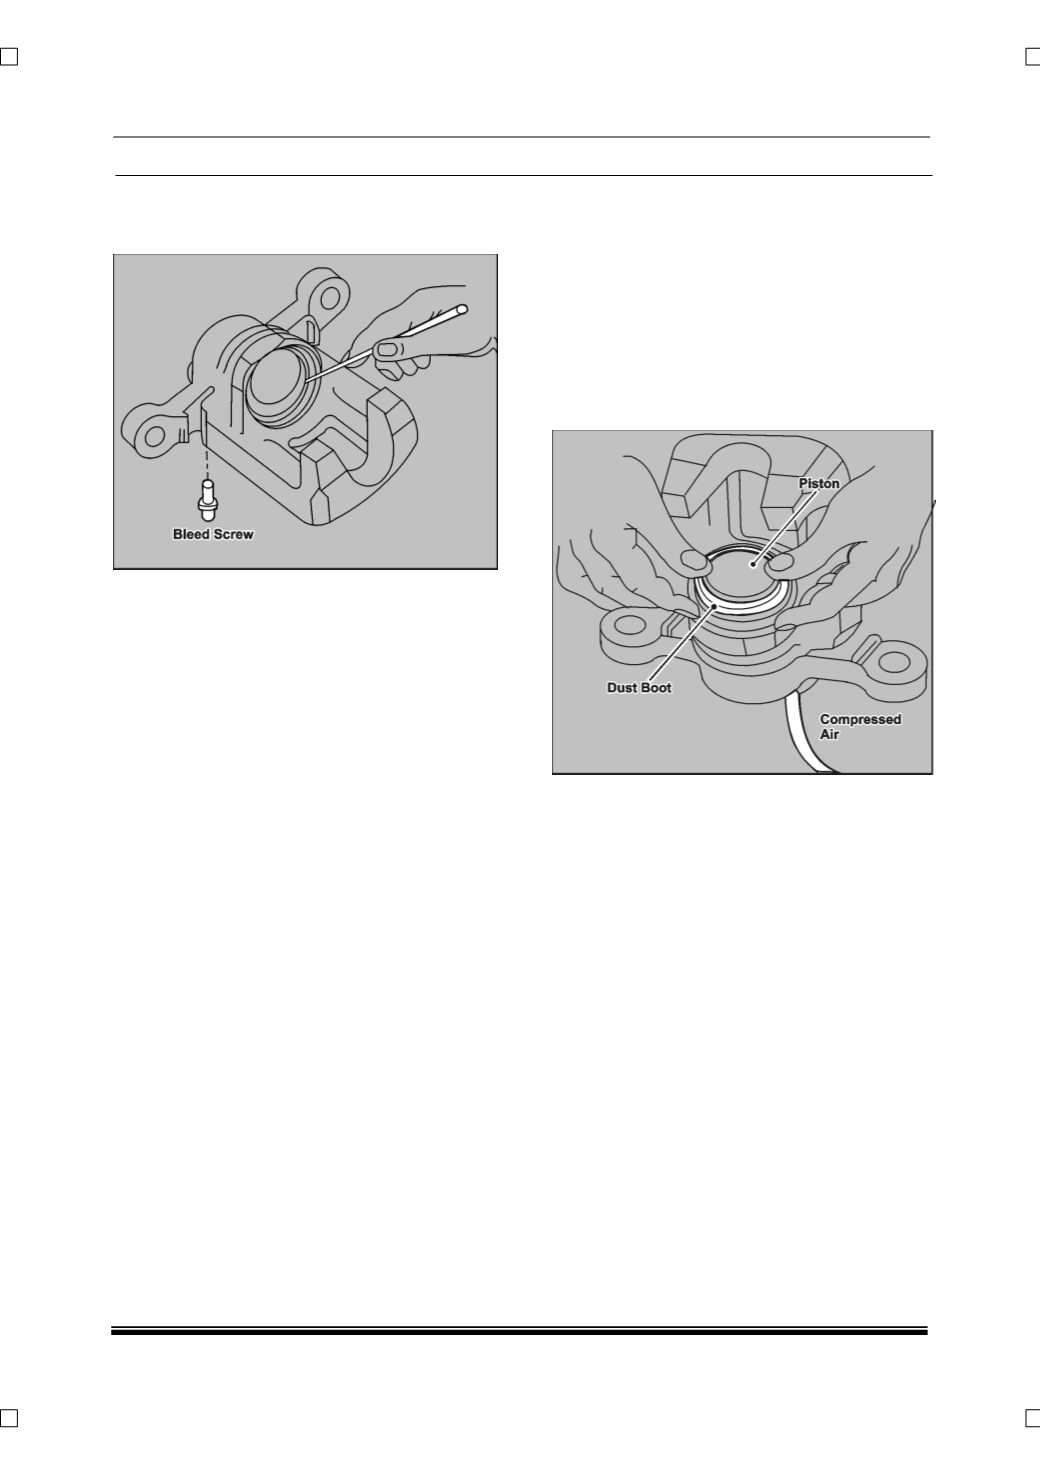
2 Assemble seal and boot in the respective
groove. Apply compressed air at low pressure
(@ 2 bar)
through the supply port of caliper.
Locate the piston on boot the airflow will get
restricted and dust boot will inflate on all sides.