


 69 / 1526

40
4 DLT ENGINE
INSPECTION AND CLEANING
RADIATOR AND CAP
Cleaning
F
it radiator cap.
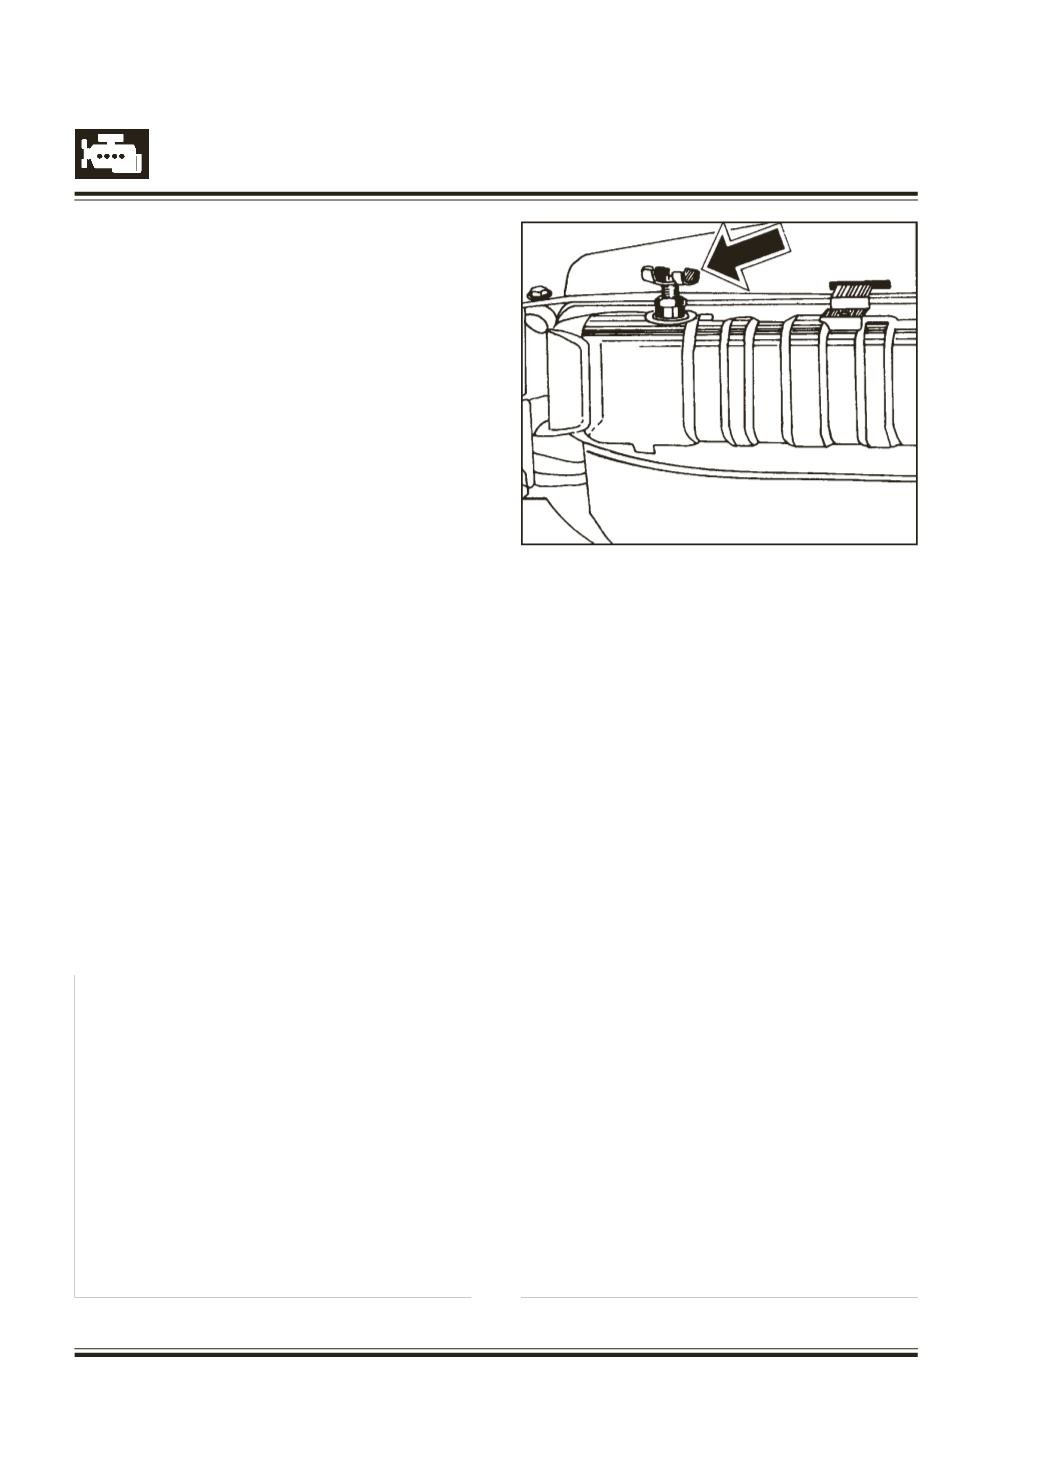
C
lose radiator drain cock firmly. Refer Figure 65.
P
lace radiator upside down on ground.
C
onnect water supply line to radiator bottom tank at
its outlet.
S
lowly increase water supply to radiator . Maximum
pressure in system should not exceed 1.0 bar.
C
ontinue water flow till outlet water is visually clean
and clear.
R
emove connection made for cleaning.
R
emove radiator cap and suitably plug inlet and outlet
of radiator.
C
ompletely fill radiator with measured quantity of
water. If radiator capacity is less than specified it
reflects choked tube.
R
eclean / de-scale radiator using suitable cleaning
compound as per manufacturer’s instruction.
F
it back radiator cap.
B
low compressed air or oil/grease dissolved with
water, through radiator fins from engine side to clean
air passages.
D
o not brush or scrape radiator core in any way.
Testing for leaks
R
emove radiator cap.
S
uitably plug radiator inlet, outlet and filling neck.
R
emove radiator drain cock adapter.
W
ith suitable adapter connect pressurised air supply
to radiator drain cock hole.
S
ubmerge radiator in water tank.
A
dmit air at 1.0 bar (max) into radiator.
C
heck for leaks and if any suitably mark them.
Fig. 65
T
ake out radiator from water tank.
D
isconnect air supply connections.
R
emove all plugs. Rectify leaks by soldering
R
echeck radiator for leakage.
F
it back radiator drain cock adapter.
F
it back radiator cap.
Instruction for soldering
Cr-Br. Radiators
U
se 40% tin content solder. This solder has higher
tin content and hence lower melting temperature than
used in manufacture of radiator. Use of this will not
have any effect on original soldering near by.
U
se non corrosive fluxes for soldering. Neutralize and
wash residues to avoid any consequent damage. Acid
should not be used for this purpose.