


 452 / 1526

27
REAR AXLE
Place the proper thickness depth shim on pinion gear
and install the rear pinion bearing cone; using Installer,
rear pinion bearing cone Pt. no. 2698 5890 3519 Fig.
45
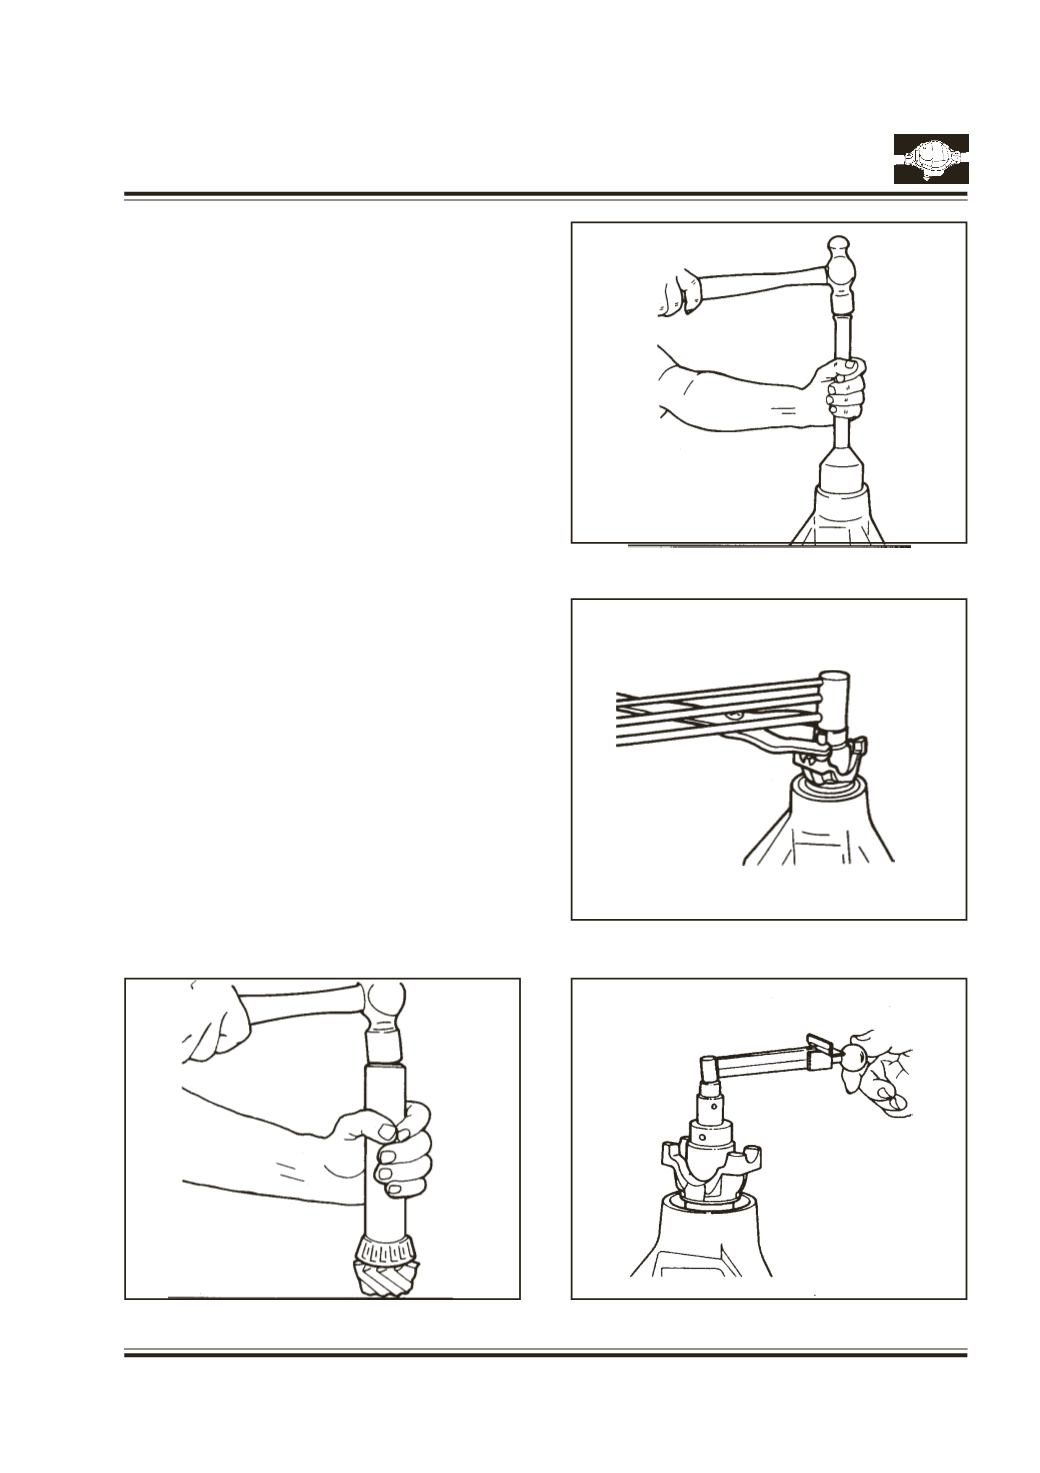
Assemble bearing cone, slinger and new pinion seal
into housing. Use Installer, pinion oil seal Pt. no.
2698 5890 3513 and handle universal Pt. no. 2698
5390 3506. Fig. 46
Apply a light coat of oil to the lip of oil seal.
Install new collapsible spacer onto pinion stem and
assemble into housing. Using Holder, yoke Pt. no.
2698 5890 3505 and Installer, yoke Pt. no. 2698 5890
3518. assemble end yoke, washer and new pinion
nut.
Using holder, yoke Pt. no. 2698 5890 3505 and torque
wrench. Tighten to the specified torque or until all
end play is removed. Continue to tighten in small
increments until the rotating torque is achieved.
Note:
Exercise care during the bearing preload
torque adjustment. DO NOT overtighten
loosen and then retighten the nut. DO NOT
exceed the bearing preload torque.
If preload torque is exceeded, a new collapsible
spacer must be installed and the torque sequence
repeated.
Check for the rotating torque of pinion. It should
read between the 2.26 – 4.52 Nm with new bearings.
Note:
If only oil seal is changed use new collapsible
spacer and keep same rotational torque of
pinion as before changing oil seal.
Fig. 46
Fig. 47
Fig. 48
Fig. 45