


 1260 / 1525

ENGINE
93
Fig. 1
Fig.2
Fig.3
CYLINDER BLOCK
PRESSURE TESTING, INSPECTION AND REPAIR OF
CYLINDER BLOCK
(Cylinder block disassembled, timing gear housing,
clutch housing, oil cooler and water pump removed.)
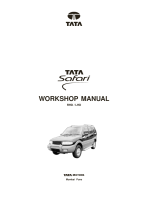
PRESSURE TESTING OF CYLINDER BLOCK
1 Thoroughly de-grease, de-scale and clean cylinder
block.
2 Mount steel plate with rubber pads on cylinder
block to surface to close water jacket openings.
Similarly, mount the side sealing plate in place of
oil cooler.
3 Fit sealing plate with adaptor on the front face of
the block and connect rubber hose to the hand
operated pump dipped in a container of hot water
(70 deg C to 80 deg C).
4 Pressurise cylinder block at approx. 5 bar and
check cylinder block carefully for leaks. Fig. 1.
5 Alternately, dip the complete cylinder block with
sealing plates in position in a tank containing
water at 70 deg C to 80 deg C temperature.
Connect air hose to the front sealing plate and
pass compressed air at 5 bar and check for leakage
in block.
6 Replace cylinder block showing leakage.
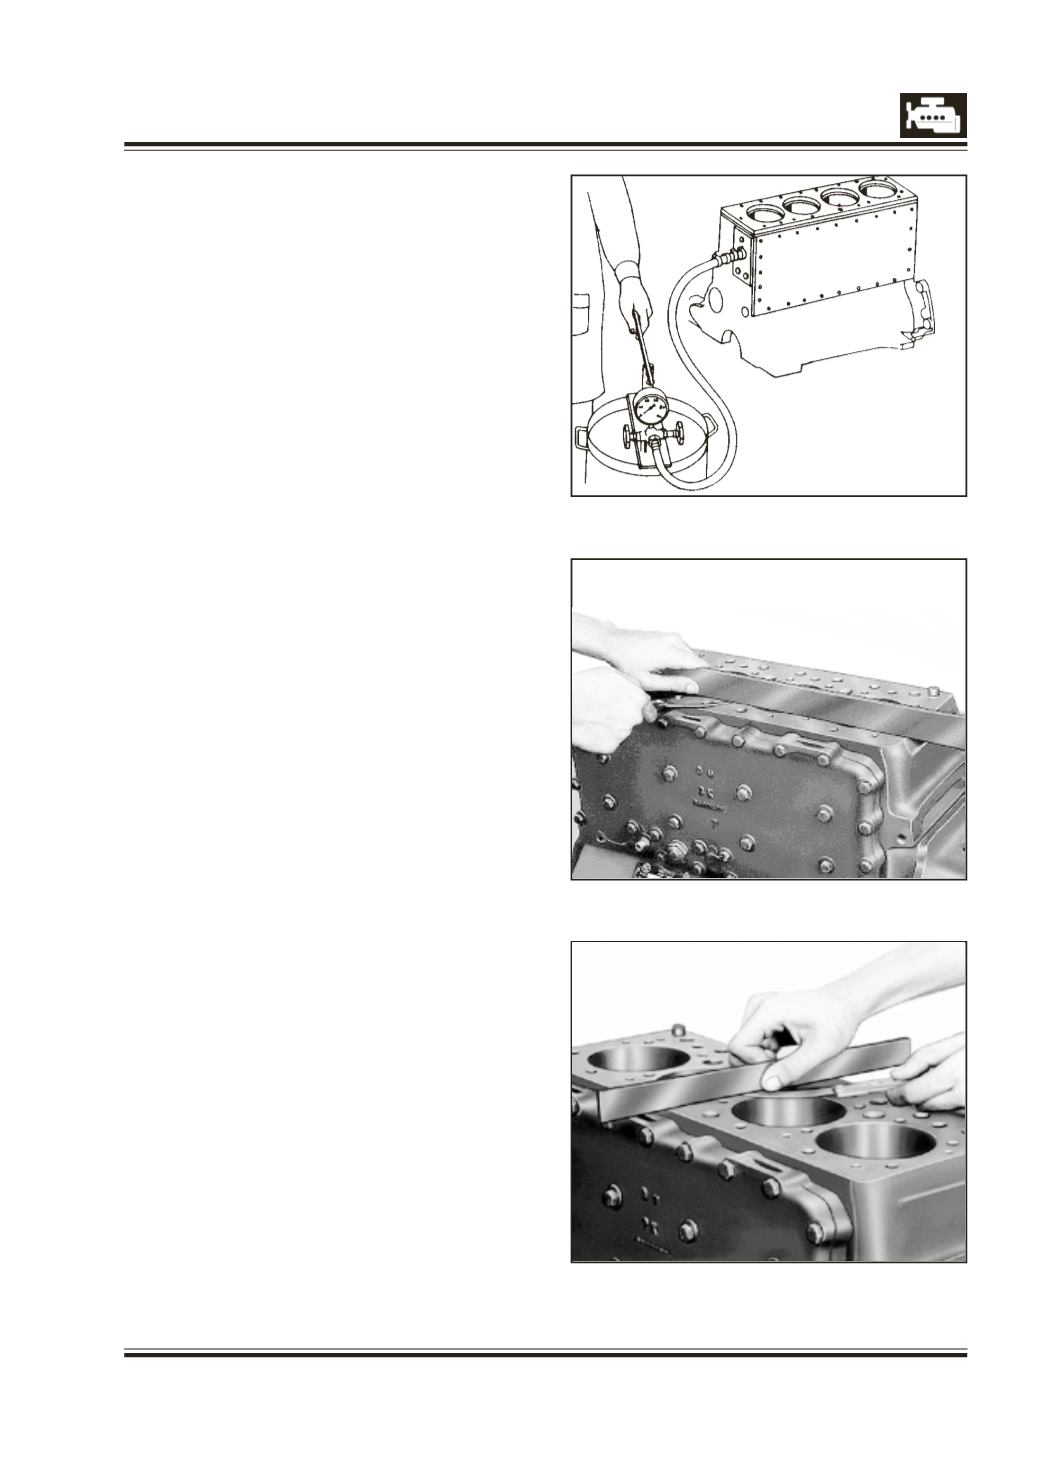
INSPECTION AND REPAIR OF CYLINDER BLOCK
i. Cylinder Block
Check cylinder head mating surface of the
cylinder block for unevenness with the help of
straight edge. Fig. 2 & 3. If necessary, grind this
surface just to clear the unevenness. Ensure that
specified machining tolerance is not exceeded.
Permissible minimum height of block is
290.20 mm.
ii. Main bearing parent bores
1 Thoroughly clean main bearing\caps and
corresponding machined surface of crankcase.
2 Mount main bearing caps in position on the
crankcase taking care that grooves for bearing
shells lugs are on the same side, set numbers
on the block and caps correspond and serial
order of the caps maintained.
3 Screw in and tighten main bearing cap bolts
evenly and equally to specified torque.
4 Measure main bearing parent bores using
internal measuring gauge fig. 4 and record
readings on Engine inspection sheet 11.