


 139 / 1588

100
4 DLT ENGINE
a.
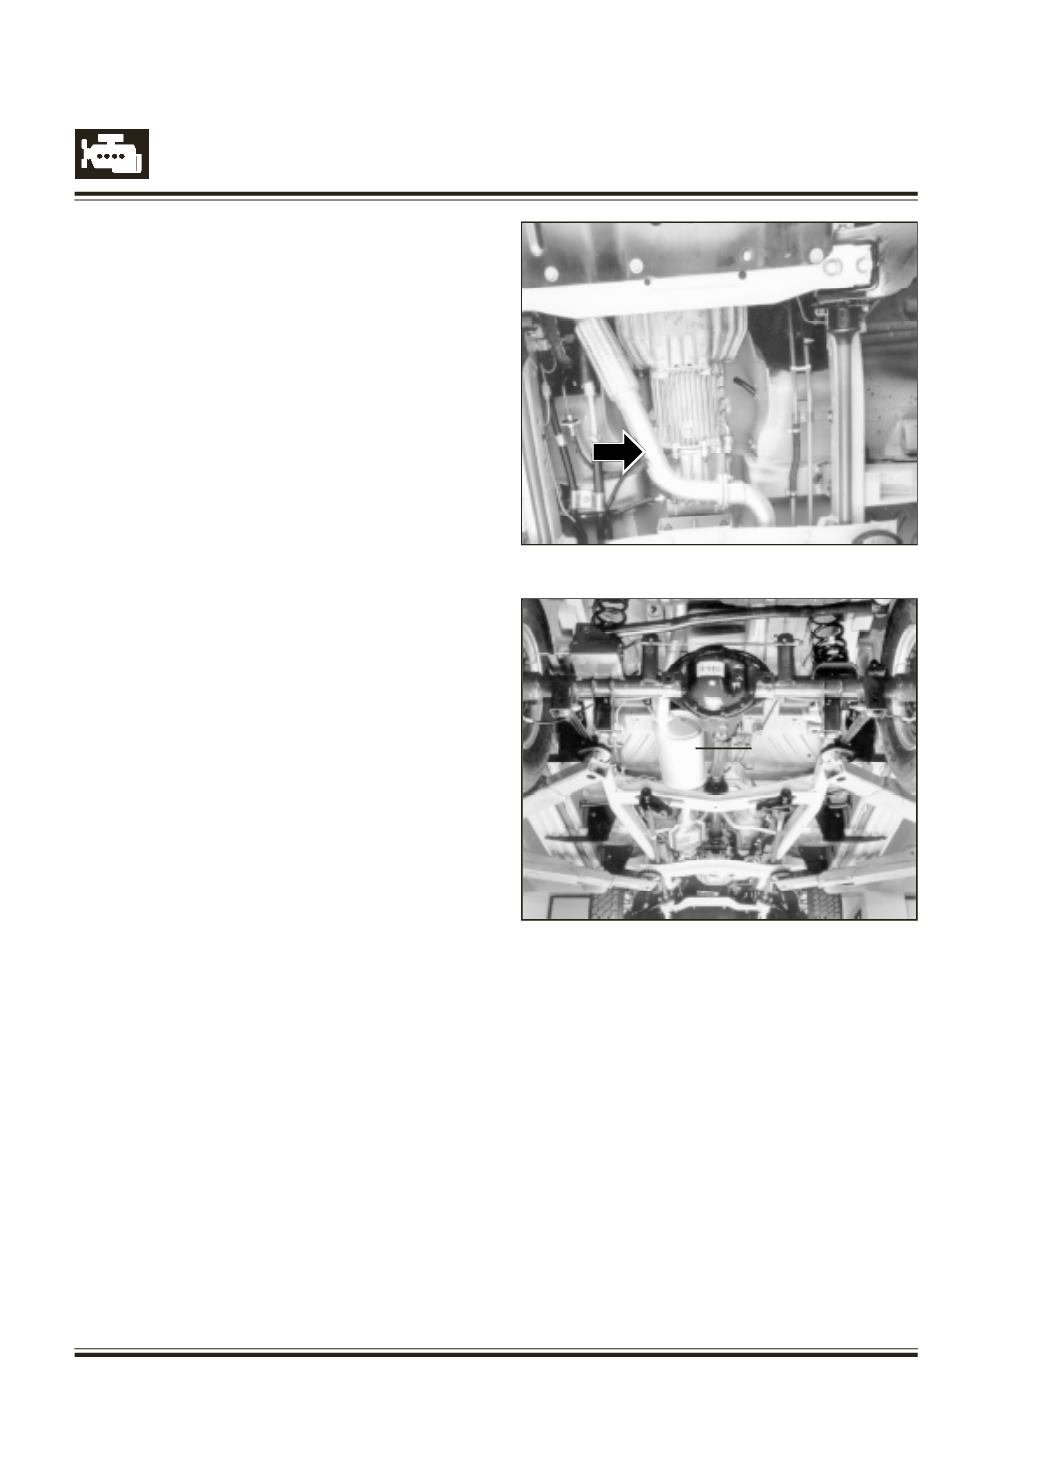
Removing - Refitting Exhaust front pipe
(Fig. 189)
-
Disconnect the exhaust front exhaust pipe by
removing the 3 bolts.
-
Remove exhaust pipe from assy. pipe from rear
side.
b. Removing - refitting exhaust assy.
catalytic
convertor pipe, assy. 'J' pipe, assy.main silencer
with pipe, rear intermediate pipe and assy. tail
pipe.
-
Disconnect the assy. pipes one by one by
removing the screws from joints and from the
rubber hangers.
c.
Tightening torques.
At - Manifold end - 6.4 mkg
At - Other joints - 3.2 mkg
MAINTENANCE
Warning :
To avoid the danger of being burned, do not touch
the exhaust systemwhen the system is hot. Any
service on the exhaust system should be
performed when the system is cool.
At every interval of periodic maintenance service, and
when vehicle is raised for other service, check
exhaust system as follows :
l
Check rubber mountings for damage,
deterioration, and out of position.
l
Keep sufficient clearance between exhaust
system components and underbody or adjust
parts.
l
Check exhaust system for leakage, loose
connection, dent and damage.
If bolts or nuts are loosened, tighten them to
specified torque.
l
Check nearby body areas for damage, missing
or mispositioned part, open seam, hole, loose
connection or any other defect which could permit
exhaust fumes to seep into vehicle.
ON VEHICLE SERVICE
EXHAUSTMANIFOLD
l
Check gasket for deterioration or damage.
Replace them as necessary.
EXHAUST PIPE
For replacement of exhaust pipe, be sure to hoist
vehicle and observeWARNING under "Maintenance"
and following.
Caution :
As exhaust pipe and pre-catalytic converter have
three way catalytic converter in it, it should not
be exposed to any impulse.
Be careful not to drop it or hit it against
something.
l
Tighten bolts and nuts to specified torque when
reassembling.
l
After installation, start engine and check each
joint of exhaust system for leakage.
Fig. 189
Fig. 190
Exhaust
silencer