


 518 / 1428

506
BRAKE SYSTEM
3. INSPECTION
3.1 VISUAL INSPECTION
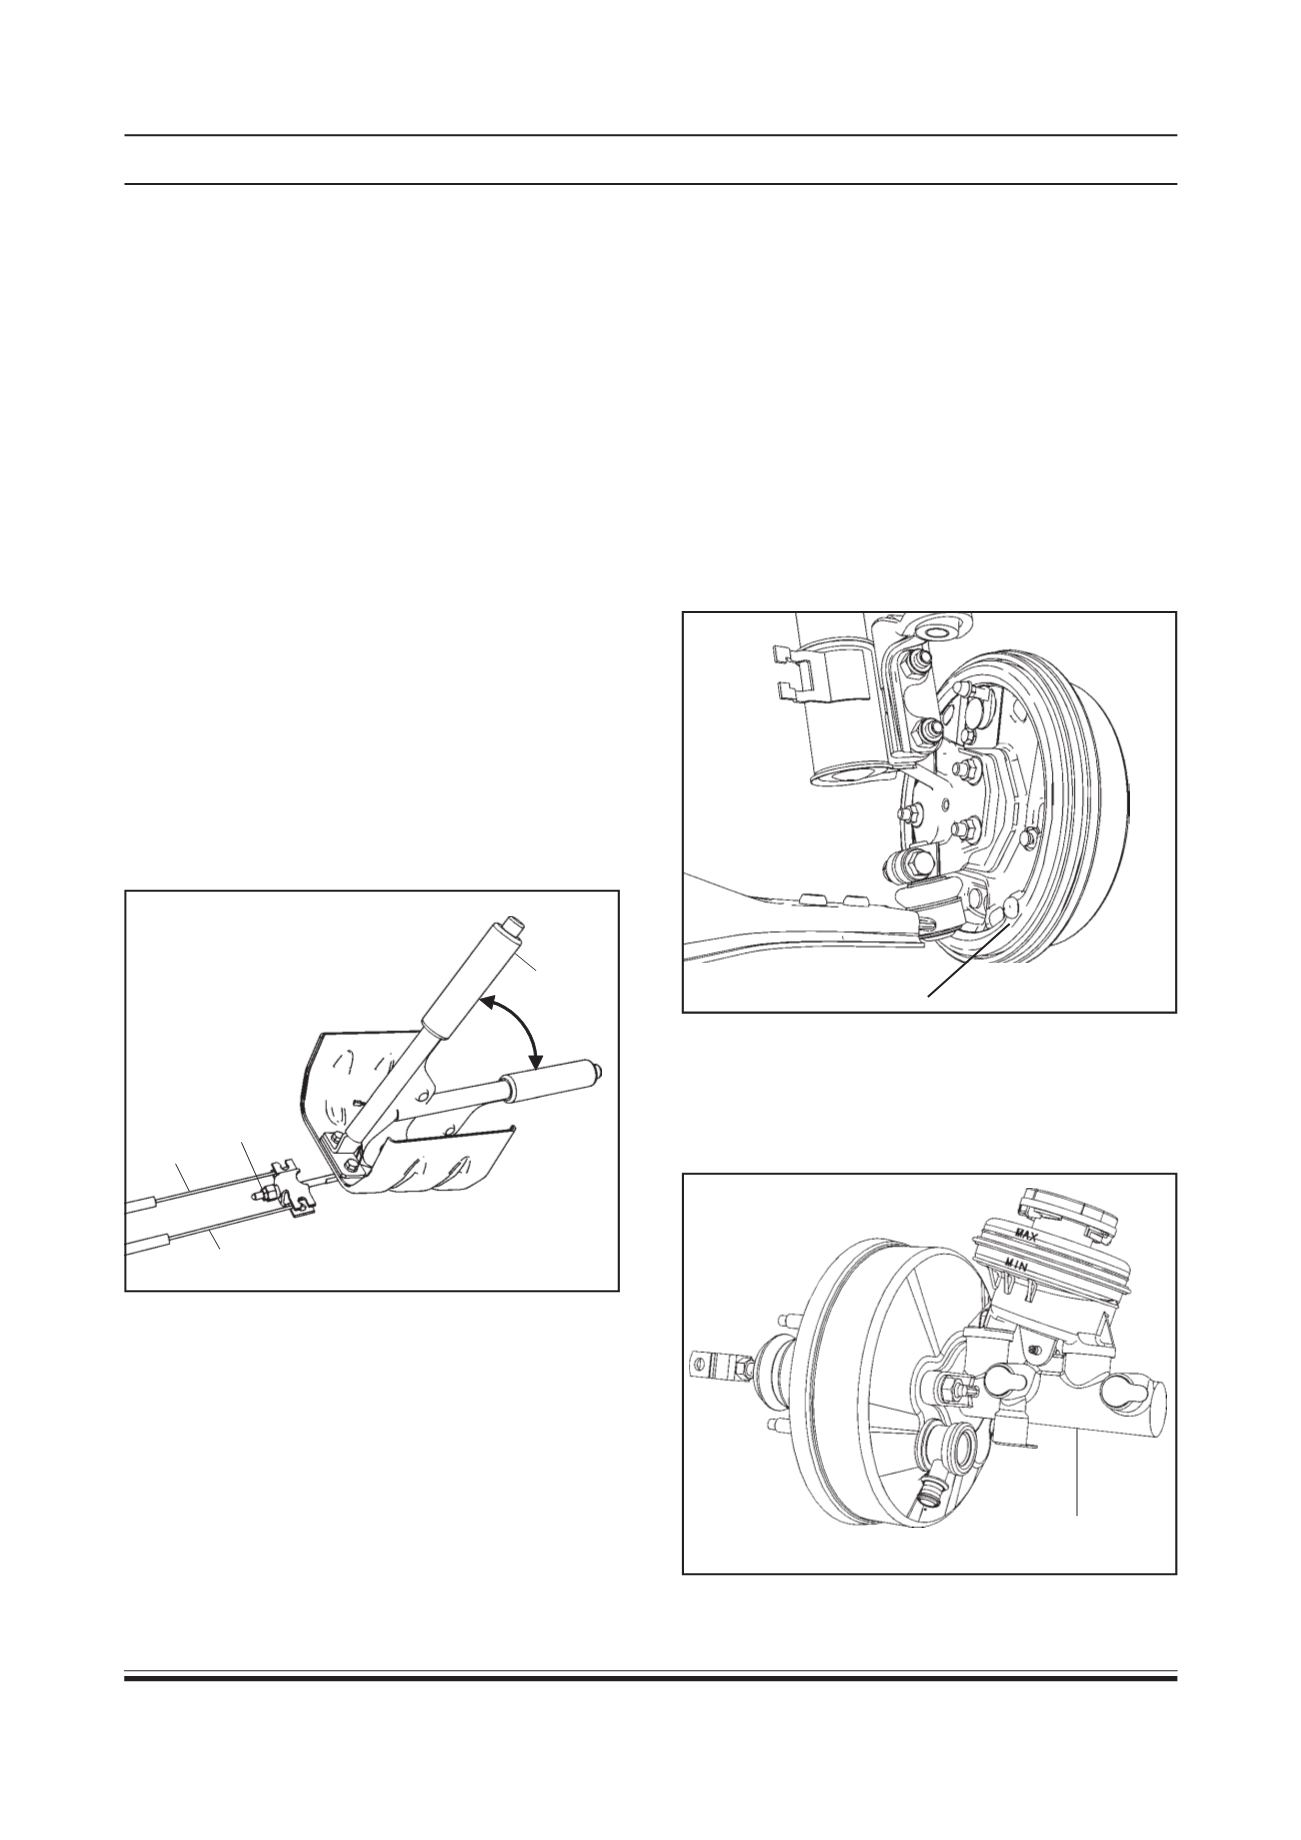
(a) Brake shoe/liner inspection:
Before replacing or removing brake shoes, visually
inspect the brake liner as follows:
(i) Hoist the vehicle.
(ii) Remove rubber/plastic plug frombrake back plate
as shown by arrow.
(iii) Through hole of back plate, visually check for
thickness of brake shoe lining. If thickness is found
less than specified wear limit, replace brake shoes
with new one.
(b) TMC inspection
Check for cracked TMC casting or brake fluid around
TMC. Leaks are indicated only if there is brake oil
belowmin. level.
Brake shoe inspection grommet
TMCAssembly
2.3 PARKING BRAKE ADJUSTMENT :
Before parking brake cable adjustment, confirm
the following conditions:
(i) Bleeding should be completed. (i.e. there should
not be air trapped in the brake system)
(ii) Confirmpedal travel by depressing the brake pedal
for few times.
(iii) Check the lining condition of the rear brake it should
not have been worn out beyond limit.
(iv) Parking brake lever has been pulled up a few times
with about 20 kg force.
After confirming all the above points start
adjusting the parking brake as follows:
(a) Keep the parking brake lever in “0
th
” notch
position.
(b) Ensure that wheels are free to rotate.
(c) Start tightening parking brake adjustment nut
(11± 3 mm from the threaded end) in such a way
that by applying a force of 20 kg on the lever, travel
should not exceed “5
th
” notch position.
1. Parking brake lever
2. Parking brake cable
3. Parking brake cable adjustment nut
1
2
2
3
“a” = 5 to 6 notches (When lever is pulled up at
20 - 25 kg force)
(d) Put the parking brake lever in “0
th
” notch
(e) Ensure that wheels are totally free to rotate without
any wheel grabbing.
NOTE:
After adjustment check for dragging of rear brake
drum.
a