


 1118 / 1119

WHEELS AND TYRES
15
B. TYRE REPLACEMENT
1. Always use a tyre changing machine to
replace tyres.
NOTE
For replacing tyre, follow the manufacturer’s (of
tyre replacement machine) manual for installation
instructions, recommendations and any other
additional information.
2. Inspect the valve and replace the stem if
necessary.
3. After replacing the tyre, inflate it to the
specified pressure so that beads are
completely sealed.
4. Balance the wheel(s)
(Refer wheel balancing
procedure)
WARNING
(a) Do not use hand tools or tyre irons alone to
change tyres as they may damage tyre beads
or wheel rim.
(b) Do not exceed specified pressure when
inflating.
(c) Do not stand near tyre when inflating. Bead
may break when bead snaps over rim’s safety
hump and cause serious personal injury.
(d) Do not mix different types of tyres on the same
vehicle such as radial, bias, and bias-belted
tyres except in emergencies, because handling
may be seriously affected and may result in
loss of control.
(e) Do not fit an inner tube to a tubeless tyre to
overcome a problem of air leakage.
C. WHEEL ASSEMBLY REPLACEMENT
Typical defects that require Wheel assembly
replacement:
(a) Cracks in the wheel disc face, in particular the
bolt hole area and the ventilation holes.
(b) Deformations or abnormal imprints in the seats
of the bolts / studs fixings.
(c) Leaks in tubeless tyres derived by micro-
cracks in the rim or by wear and tear marks on
the rim-tyre matching surface. Bent rim flanges
(generally due to impacts against obstacles)
(d)
Wheels with greater run - out may cause
vibrations which may ultimately lead to
replacement of the wheel assembly.
(Refer
wheel run out procedure to check wheel run
out).
NOTE
New wheel must be equivalent to the original
wheel in terms of load capacity, diameter and
rim with offset and mounting configuration.
Any repairs to wheels which involves welding
or heating are not approved. All damaged
wheels should be replaced.
It is not allowed to perform any technical
modification on wheel assembly.
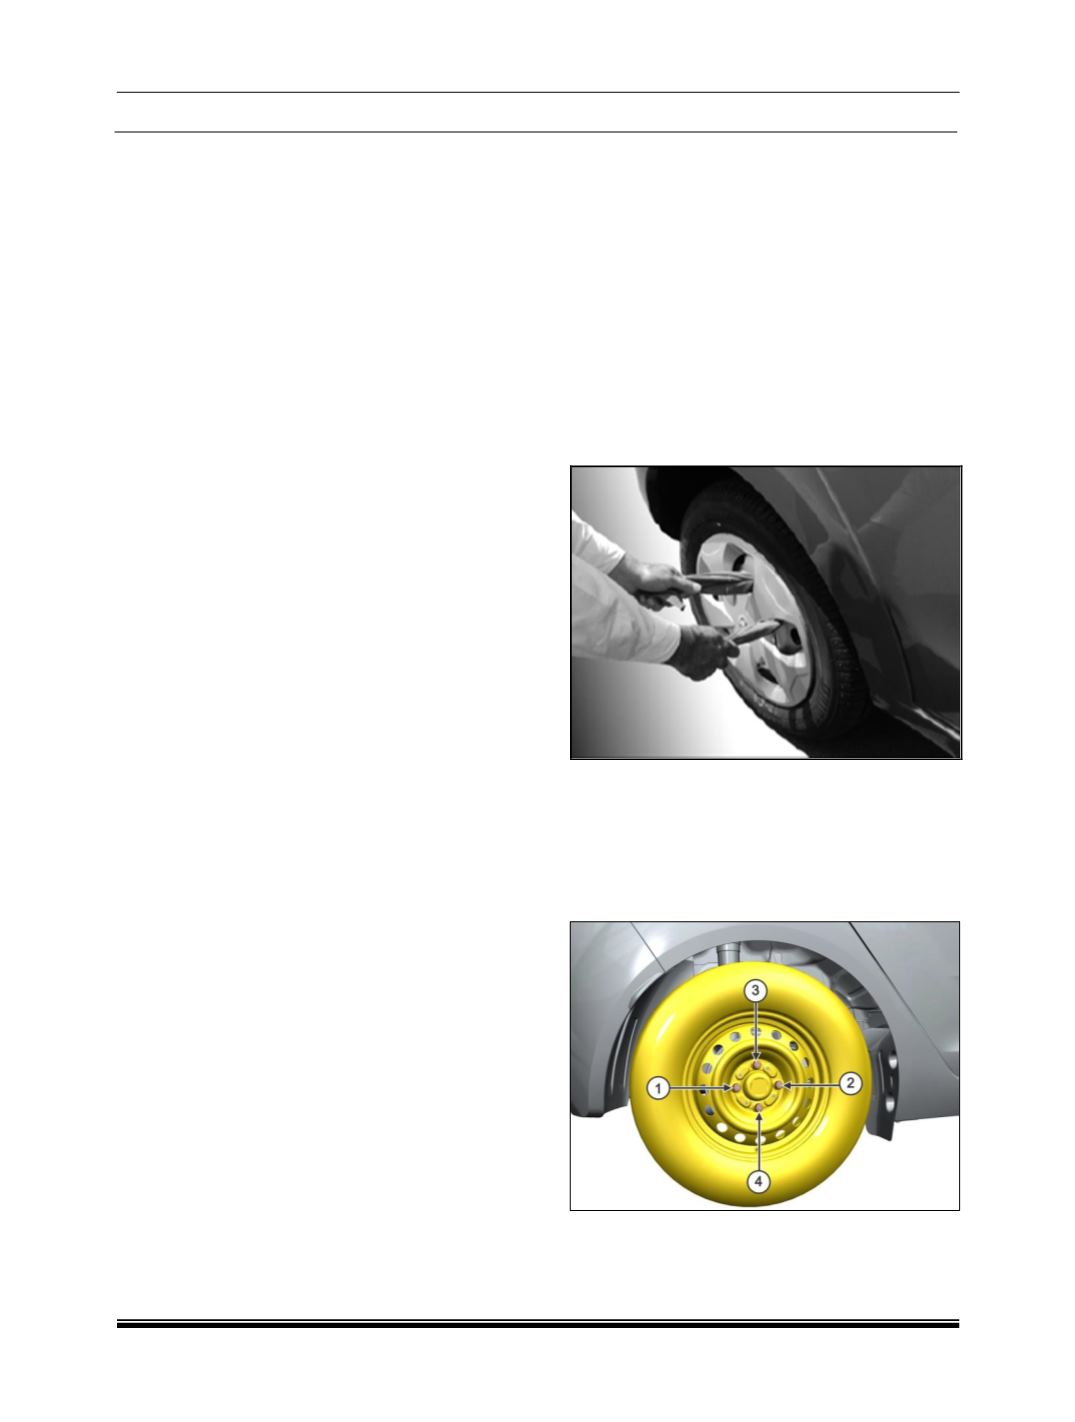
D. WHEEL REMOVAL
1. Remove Wheel cover (if equipped). Insert a
piece of cloth between the spokes of the
wheel cover and pull it outwards. Take out
detached wheel cover from the wheel rim.
2. Loosen wheel bolts by approximately 180 deg
(half a rotation).
3. Lift the vehicle using two post lift.
4. Remove bolts and then wheel. Wheel bolts
must be tightened in sequence as shown in
Fig and to proper torque to avoid bending
wheel or brake disc.
For fitment follow the reverse procedure.