


 403 / 1232

ENGINE 1.3L QUADRAJET (90PS)
66
10. Use an appropriate graduated measuring tool (1a)
to measure the clearance indicated by the plastic
gage (1b). The clearance should bewithin the limits
of 0.030 mm ~ 0.062 mm.
NOTE :
Q
Check one journal at a time, without rotating the
crankshaft.
Q
If the clearance is outside of the tolerance, replace
the connecting rod half-bearings with ones of the
correct size and category.
11. Fit the connecting rod caps permanently by
tightening the bolts as shown previously.
12. Remove the
tool 287158900628 (Flange).
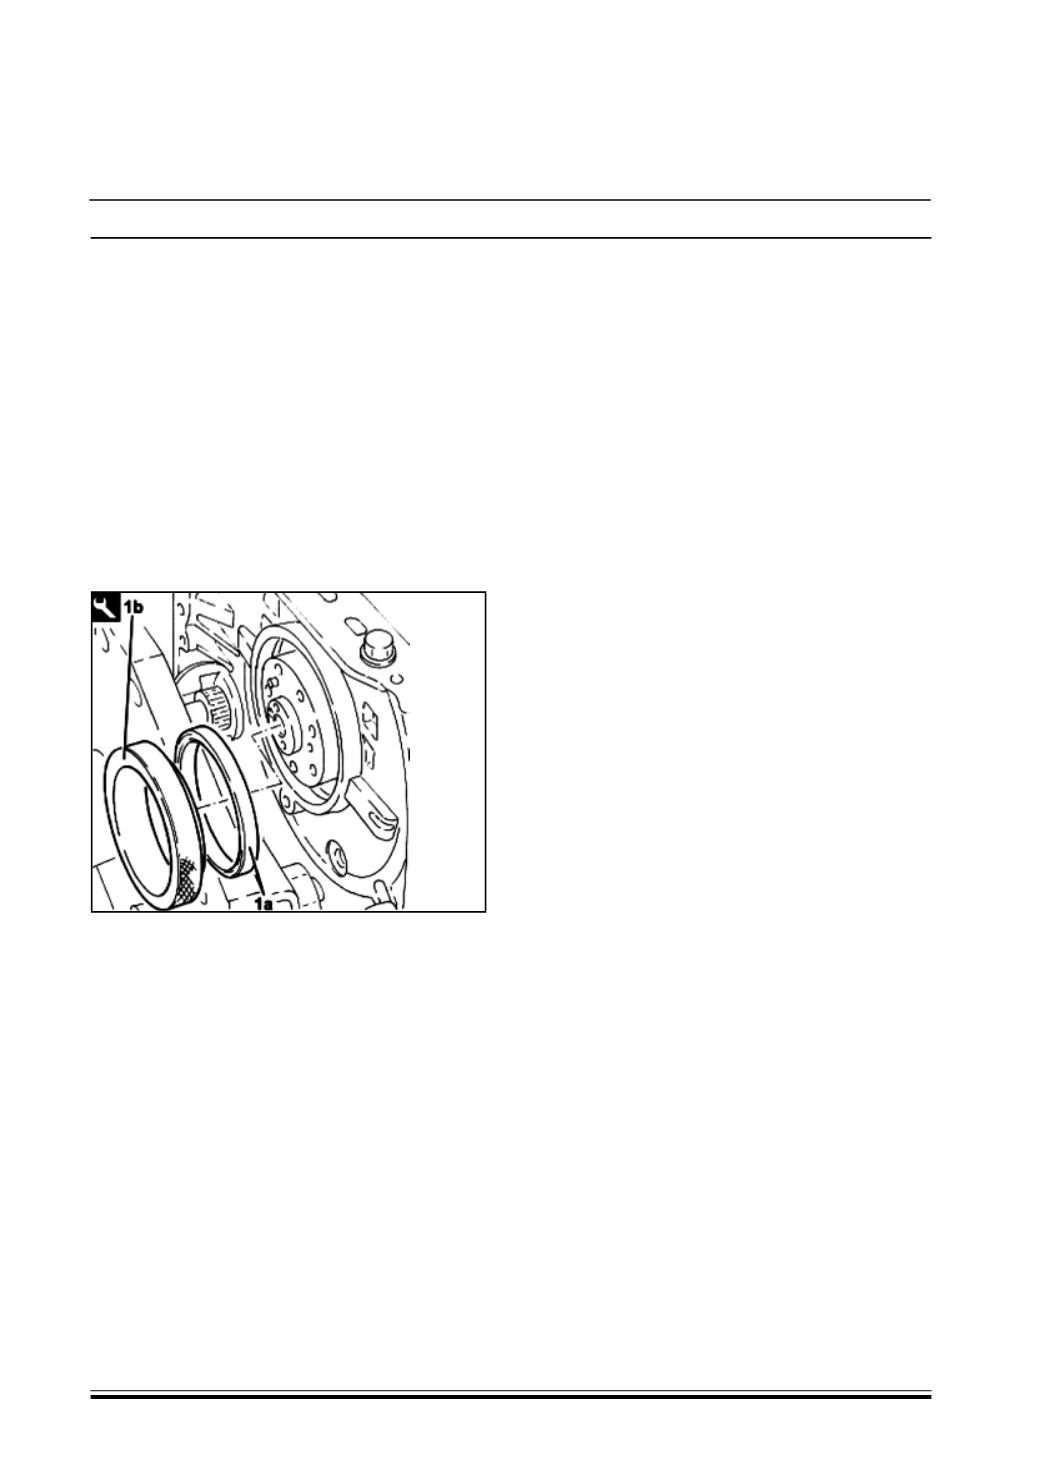
13. Fit the crankshaft rear oil seal (1a) using the
tool
(1b) 287158900670 (Fitting Tool).
14. Rotate the engine through 180° on the overhaul
stand.
15. Place the starter motor in its housing and secure
it tightening the M8 bolts to the recommended
torque of 2.25 ~ 2.75 Kg-m
16. Place the separator condensed oil manifold in its
housing and secure it by tightening the M6 bolts
to the recommended torque of 0.8 ~ 1.0 Kg-m .
17. Place the vacuum reservoir back in it using the
bolt.
18. Place the alternator mounting in its housing and
secure it tightening the (M8 x 1.25 x 45) bolts to
the recommended torque of 2.0 ~ 2.2 kg-m
19. Place the alternator in position and secure it
tightening the (M8x1,25x85) bolts to the
recommended torque of 2.0 ~ 2.2 Kg-m.
20. Place the power steering pump in its housing and
tighten the bolts.
21. Refit the engine oil pipe in its seat on the
crankcase and secure with the connectors.
22. Place the air conditioner compressor mounting in
its housing and secure it tightening the
(M8x1,25x35) bolts to the recommended torque
of 2.0 ~ 2.4 Kg-m.
23. Place the air conditioning compressor in its
housing and secure it tightening the (M8x1, 25x80)
bolts to the recommended torque of 2.0 ~ 2.4 Kg-
m.
24. Replace the engine oil filter mounting complete
with the engine oil filter and engine oil filler fitting
and secure by tightening the M6 bolts to the
specified torque of 0.8 ~ 1.0 Kg-m.
NOTE :
Q
Ensure the gasket is present, undamaged and
correctly positioned.
25. Place the water pump rigid inlet pipe, complete
with O-ring in position and secure it using the bolts.
NOTE :
Q
Fit the rigid pipe in the crankcase very carefully to
ensure the O-ring is correctly positioned.
26. Place the rpm sensor in its housing and secure it
by tightening the M6 bolt to the recommended
torque of 0.8 ~ 1.0 Kg-m .
27. Fit the engine oil heat exchanger protection.