


 524 / 1265

TRANSAXLE TA6300
25
1.10. INSTALLATION OF TRANSAXLE ON
VEHICLE:
1. Fix ‘B’ mount bracket on transaxle.
2. Support and lower the engine assembly
slightly and align transaxle assembly with
engine assembly.
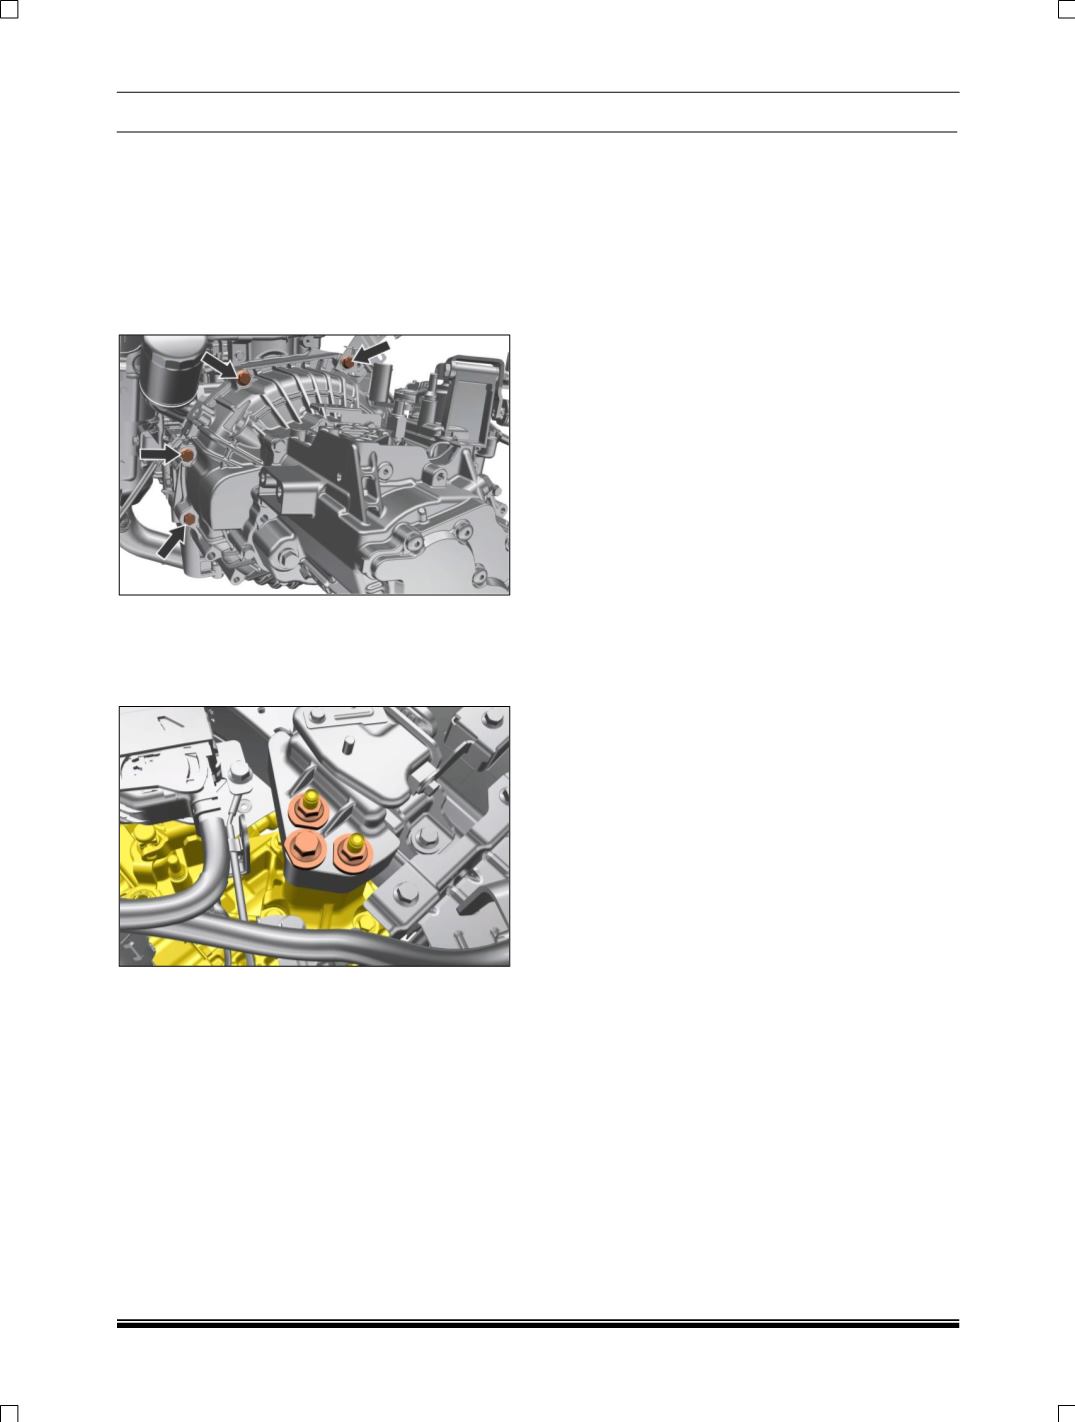
3. Fit clutch housing on to engine, locate bolts,
and tighten them.
4. Fix the ‘B’ mount nut and tighten it to specified
torque.
5. Locate and fix ‘B’ mount rubber pad on
bracket below the battery tray.
6. Lift the transaxle assembly and engine
assembly together.
7. Torque transaxle housing mounting bolts to
specified torque.
8. Fix ‘C’ mount bracket to transaxle housing
and remove engine support.
9. Align and insert both the drive shaft
assemblies into transaxle carefully.
CARE SHOULD BE TAKEN NOT TO DAMAGE
DRIVESHAFT OIL SEAL AND ITS BOOTS (DO
NOT USE HAMMER).
Ensure that splined end of plunge joint is
inserted fully in differential gear.
10. Assemble ball joints on lower link (both RH
and LH).
11. Connect ball joint (steering rack) on steering
knuckle.
12. Fix fuel line support bracket on clutch housing
and tighten the mounting bolts to specified
torque.
13. Connect gearshift cables.
14. Fix starter motor.
15. Connect reverse light switch connection.
16. Place the battery tray and mount battery on it.
17. Connect electrical connection of starter motor.
18. Refit the cooling module to the vehicle (Refer
remove and refitment of cooling module in
engine section)
19. Fix air filter.
20. Fit wheels and hand tighten the bolts and
lower the vehicle from the two-post lift.
21. Tighten wheel-mounting bolts to specified
torque.
22. Fill transaxle oil.
23. Fix fuel filter assembly.
24. Connect battery terminals.
25. Fix power steering pressure line and Refill
power steering oil.