


 411 / 1265

1.5L REVOTORQ ENGINE
156
3.
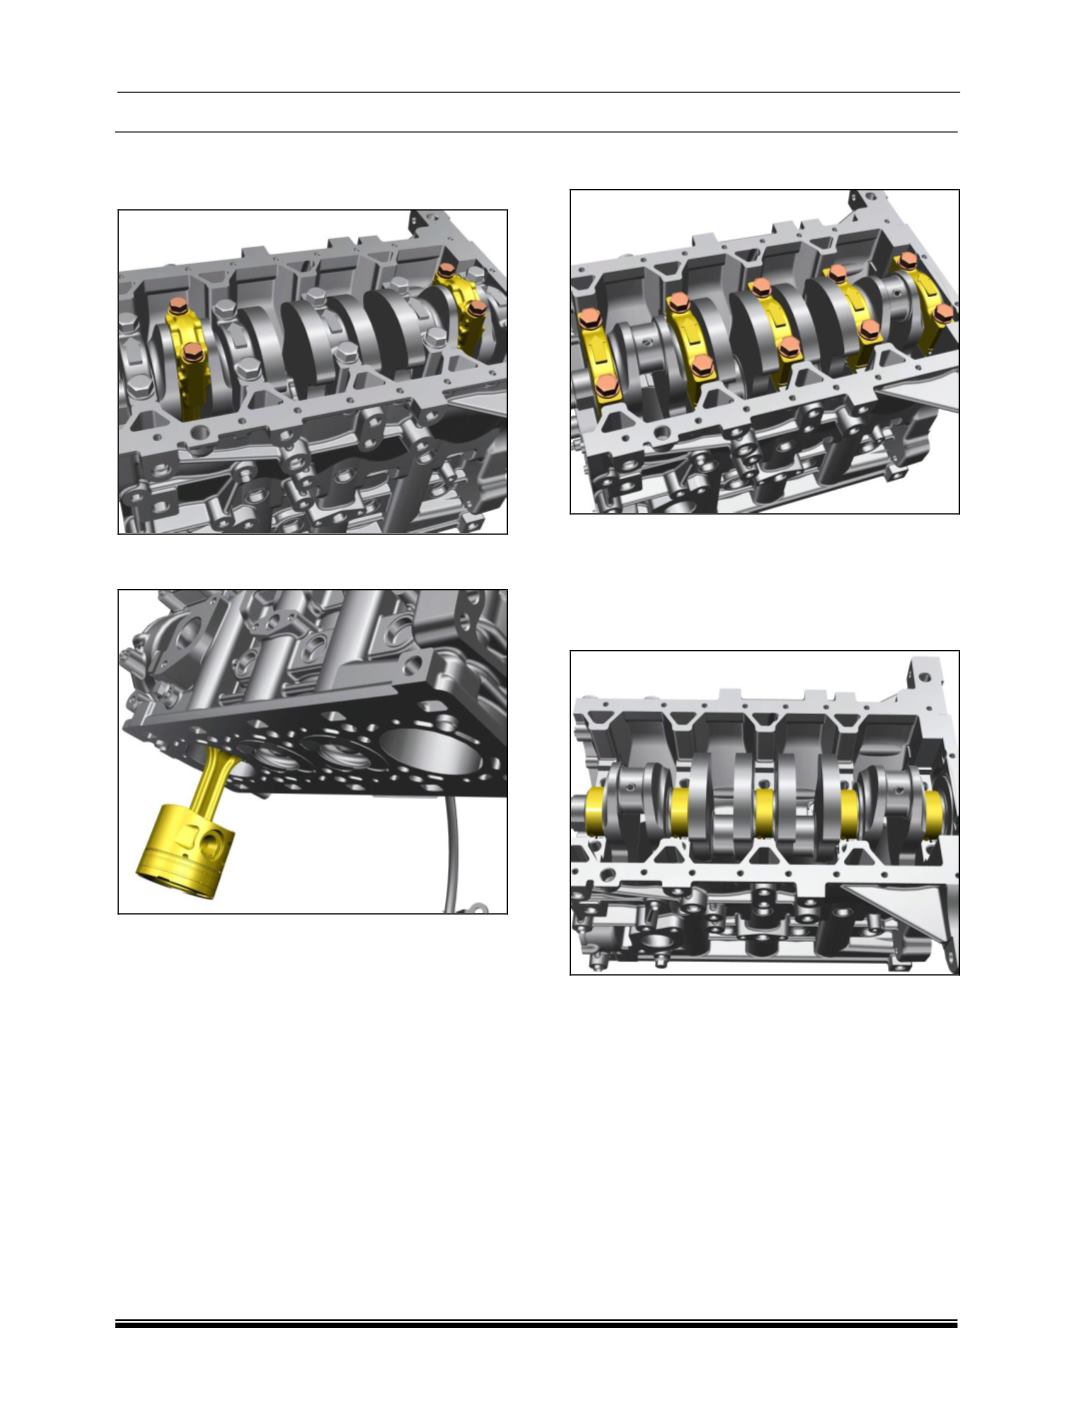
Turn the Crankshaft and bring a pair of pistons
near BDC position. Unscrew connecting rod
bearing cap mounting nuts.
4.
Push the piston assemblies out of cylinders
using wooden handle of mallet.
5.
Remove connecting rod bearing shells and
duly mark them with paint on their back in case
these are to be reused.
6.
Verify serial numbers on connecting rod
bearing caps and connecting rods.
7.
Remove remaining pistons in a similar manner.
NOTE
It is essential to assemble connecting rod bearing
caps to their respective connecting rods only.
8.
Unscrew and remove main bearing-cap
mounting bolts.
NOTE
Mark the bearing cap locations. Follow the
following sequence for removing;
1
st
and 2
nd
and 4
th
and lastly 3
rd
.
9. Remove all the lower main bearing halfs.