


 413 / 1133

1.5L REVOTORQ ENGINE
158
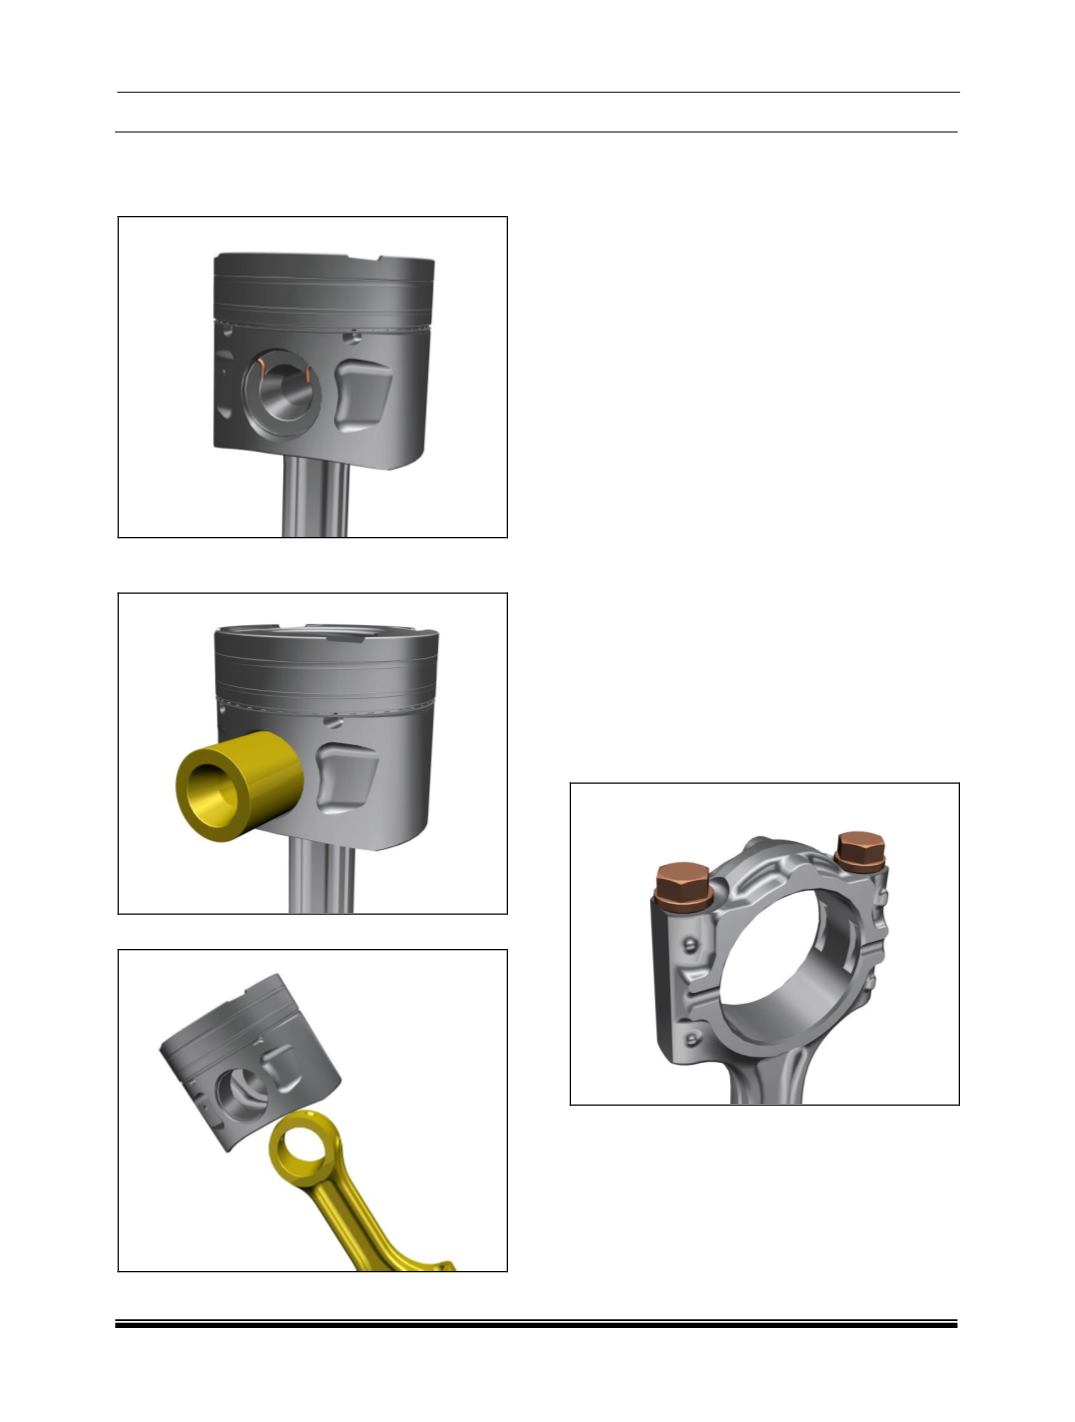
xi. PISTON
CONNECTING
ROD
DISASSEMBLY
1. Remove piston pin circlip with suitable plier.
2. Remove piston pin from the piston by pushing
it out using a soft drift
3. Remove the connecting rod
INSPECTION
Connecting Rods
1. Inspect connecting rod small end bush and if
necessary, replace it.
2. Check connecting rod small end parent bore
dimension.
3. If necessary machine connecting rod small end
parent bore to next over size.
4. Ensure that connecting rod big end and small
end axis are parallel to each other and are
within specified limits.
5. Ensure that the centre distance between small
end to big end is maintained within specified
limit.
6. Smear oil on parent bore of connecting rod.
NOTE
If required Machine the side faces of bush to
match the taper faces of connecting rod.
7. Finish connecting rod small end bush bore on
a connecting rod boring machine.
8. Alternately connecting rod small end bush may
be reamed. The end edges to be chamfered /
deburred manually.
9. Install connecting rod bearing caps without
bearing shells on connecting rod.
10.Tighten connecting rod bearing cap mounting
nuts to specified torque.
11.Ensure that identification numbers for
connecting rod and connecting rod bearing
cap are matched and notch for bearing shells
are on the same side.
12.Check twist and bend of connecting rod by
using new piston pin in connecting rod small
end bush.
13.Measure twist and bend of connecting rod with
feeler gauge with respect to vertical face of the