


 1146 / 1863

BRAKES
9
B. REGULAR MAINTENANCE :
i. Brake Bleeding Procedure :
CAUTION :
Do not spill brake fluid on the vehicle, it may
damage the paint, if the brake fluid does
contact the paint, wash it off immediately with
water.
Make sure no dirt or other foreign matter is
allowed to contaminate the brake fluid.
NOTE :
Always use the brake fluid recommended in
the specification list.
Do not reuse the drained fluid.
Entire bleeding operation should be done with
ENGINE ON (running).
Always use brake fluid from the sealed bottle.
The reservoir on the master cylinder must be
at the Max (upper) level mark at the start of
bleeding procedure and check after bleeding
each brake caliper and same have to be
topped up as required.
1. Open the bonnet.
2. Open the reservoir cap and pour brake fluid
till the lower edge of the filler neck.
CAUTION :
At all times during the bleeding process, it has
to be ensured that the fluid level in the
reservoir does not drop below minimum.
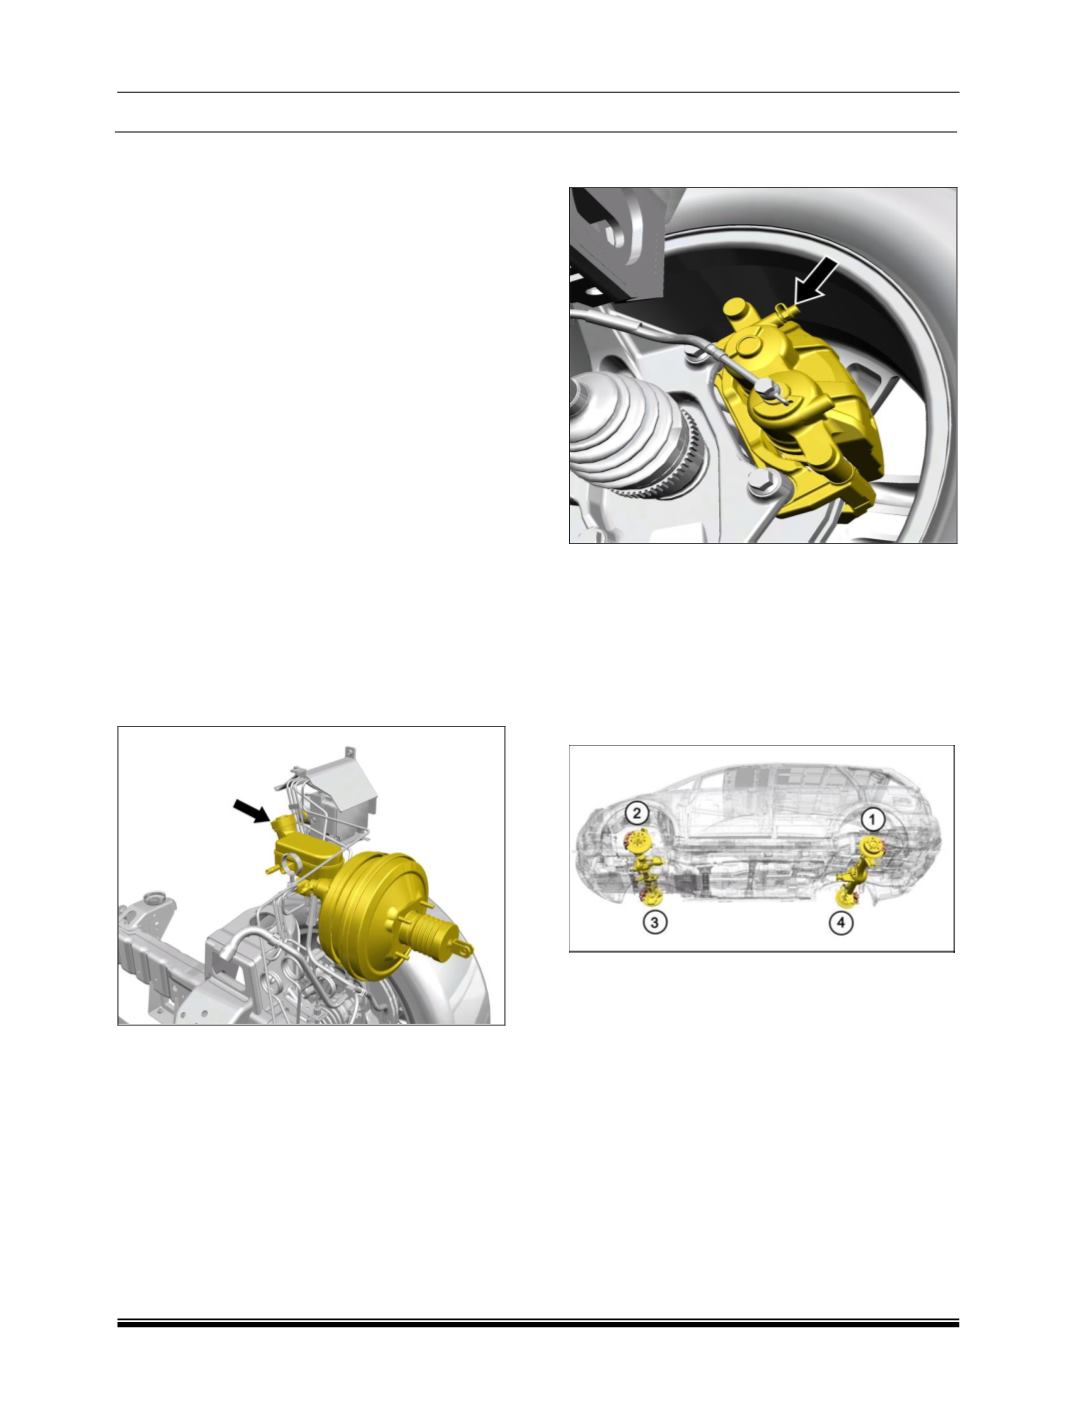
3. Connect the bleed tube to the front left caliper
bleed screw and place the other end
submerged in a transparent container
containing sufficient brake fluid.
4. Depress the brake foot pedal and hold it
down.
5. Open the bleed screw
.
The fluid will flow into
the transparent container.
6. Tighten the bleed screw and release the
pedal.
7. After the pedal returns, allow an interval of 3
to 4 seconds before making the next stroke.
Steps 4 to 6 should be repeated until there
are no more air bubbles at the end of the
bleed tube.
8. Now follow the same procedure at the other
wheels as per the sequence given below.
9. After the bleeding sequence is completed
remove the bleed tube and place the dust cap
on the bleed screw.
10. Ensure that the bleed screw is tightened to
the recommended torque.
11. Ensure “MAX” level after complete bleeding.
12. Clean the filter in bottle if necessary.
13. Place filter and cap to the reservoir.